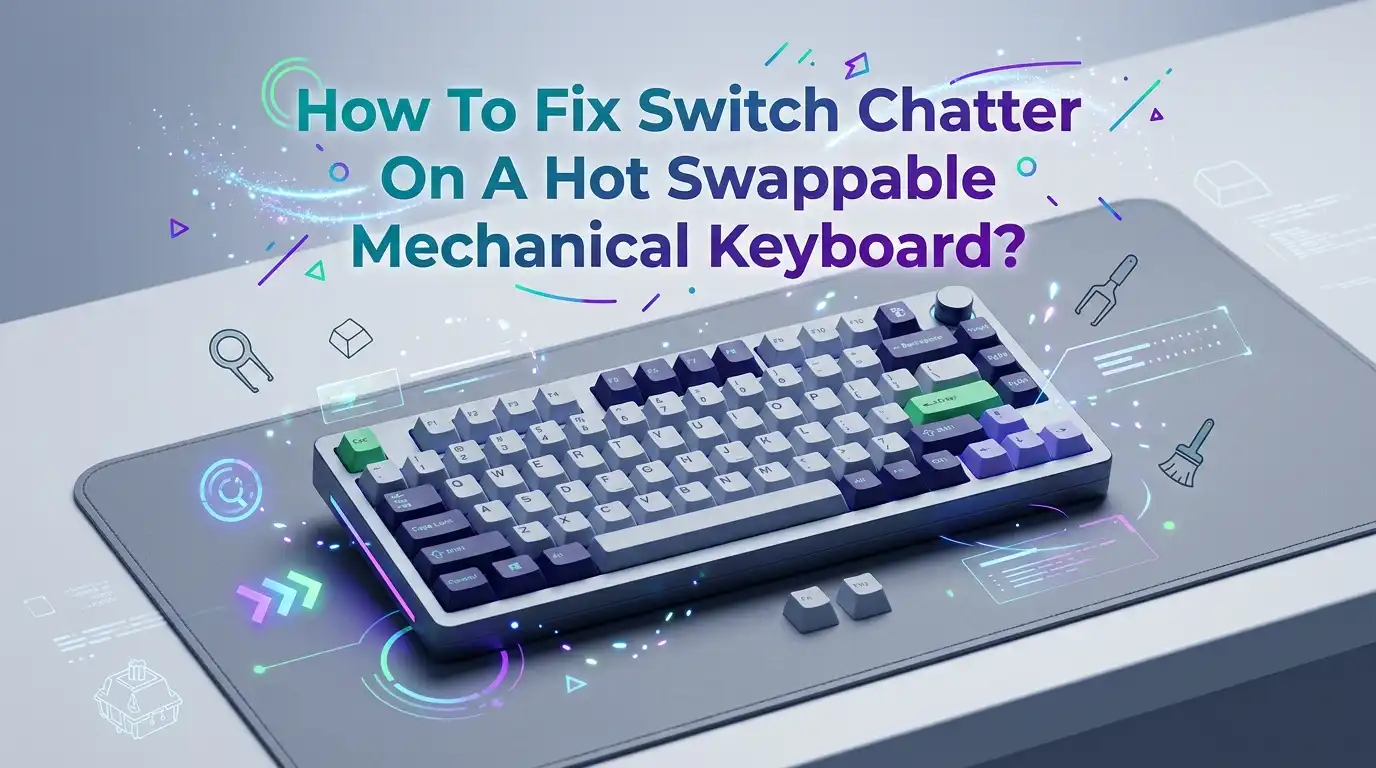
How To Fix Switch Chatter On A Hot Swappable Mechanical Keyboard?
You press the letter “a” one time, but your screen shows “aa” or “aaa.” That tiny glitch feels small at first. Then it ruins your typing, breaks your gaming flow, and forces you to spam the backspace key all day. This problem has a name. It is called switch chatter, and it can hit even brand new mechanical keyboards.
The good news is simple. Switch chatter on a hot swappable keyboard is one of the easiest keyboard faults to fix. You do not need a soldering iron. You do not need to throw your board away. You just need the right steps in the right order.
This guide walks you through every fix. You will learn how to spot chatter, clean it out, adjust your firmware, and swap a bad switch in seconds. Let us solve this together.
In A Nutshell:
- Switch chatter means one keypress registers as two or more. It happens because the metal contacts inside a switch bounce, send dust signals, or wear out over time. This is a hardware signal problem, not a typing mistake.
- Start cheap and simple, then move up. Always try cleaning first, then firmware and debounce tweaks, then switch replacement last. This order saves you time, money, and effort.
- Compressed air and isopropyl alcohol fix most cases. A few drops of high percentage isopropyl alcohol inside a noisy switch can clear out the dust or grime causing the bounce.
- Hot swappable boards make repair easy. You can pull a faulty switch and snap in a fresh one in under a minute with no tools beyond a puller. This is the biggest perk of owning a hot swap board.
- Debounce settings act as a software shield. Raising the debounce time in QMK, VIA, or your launcher tells the keyboard to ignore those tiny extra bounces.
- Prevention beats repair. Regular cleaning, clean hands, and a dust cover keep chatter away for years.
What Switch Chatter Actually Means
Switch chatter is when a single key press produces more than one signal. You tap once, but the computer reads two or three taps. People also call this double typing or key bounce.
Inside every mechanical switch sit two metal leaves. When you press the key, these leaves touch and complete a circuit. That contact sends the signal to your computer. In a perfect world, this contact is clean and instant.
But metal is springy. When the leaves meet, they often bounce apart and back together in milliseconds. Each bounce can send a fresh signal. Your keyboard then reads many presses from one push.
This bounce is normal physics. Keyboards usually hide it with a feature called debounce. Chatter appears when that hidden bounce becomes too strong for the keyboard to filter. Understanding this helps you pick the right fix below.
Common Causes Of Switch Chatter On Hot Swap Boards
You cannot fix a problem well until you know its source. Switch chatter has a few clear causes, and most are easy to deal with on a hot swappable board.
Dust and debris top the list. A tiny speck of dust, ash, or skin oil lands on the metal contacts. This contaminant breaks the clean connection and triggers extra bounces. This is the single most common reason.
Worn out switches come next. Mechanical switches last for fifty to one hundred million presses. Your most used keys, like the spacebar or “e,” wear out first and start to chatter.
Loose hot swap sockets matter too. If a switch pin does not sit firm in its socket, the signal flickers. Bent switch pins cause the same flicker.
Lastly, firmware bugs and short debounce times let normal bounce slip through. Humidity and heat can also make weak switches act worse.
How To Confirm The Problem Is Switch Chatter
Do not start fixing blindly. First, confirm that chatter is truly the cause. You want proof, not a guess.
The clearest sign is repeated letters. You type “Hello” and get “Heello” or “Helllo.” If this happens often on the same key, you likely have chatter.
Use a free online keyboard tester to check. These tools light up each key as you press it. Press your suspect key slowly and firmly several times. If one tap shows two or more registers, that switch is chattering.
For deeper testing, dedicated key tester software logs every press and flags the bad keys. This step is gold because it tells you exactly which switch to treat. Test at different speeds and pressures, since chatter often hides until you press a certain way. Write down each bad key before you start any repair.
Pros: Testing first saves you from cleaning or swapping good switches. Cons: It takes a few extra minutes, and very mild chatter can be tricky to catch on the first try.
Fix Number One: Clean The Switch With Compressed Air
Always begin with the cheapest fix. Cleaning solves a huge share of chatter cases, because dust is the top cause. This method is fast and risk free.
First, pull the keycap off the chattering switch with a keycap puller. This gives you a clear view of the switch below. Never yank a keycap with your fingers, since you might bend something.
Now grab a can of compressed air. Hold the can upright and aim the nozzle straight at the switch opening. Give it two or three short bursts. Press the switch a few times after each burst to shake loose any trapped dust.
This blows the contaminant off the metal contacts inside. Test the key again with your keyboard tester.
Pros: It costs almost nothing, takes one minute, and carries zero risk to your board. Cons: It does not fix chatter caused by grime, oil, or worn contacts. For those, you need the next step.
Fix Number Two: Use Isopropyl Alcohol Inside The Switch
If air alone fails, alcohol is your next weapon. Isopropyl alcohol dissolves oil and grime that air cannot move. Many people fix chatter with this single trick.
Use isopropyl alcohol at seventy percent or higher. The higher the percent, the faster it dries and the less water it leaves behind. Dip a cotton swab or use a small dropper.
Put two or three drops directly into the open top of the chattering switch. Then press the switch twenty to thirty times fast. This action works the alcohol across the metal contacts and scrubs them clean.
Let the switch air dry fully before you type. This takes a few minutes since alcohol evaporates quick.
Pros: It clears oil and grime that air misses, and it is very cheap. Cons: Use too much liquid and you risk dripping alcohol onto the PCB. Always go light, and never flood the board.
Fix Number Three: Reseat The Switch In Its Socket
Sometimes the switch is fine, but the connection is loose. A loose switch sits in the hot swap socket without a firm grip. This makes the signal flicker and chatter.
This fix is the biggest perk of a hot swappable board. Grab your switch puller. Squeeze the clips on the top and bottom of the switch, then pull straight up. Always pull straight, never at an angle.
Look at the two metal pins on the bottom of the switch. Check if either pin is bent, crushed, or splayed out. If a pin is bent, gently straighten it with tweezers or small pliers.
Now push the switch back into the socket. Press firmly until you feel and hear it click flat. Make sure it sits level, with no gap underneath. Test the key again.
Pros: It takes seconds and needs no parts. Cons: Repeated reseating can wear the socket, so do not do this many times in a row.
Fix Number Four: Adjust Your Debounce Time
When cleaning fails, turn to software. Debounce is the built in shield against bounce. It tells the keyboard to wait a set time before it accepts another press from the same key.
Most keyboards ship with a default debounce time of five milliseconds. If your switch bounces longer than that, chatter slips through. The fix is to raise this number.
If your board runs QMK firmware, open the config file and find the debounce line. Change the value, for example to ten milliseconds. Higher values catch more bounce. Software like VIA, ZMK, or a brand launcher such as the Keychron launcher lets you change this without coding.
Raise the value in small steps of two milliseconds. Test after each change until the chatter stops.
Pros: It can fix worn switches without any replacement, and it costs nothing. Cons: Set debounce too high and your keyboard may feel slightly less responsive, which fast typists and gamers might notice.
Fix Number Five: Replace The Faulty Switch
If cleaning and software both fail, the switch is likely worn out. Replacement is the permanent fix, and hot swap boards make it painless.
This is where your board type shines. You do not need a soldering iron. You just need a switch puller and a spare switch.
Pull the bad switch straight up out of its socket. Take your new switch and check that both pins are straight. Bent pins are the top reason a new switch fails to seat. Straighten any crooked pin before you install it.
Line the pins up with the socket holes. Push down firmly until the switch clicks flat against the PCB. Test the key right away.
Pros: It fixes the root cause for good, takes under a minute, and needs no tools beyond a puller. Cons: You need spare switches on hand, and a new switch may feel or sound slightly different from your old ones unless it is the same type.
Software Chatter Blockers As A Backup Fix
Sometimes you cannot open the keyboard right away, or a switch keeps chattering despite your efforts. A software chatter blocker acts as a stopgap. It runs on your computer and filters out the extra signals.
These small programs watch your key presses. If a key fires twice within a tiny window, the program blocks the second signal. You can often set the time window yourself, much like debounce.
This approach helps when you need the keyboard working now and cannot stop to clean or swap. It also helps on keyboards that do not let you change debounce in firmware.
Pros: It works on any keyboard, needs no hardware skills, and you can adjust it on the fly. Cons: It treats the symptom, not the cause. The switch is still faulty underneath. The program must also run in the background, and it may slightly affect very fast double taps you actually want.
How To Open And Deep Clean A Switch
For stubborn chatter, you may need to open the switch fully. A deep clean reaches the contacts that drops of alcohol cannot. This step needs care but works well.
You can clean the switch in place or pull it out first. To open it, use a switch opener tool or a thin flat blade. The switch housing has small clips on its sides. Press these clips gently to release the top housing.
Once open, you see the metal leaf and the contact point. Wipe the contact with a cotton swab dipped in isopropyl alcohol. Brush away any dust with a soft brush or compressed air.
Let every part air dry fully. Then snap the housing back together until it clicks. Reinstall the switch and test.
Pros: It clears grime that no other cleaning method reaches. Cons: It takes time and patience, and you can break the clips or lose the tiny spring if you rush.
Comparing Your Fix Options At A Glance
You now know many fixes, so let us compare them. Picking the right method saves you effort. Match the fix to how bad your chatter is and how much work you want to do.
Compressed air is the fastest and cheapest, but it only handles dust. Reach for it first every time.
Isopropyl alcohol clears oil and grime, and it still costs little. It is your best second move when air fails.
Reseating the switch fixes loose sockets and bent pins in seconds, but it does nothing for worn contacts.
Debounce tweaks shield against bounce in software and can save a worn switch, yet they may add a tiny delay.
Switch replacement is the permanent cure, but you need spare switches ready.
The smart path is to climb this ladder in order. Start with air, then alcohol, then reseating, then debounce, then replacement. You almost always solve the problem before you reach the top.
How To Prevent Switch Chatter From Coming Back
Fixing chatter is good. Stopping it before it starts is better. A few simple habits keep your switches clean and healthy for years.
Clean your keyboard often. Flip it over and shake loose crumbs out weekly. Use compressed air between the keys to clear dust before it reaches the contacts.
Keep your hands clean. Oils and food residue from your fingers move straight onto your switches. Wash your hands before long typing sessions to cut down on grime.
Protect the board from its surroundings. Store it away from direct sun and damp air, since heat and humidity make weak switches chatter. Use a dust cover when you are not using it.
Avoid eating and drinking over the keyboard. One spill can ruin several switches at once.
Pros: These habits cost almost nothing and extend your keyboard life greatly. Cons: They take small, steady effort, and they cannot save a switch that is already at the end of its lifespan.
Frequently Asked Questions
Is switch chatter covered under warranty?
It often is, especially on a newer keyboard. Switch chatter on a fresh board points to a faulty switch or a firmware bug, both of which fall under most warranties. Contact your seller or maker with proof of the issue, like a key tester screenshot. On a hot swappable board, though, you can usually fix it yourself faster than a warranty claim takes, since you only need to swap one switch.
Can changing the debounce time damage my keyboard?
No, changing the debounce time cannot harm your keyboard. It is a software setting, not a physical change. You can raise or lower it freely and reset it any time. The only downside is feel. Set the debounce too high, and your keys may feel a touch slow, since the board waits longer before it accepts the next press. Start small, test often, and you stay safe.
How long do mechanical switches last before they chatter?
Most mechanical switches are rated for fifty to one hundred million presses. Your most used keys wear out first, since they take the most action. A switch can last many years of normal use. Heavy gaming, dusty rooms, and humid air all shorten that life. The good news is that worn switches on a hot swap board cost little to replace, and the swap takes under a minute.
Will a single drop of alcohol really fix chatter?
Often, yes. A few drops of high percentage isopropyl alcohol clear the dust and oil that cause most chatter. You drip it into the switch, press the key many times to spread it, then let it dry. This simple trick fixes a large share of cases. If it does not work after a full dry, the switch is likely worn, and replacement is your next step.
Does the type of switch affect chatter?
Yes, switch quality plays a role. Cheaper switches tend to chatter sooner because their metal contacts and tolerances are less refined. Higher quality switches from trusted makers hold up longer and resist dust better. Switch type, like linear, tactile, or clicky, does not directly cause chatter. The build quality and the age of the switch matter far more than the feel category it belongs to.