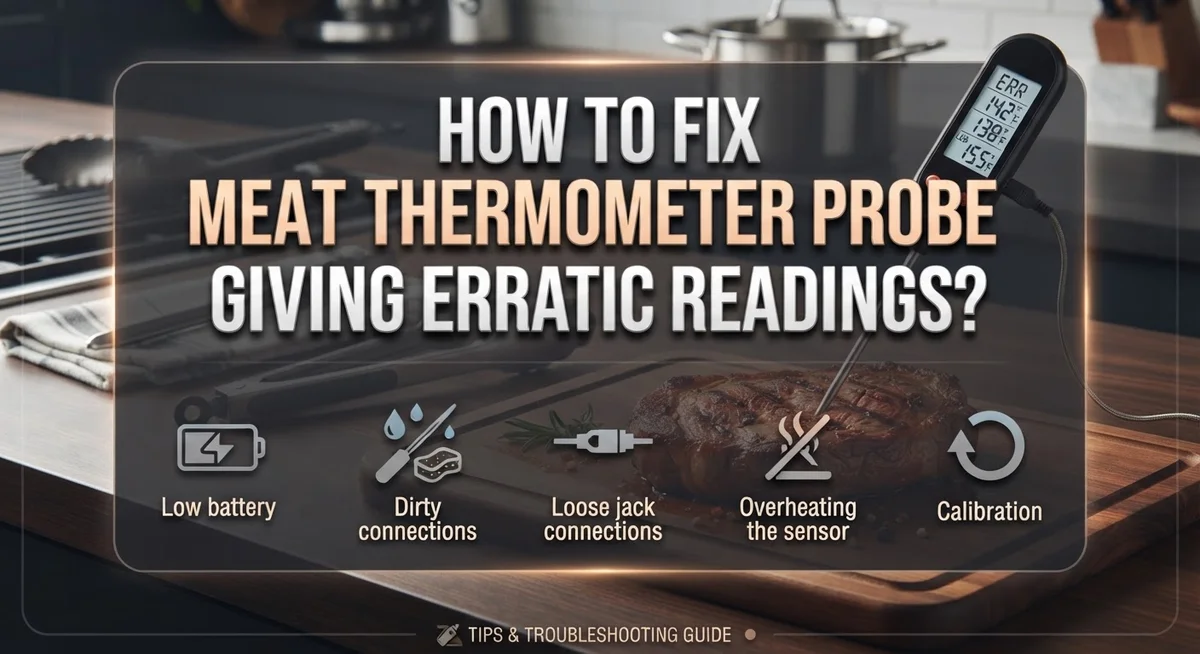
How To Fix Digital Meat Thermometer Probe Giving Erratic Readings?
Your digital meat thermometer suddenly shows crazy numbers. One second it says 350°F, the next it drops to 90°F. This is frustrating, especially when dinner is on the line.
Erratic readings usually point to a few common culprits. A damaged thermistor, calibration drift, or simple insertion mistakes can all throw off your results.
The good news? You can fix most of these problems yourself. No need to toss your thermometer just yet.
In a Nutshell
- Test it first. Dip the probe in ice water and boiling water. It should read 32°F and 212°F. If it doesn’t, you’ve found your problem.
- Check your insertion technique. Push the probe into the thickest part of the meat. Keep it away from bone and fat for a true reading.
- Give it time. Let the number settle for several seconds. Pulling it out too soon gives you a false result.
- Look at the thermistor. A constant “HHH” or maxed out display often means this part is shorted or damaged.
- Recalibrate when needed. Many models let you adjust the reading through a simple calibration setting. Use it if your test numbers are slightly off.
- Know when to stop fixing. If calibration fails and your model has no adjustment option, the probe likely needs replacing.
Why Digital Meat Thermometer Probes Give Erratic Readings
Digital meat thermometer probes give erratic readings for several clear reasons. Understanding these causes helps you fix the problem quickly.
The most common culprit is a damaged thermistor. This small sensor inside the probe measures heat. When it gets shorted or damaged, your display shows constant high readings or displays “HHH.” This happens from dropping the thermometer, exposing it to extreme heat, or water damage. Once the thermistor fails, the probe usually cannot be repaired.
Calibration drift is another frequent issue. Over time, probes lose accuracy. Temperature sensors naturally drift away from correct readings. A probe that was accurate last month might be off by several degrees today. This happens gradually and is completely normal wear. The good news? You can fix calibration drift yourself in most cases.
Improper insertion technique causes many false readings too. If you push the probe into fat, gristle, or bone instead of solid meat, you get wrong numbers. These materials conduct heat differently than muscle tissue. Your reading reflects the temperature of fat or bone, not the actual meat doneness.
Rushing the reading process also creates problems. Thermometer displays need time to stabilize. Pulling the probe out after one or two seconds gives you an incomplete reading. The actual temperature is still changing as the sensor reaches thermal equilibrium with the meat.
Moisture and contamination play a role as well. Submerging a probe that isn’t waterproof damages internal circuits. Not cleaning the probe between raw and cooked meat samples can affect readings too. Salt, oils, and meat particles build up on the sensor.
The key takeaway? Most erratic readings come from user error or calibration drift, not broken equipment. Test your probe in ice water and boiling water first. This simple check reveals whether you have a fixable issue or a damaged sensor that needs replacement.
How to Test Your Probe’s Accuracy With the Boiling and Ice Water Method
The boiling and ice water method is the gold standard for checking if your probe reads accurately. This two part test takes just a few minutes and tells you exactly what’s happening.
Start with ice water. Fill a glass with ice and add cold water until it reaches 32°F. Insert your probe into the center of the glass, making sure it doesn’t touch the bottom or sides. Wait 10 to 15 seconds for the reading to stabilize. Your thermometer should display 32°F (or 0°C). If it reads within one or two degrees, that’s acceptable. Readings further off than that suggest a calibration problem.
Next, test with boiling water. Boil water in a pot and carefully insert your probe into the steam or water, but don’t let it touch the bottom of the pot. The bottom contact creates false high readings. At sea level, boiling water reaches 212°F (100°C). Your probe should match this temperature after stabilizing for 10 to 15 seconds. Again, one or two degrees off is normal.
Here’s what your results mean. If both tests pass, your probe works fine. The erratic readings you saw earlier likely came from improper insertion or rushing the reading. If one or both tests fail by more than a few degrees, your thermometer has drifted out of calibration.
Check your thermometer’s manual next. Many digital models include a calibration feature that lets you adjust the readings. Access this menu and follow the instructions to recalibrate using your boiling water test. After recalibration, repeat both tests to confirm the fix worked.
If your model lacks a calibration option and the tests fail, the thermistor inside the probe is probably damaged. At that point, replacing the probe is your best option.
Step-by-Step Guide to Recalibrating Your Probe
Recalibrating your probe brings it back to accurate readings. Start by locating your thermometer’s calibration button or menu option. Check your manual to find where this feature lives on your specific model.
Gather two test liquids first. You need ice water and boiling water. Fill one cup with ice and cold water. Let it sit for a few minutes so the temperature stabilizes at 32°F. Boil water in a separate pot and keep it at a rolling boil.
Test the ice water first. Submerge the probe into the ice water cup. Wait 10 to 15 seconds for the reading to stop changing. Write down the number you see. It should read 32°F. If it shows something different, note how far off it is.
Now test boiling water. Carefully place the probe into the boiling water. Keep it away from the pot bottom and sides. Let it settle for 10 to 15 seconds. The reading should show 212°F at sea level. Record this number too.
Compare your results. If both readings match the expected temperatures, your probe is accurate and needs no adjustment. If they’re off, proceed with calibration.
Access calibration mode. Press and hold the calibration button until the display changes. Some models let you adjust the reading up or down. Follow your manual’s specific steps for your thermometer brand.
Make small adjustments. Change the reading by one or two degrees at a time. Test again in ice water to verify the fix worked. Repeat in boiling water.
Save your settings. Press the button again to confirm and exit calibration mode. Test once more in both liquids to confirm accuracy returned.
If your thermometer lacks a calibration option and both tests fail, the internal thermistor is likely damaged. At that point, replacing the probe becomes your best option.
Proper Insertion Technique for Reliable Temperature Readings
Proper probe insertion makes a huge difference in getting accurate temperature readings. The technique you use directly affects whether your thermometer gives reliable data or confusing numbers.
Insert the probe into the thickest part of the meat. This area takes the longest to cook, so it shows you the true doneness of your food. Avoid bones, fat pockets, and gristle. These dense materials don’t cook the same way as muscle tissue, so readings from them mislead you.
Press the probe fully into the meat. Don’t leave it halfway in. The entire sensing tip needs contact with the meat to measure temperature accurately. A shallow insertion gives you surface temperature, not the internal heat you actually need.
Wait several seconds after inserting the probe. Your thermometer needs time to stabilize and display the correct reading. Pulling it out too fast gives you an incomplete measurement. Watch the display until the numbers stop changing. This tells you the probe has found the true temperature.
Check multiple locations in your meat. Different spots may cook at different rates. Insert the probe in three or four places to confirm your food reached the safe temperature throughout.
Slowly withdraw the probe while watching the display. This technique reveals temperature changes as you move from the center outward. You’ll see if the inside is cooler than the outside, which means it needs more time.
Never submerge the entire thermometer in liquid unless your manual says it’s waterproof. Most probes aren’t designed for full immersion. Only the probe tip should touch the food or liquid.
Clean your probe between measurements, especially when testing raw meat. Contamination from one sample to another creates false readings and safety issues.
Store your probe in its stem sheath when not in use. This protects the sensitive tip from damage that causes erratic readings later.
Common Mistakes That Cause Inconsistent Readings
You make mistakes that cause your thermometer to give wrong readings. Understanding these errors helps you fix the problem fast.
Reading too quickly is the biggest mistake people make. Your probe needs time to sense the actual temperature. If you check the display after just one or two seconds, the reading won’t be accurate yet. Always wait at least five to ten seconds before trusting what you see on screen.
Touching bones or fat throws off your measurements. When you insert the probe, aim for the thickest meat section that has no bones, fat, or gristle in the way. These materials conduct heat differently than muscle tissue. Your reading will show the temperature of the bone or fat, not the meat itself.
Failing to clean between samples causes cross contamination and false readings. If you test raw chicken and then switch to beef without washing, bacteria or residue from the first meat can affect your second measurement. Always sanitize the probe between different foods.
Improper storage damages your probe over time. Leaving the probe exposed to dust or moisture causes corrosion. The thermistor inside becomes less reliable. Store your probe in its protective sheath when you’re not using it.
Not pressing the probe fully into meat leaves part of the sensor in air instead of food. This creates a mix of temperatures that gives you an inaccurate reading. Push the probe straight in until it stops.
Submerging the entire thermometer damages the display and electronics. Most digital thermometers aren’t waterproof. Only the probe tip should touch liquids. Keep the stem and display unit dry and away from water.
These mistakes explain why your readings jump around or seem wrong. Fix these habits first before assuming your thermometer is broken.
Cleaning, Storage, and Maintenance Tips to Prevent Future Issues
Your digital meat thermometer works best when you care for it properly. Simple maintenance prevents most reading problems before they start.
Clean your probe right after each use. Food residue hardens on the sensor and blocks accurate temperature detection. Rinse the probe under warm running water and wipe it with a soft cloth. For stubborn buildup, use a damp cloth with mild soap. Never scrub aggressively or use abrasive pads, as these scratch the sensor coating.
Dry the probe completely before storing it. Moisture trapped on the sensor causes corrosion and electrical shorts over time. Pat it dry with a clean towel and let it air dry for a few minutes before putting it away.
Store your thermometer in its protective sheath. The probe is delicate and gets damaged easily when loose in a drawer. A sheath protects the sensor from bumps and keeps dust away. Keep it in a cool, dry place away from direct sunlight or heat sources.
Check your thermometer regularly using the calibration tests mentioned earlier. Test it in ice water and boiling water every few months, especially if you use it frequently. This catches drift early before it affects your cooking.
Avoid exposing the display unit to moisture or extreme temperatures. Don’t leave it near your stove’s heat or in damp environments. Most digital thermometers have electronics that fail when exposed to humidity or temperature swings.
Replace the battery according to your manual’s schedule. A weakening battery causes unstable readings and erratic displays. Fresh batteries ensure consistent power to the sensor.
Store the probe with its stem sheath on at all times. This single habit prevents most physical damage. Handle your thermometer gently and avoid dropping it, as impact damages the internal thermistor.
These simple steps keep your thermometer accurate and reliable for years of use.
Troubleshooting Persistent Problems and Signs You Need a New Probe
Your digital meat thermometer may need replacing if problems persist after troubleshooting. Understanding when to retire your old probe saves you from serving undercooked or overcooked meat.
Calibration failure is your first warning sign. Test your probe in boiling water (212°F at sea level) and ice water (32°F). If readings are off by more than a few degrees and your thermometer lacks a calibration option, replacement is your best choice. Some thermometers allow manual calibration adjustments, but older models don’t have this feature.
A damaged thermistor causes constant high readings or displays “HHH” repeatedly. This internal sensor cannot be repaired and signals that probe replacement is necessary. When you insert the probe into meat and it immediately shows an extremely high temperature that never changes, the thermistor has likely shorted out.
Physical damage to the probe also warrants replacement. Bent probes don’t insert properly into meat. Cracked casings allow moisture inside, which damages the sensor. Corrosion on the metal tip indicates the probe won’t function reliably.
Battery problems differ from probe problems. If your display is dim or unresponsive, try replacing the battery first. A fresh battery often restores normal function. However, if the display works fine but readings remain erratic, your probe needs replacement.
Test your thermometer one final time before deciding to replace it. Clean the probe thoroughly and store it properly for 24 hours. Then run the boiling water and ice water calibration tests again. Sometimes a dirty probe gives false readings that disappear after proper cleaning.
If calibration tests fail twice, replacement is your answer. Most thermometer manufacturers sell replacement probes separately, which costs less than buying a new unit. Check your thermometer’s manual or contact the manufacturer to order the correct replacement probe for your specific model.
Final Thoughts
Erratic readings from your meat thermometer do not mean you need to panic. Most problems come from simple fixes like calibration or cleaning.
Start with the basics every time. Check your probe placement and make sure you wait for the reading to stabilize.
Calibration is your best friend here. Test your probe in boiling water and ice water often. This quick check tells you if your thermometer still works correctly.
If your readings stay wrong after calibration, look closer at the probe itself. A cracked or damaged thermistor cannot be fixed. It needs replacement.
Good habits prevent most issues from happening again. Clean your probe after each use. Store it properly in its sheath. Insert it correctly every single time you cook.
These small steps add up. They keep your thermometer accurate for years. They save you money too since you avoid early replacement.
Sometimes the fix is not about the probe at all. Check your battery first if the display looks dim or blank. This simple swap solves many problems quickly.
Your thermometer is a tool you rely on for safe cooking. Erratic readings can throw off your entire meal. Taking time to troubleshoot protects your food and your family.
Trust the process laid out here. Test, clean, store, and check your battery. These steps solve most problems without needing a new thermometer.
When all else fails, replacement is the answer. A new probe costs less than the risk of undercooked meat. Your safety matters more than saving an old thermometer.
Stay consistent with these habits. Your thermometer will reward you with accurate readings every time you cook. Simple maintenance now saves you frustration later.
Frequently Asked Questions
Why does my thermometer show erratic readings even after I clean the probe?
Erratic readings often mean your probe needs calibration testing. Insert your probe into boiling water (212°F at sea level) and check the reading. Then test it in ice water (32°F). If both readings are off, your thermometer has drifted out of calibration.
Make sure the probe doesn’t touch the pot bottom during the boiling water test. Contact with metal surfaces gives false readings. If your thermometer has a calibration option in its menu, use it to adjust. If it doesn’t, the probe may need replacement.
What’s the correct way to insert the probe into meat?
Push the probe fully into the thickest part of your meat. Avoid bones, fat, and gristle, as these areas give inaccurate temperatures. The sensor sits near the probe tip, so depth matters.
Wait several seconds for the reading to stabilize before you remove it. Slowly withdraw the probe while watching the display. This helps you see the actual temperature of the meat rather than a surface reading.
Can I submerge my digital thermometer probe in water?
Most digital meat thermometer probes should not be fully submerged. Check your manual first. Moisture inside the stem can damage the electronics and cause erratic readings.
For calibration tests, only dip the probe tip into boiling or ice water. Keep the stem and display unit completely dry. This protects your thermometer from internal damage.
How do I know if my probe is damaged beyond repair?
If your probe shows constant high readings or displays “HHH” repeatedly, the thermistor is likely damaged. Calibration tests won’t fix this problem. Physical cracks or bent tips also signal damage.
Try replacing the battery first if your display seems unresponsive. Battery issues are separate from probe problems. If readings remain wrong after calibration and battery replacement, replacement is your best option.