How To Fix Smart Posture Corrector Adhesive Gel Degrading?
Your smart posture corrector keeps falling off your back. You clean it, press it firmly, and wait. But within a day, it slides down again.
This is a common problem. The adhesive gel on these devices wears out over time. Sweat, oils, dust, and daily wear all break down its sticking power.
The good news? You can fix this issue quickly. You don’t need to replace your entire device. You just need to know how to restore or replace the adhesive gel properly.
In a Nutshell
- Old adhesive wears out. Gel loses its stickiness after repeated use. This happens naturally over weeks or months.
- Clean removal comes first. Take off all old adhesive from your device. Do not leave any residue behind.
- Fresh patches work best. Peel the paper backing off a new adhesive patch. Press it firmly onto the back of your corrector.
- Skin prep matters. Clean your skin before you attach the device. Remove any oils, lotion, or dead skin first.
- Avoid common mistakes. Do not use too little adhesive. Do not apply patches at an awkward angle.
- Replace before failure. Swap out adhesive proactively instead of waiting for it to fall off completely. This saves you time and frustration.
- Devices work best with habits. A posture corrector alone will not fix your posture. Pair it with stretching and strengthening exercises for real results.
Why Adhesive Gel Degrades Over Time
Adhesive gel on your posture corrector degrades because of several natural factors. Moisture and sweat break down the gel’s chemical structure over time. Your skin produces oils and perspiration throughout the day, and these liquids weaken the bond between the adhesive and your skin.
Heat also plays a role in degradation. Your body generates warmth, especially under the device. This heat causes the gel to soften and lose its grip. The adhesive becomes less sticky as the temperature rises against your skin.
Repeated stretching and movement accelerate the breakdown process. Each time you bend, twist, or move your torso, the adhesive experiences stress. The gel gets pulled and compressed, which damages its molecular structure. After many cycles of movement, the adhesive simply cannot hold as well.
Dead skin cells and debris accumulate on your skin surface. These particles create a barrier between the adhesive and your skin. The gel cannot bond properly when it sits on top of dead skin instead of making direct contact.
Time itself matters too. Even without movement or moisture, adhesive gel has a shelf life. The materials in the gel gradually lose their stickiness as days pass. Chemical reactions happen naturally, reducing the adhesive’s strength.
Environmental exposure speeds up degradation as well. Air, sunlight, and temperature changes all affect the gel’s performance. If you store your device in a warm place, the adhesive weakens faster.
Understanding these causes helps you take action before your corrector falls off completely. You can replace the adhesive before complete failure occurs. Regular maintenance keeps your device working effectively for better posture support throughout your day.
Signs Your Posture Corrector Adhesive Needs Replacing
Your posture corrector will show you clear warning signs when the adhesive needs replacing. Learning to spot these signals helps you fix the problem before your device falls off during the day.
The most obvious sign is reduced stickiness. Your corrector will shift or slide more easily than before. You might notice it moves when you bend forward or reach for something. This happens because the gel loses its grip strength over time.
Look for visible wear on the adhesive patch itself. The gel may appear dull, cracked, or flaky instead of smooth and shiny. Some patches develop a waxy or hardened surface that no longer grips skin effectively. You might see the edges starting to peel away from your skin or the device.
Pay attention to how long your corrector stays in place. If it used to last all day but now needs adjustment every few hours, your adhesive is degrading. The device may feel loose against your back even when you first apply it.
Check for skin irritation or discomfort. Failing adhesive sometimes causes rubbing or pulling sensations. This occurs because the device moves around more instead of staying firmly in one spot.
Your corrector might leave less of an adhesive residue on your skin at the end of the day. When the gel works properly, you typically see a faint outline where the patch sat. Minimal residue suggests the adhesive has lost its bonding power.
These signs tell you it is time to clean off the old adhesive and apply a fresh patch. Do not wait until your corrector falls off completely. Replacing the adhesive proactively keeps your device working effectively throughout your day.
Step-by-Step: Removing Old Adhesive Residue
Removing old adhesive residue is the foundation of fixing your posture corrector. You must completely clear away the worn gel before applying anything new. Start by gently peeling the adhesive patch away from the device itself. Work slowly to avoid damaging the corrector’s surface underneath.
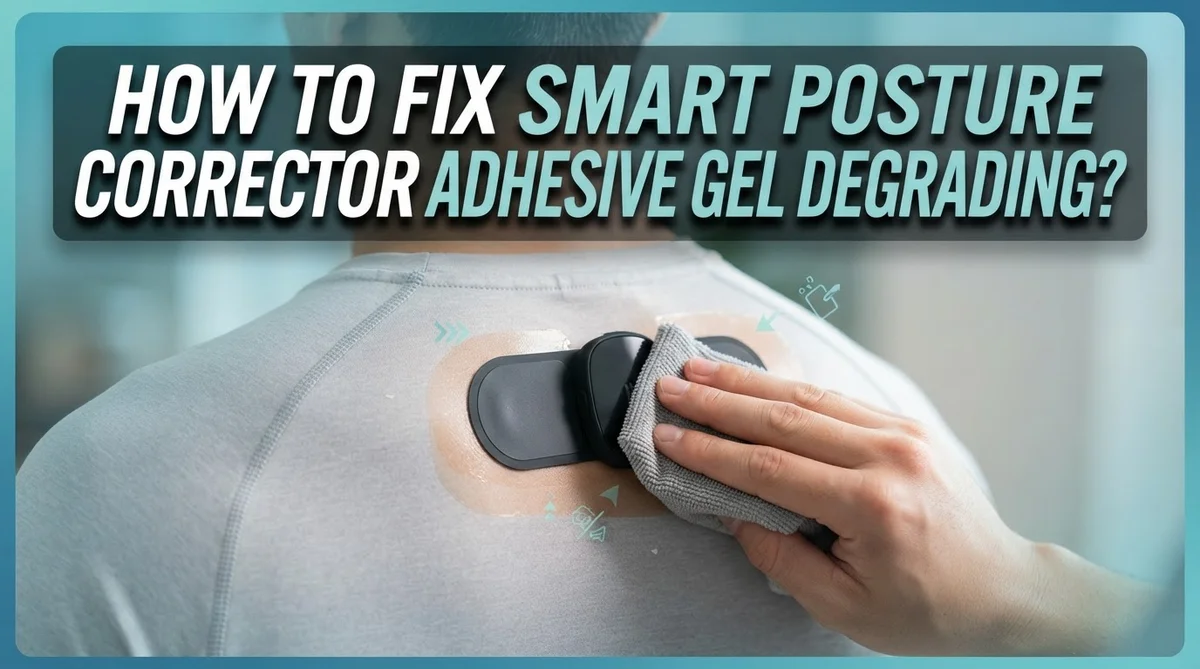
Once you remove the patch, residue will likely remain on your device. Use your fingernail or a plastic scraper to lift away dried adhesive bits. Warm water can help soften stubborn residue. Soak the back of your corrector for a few minutes, then gently rub the area with your finger. Pat it dry with a soft cloth.
Next, clean the skin area where your corrector attaches. Wash the spot with soap and water. Remove any dead skin cells or debris by gently rubbing the area. This step prevents new adhesive from sticking to dirt instead of your skin. Dry the skin completely before moving forward.
Inspect the corrector’s surface for any remaining sticky spots. Your device should feel smooth and clean. If you still see adhesive residue, repeat the warm water soak. Patience here pays off because old adhesive interferes with new patch bonding.
Check that your skin is also clean and dry. Moisture reduces adhesive strength significantly. Wait at least five minutes after washing before applying a fresh patch.
You are now ready to attach new adhesive. The corrector should feel clean to the touch. Your skin should feel dry and free of lotion or sweat. This preparation ensures your replacement adhesive will bond properly and keep your corrector in place throughout the day.
Step-by-Step: Applying a Fresh Adhesive Patch
Applying a fresh adhesive patch requires careful attention to detail. Start by gathering your new adhesive patch and ensuring you have a clean, dry workspace. Your hands should be clean and dry as well to avoid transferring oils or moisture to the adhesive.
Locate the white paper backing on your new adhesive patch. This protective layer keeps the adhesive from sticking to itself. Peel this backing away slowly and carefully. Set the backing aside as you will not need it again.
Position the adhesive patch on the back of your posture corrector. The patch should align with the area that contacts your skin. Press the patch firmly onto the device surface for at least 10 to 15 seconds to ensure proper bonding.
Apply steady, even pressure across the entire patch. Avoid pressing just the edges or center. Make contact with every section of the new adhesive. This step prevents weak spots that could cause premature peeling.
Allow the adhesive to set for a few minutes before wearing your corrector. Some adhesives require a short curing time to reach maximum stickiness. Check your specific patch instructions for any waiting period recommendations.
When you are ready to wear your corrector, remove any protective film if your patch includes one. Press the device firmly against your skin and hold it in place for several seconds. This initial contact helps the adhesive bond properly to your skin.
Test the adhesion by gently tugging on the corrector. It should feel secure and not shift easily. If it moves too much, press it down again for additional contact time. Your corrector should now stay in place throughout your wearing period.
Common Mistakes That Cause Premature Adhesive Failure
Many people damage their posture corrector adhesive before it naturally wears out. Understanding these common mistakes helps you keep your device working longer.
Using too little adhesive is the biggest error people make. They apply a thin layer thinking it will last longer, but this actually causes faster failure. The corrector needs full contact across the entire patch to stay secure. A thin application leaves gaps where moisture and movement break down the bond quickly.
Applying adhesive at the wrong angle prevents proper skin contact. Your corrector must sit flat against your skin. If you attach it crooked or at an angle, parts of the patch won’t touch your body. This creates weak spots that fail first, and your corrector shifts out of position.
Failing to clean your skin before application is another major mistake. Dead skin cells, sweat residue, and body oils create a barrier between the adhesive and your skin. Your corrector slides off because the patch never forms a true bond. Always wash and dry the area completely before applying new adhesive.
Choosing the wrong patch size causes adhesive failure too. If your patch is too small, it covers only part of your corrector’s contact surface. Too much movement happens at the edges, and the adhesive peels away. Make sure your patch dimensions match your device’s attachment area.
Reusing old adhesive patches is also problematic. Once you remove a patch, its stickiness is compromised. Applying the same patch again wastes time and money. Always use fresh adhesive for reliable performance and consistent wear time throughout your day.
Cleaning and Prepping Your Skin and Device for Better Adhesion
Your skin and device need proper preparation before you attach new adhesive. This step determines whether your corrector stays secure or fails within days.
Start by washing the skin area where your corrector attaches. Use warm water and mild soap to remove sweat, lotion, and dead skin cells. Pat the area completely dry with a clean towel. Moisture prevents adhesive from bonding properly, so this step matters more than most people realize.
Next, inspect your skin for any oils or residue. If you’ve worn your corrector for weeks, oils build up on your skin. Gently rub the contact area with a clean cloth to remove this buildup. Your skin should feel dry and slightly rough to the touch.
Now prepare your device. Remove all old adhesive residue from the back of your corrector. Use your fingernail or a plastic scraper to gently lift away dried gel. Wipe the surface with a dry cloth until it feels smooth and clean.
Check that both surfaces are completely dry before proceeding. Any moisture or residue creates a weak bond.
Examine the corrector’s back surface for damage or wear. If the material feels rough or damaged, the new adhesive won’t adhere well. A smooth, clean surface is essential.
Wait at least 5 minutes after cleaning before applying new adhesive. This allows any remaining moisture to evaporate completely. Your skin temperature should also return to normal.
These preparation steps take just 10 minutes but dramatically improve adhesive performance. Rushing through this stage causes most adhesive failures people experience.
Proactive Maintenance to Extend Adhesive Lifespan
Your posture corrector’s adhesive gel works best when you take action before problems start. Proactive maintenance means replacing your adhesive patch before it completely fails. Most people wait until their corrector falls off, but this approach causes unnecessary frustration.
Check your adhesive every two weeks. Look for signs of weakening like slight peeling at the edges or reduced stickiness. These early warnings tell you replacement time is approaching. Don’t ignore them.
Replace your adhesive on a regular schedule rather than waiting for failure. If your corrector typically lasts four weeks before losing grip, plan to change the patch at week three. This prevents your device from detaching during the day.
Store your corrector in a clean, dry place between uses. Moisture and dust reduce adhesive lifespan significantly. Keep it away from direct sunlight, heat sources, and humid bathrooms. A simple drawer or shelf works perfectly.
Rotate between multiple adhesive patches if possible. This gives each patch time to rest and recover its stickiness. Constant wear degrades adhesive faster than intermittent use.
Inspect the back of your corrector regularly. Remove any old adhesive residue completely before applying new patches. Built up layers of old adhesive prevent new patches from bonding properly.
Keep extra adhesive patches on hand at all times. Running out forces you to skip wearing your corrector or use damaged patches. Having backups ensures you maintain consistent use without interruption.
Track when you apply each new patch. Write the date on your calendar or set a phone reminder. This simple habit prevents you from forgetting replacement schedules and keeps your corrector functioning at peak performance throughout its entire lifespan.
Troubleshooting Persistent Adhesion Problems
When your posture corrector’s adhesive gel starts degrading, the device loses its grip on your skin. This happens because the gel breaks down from sweat, friction, and repeated application cycles. Understanding what causes this problem helps you fix it faster.
Degradation occurs gradually. You might notice the corrector shifting during the day or peeling at the edges. Some people experience complete adhesive failure overnight. The gel’s sticky properties weaken when exposed to moisture, heat, and constant movement.
Environmental factors speed up degradation. Humidity accelerates gel breakdown significantly. Sweat from workouts or warm weather weakens the bond faster. Even sleeping in your corrector can reduce adhesive lifespan because body heat and moisture combine to damage the gel.
Age of the adhesive matters too. Older patches lose their stickiness naturally over time. The gel becomes less tacky and more brittle as weeks pass. Most adhesive patches work best during their first two to three weeks of use.
Your skin condition affects how long adhesive lasts. Dead skin cells create a barrier between the gel and your skin. Lotions or oils on your skin surface prevent proper adhesion. Sweat residue also interferes with the bond strength.
The corrector’s back surface plays a role as well. Dust, lint, or old adhesive residue prevents new gel from sticking properly. Damage to the device’s backing reduces adhesion quality.
Understanding these degradation causes helps you prevent problems. You’ll know when replacement is necessary and why it happens. This knowledge guides your maintenance routine and keeps your corrector functioning reliably. Regular inspection catches degradation early before complete failure occurs.
Final Thoughts
Fixing adhesive gel problems does not need to be complicated. Clean surfaces and fresh patches solve most issues right away.
Remember the core process. Remove old adhesive completely. Peel the backing off your new patch. Attach it firmly to your device.
Skip these steps and your corrector will keep slipping. That defeats the whole purpose of wearing it.
Small mistakes cause big problems. Using too little adhesive is one common error. Applying the patch at an odd angle is another.
Skin debris also ruins adhesion. Always clean the contact area before you attach anything new. This single habit prevents most sticking failures.
Patch size matters too. A patch that does not match your device will not bond properly. Check the size before you apply it.
Think about maintenance as an ongoing task, not a one time fix. Clean your device often. Remove dead skin near the contact area. Swap out adhesive before it fails completely.
This proactive approach saves you time and frustration. You avoid sudden failures during your day.
Keep your expectations realistic, too. A posture corrector helps you build better habits. It works best alongside stretches and strengthening exercises.
Experts note that the device alone will not fix your posture forever. Pair it with good habits for lasting results.
Fixing adhesive gel degradation comes down to three things. Clean properly. Replace patches on schedule. Combine your corrector with healthy movement habits.
Follow these steps consistently. Your posture corrector will stay in place, and you will get real value from wearing it every day.
Frequently Asked Questions
Why does my posture corrector adhesive gel stop working?
Adhesive gel degrades because of sweat, body heat, and daily wear. Your skin naturally produces oils and dead cells that break down the stickiness over time. Environmental humidity also weakens the bond. The gel simply loses its grip after repeated use, which is completely normal and expected.
How often should I replace the adhesive patch?
Most adhesive patches last between two to four weeks with daily use. Your replacement schedule depends on how much you sweat and your skin type. If you notice the corrector shifting or peeling at edges, that’s your signal to apply fresh adhesive. Don’t wait for complete failure to replace it.
What’s the correct way to apply new adhesive?
First, remove all old adhesive residue from the device back. Clean your skin thoroughly and remove any dead skin or cuticles from the contact area. Peel the white paper backing from your new adhesive patch. Press the patch firmly onto the corrector back, then wear it on clean, dry skin. Hold it in place for several seconds to ensure proper bonding.
Can I reuse old adhesive patches?
No, old patches lose their stickiness permanently. Once adhesive degrades, it won’t regain its grip. Reusing worn patches wastes your time and frustrates you. Always use fresh adhesive for the best results. Keep extra patches available so you’re never caught without a working corrector.
Does skin type affect how long adhesive lasts?
Yes, it does. Oily skin breaks down adhesive faster than dry skin. People who sweat heavily experience shorter adhesive lifespan. Sensitive skin may react differently to adhesive materials. Track how long patches last for your specific skin type to plan replacements better.