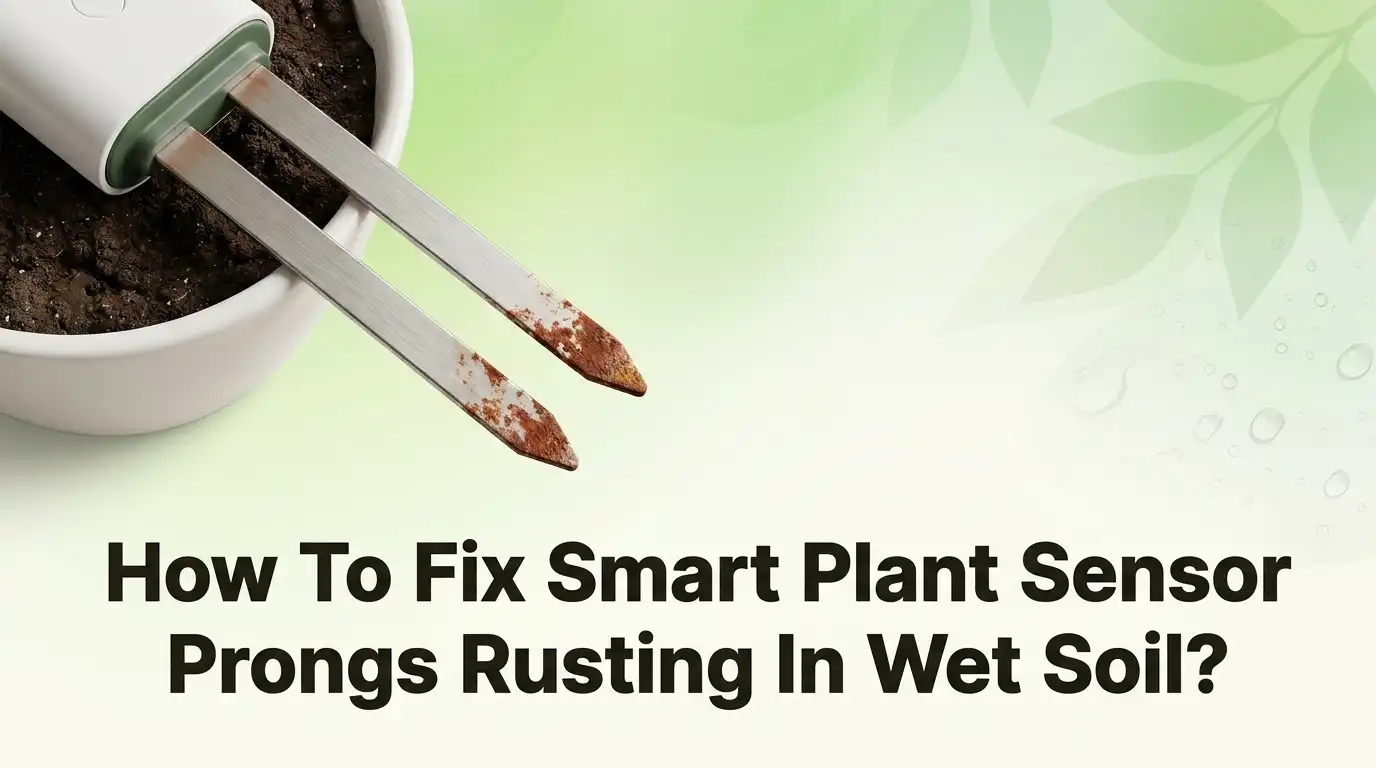
How To Fix Smart Plant Sensor Prongs Rusting In Wet Soil?
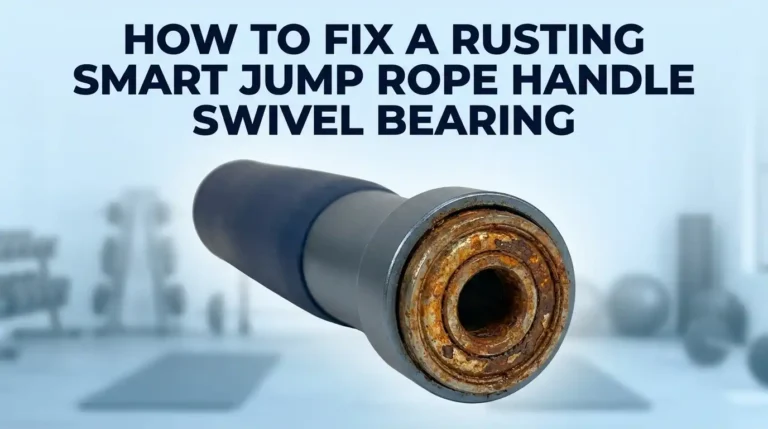
Do your smart plant sensor prongs look rusty and worn? You are not alone. This is a common problem for anyone using these handy garden tools.
Wet soil creates the perfect environment for corrosion. Constant moisture attacks metal prongs over time. This is especially true for resistive probe sensors.
The good news? You can fix this problem and even prevent it from happening again.
This guide will show you exactly how to handle sensor rust. We will cover simple cleaning steps that remove buildup and restore function.
In a Nutshell
- Corrosion is common: Wet soil and constant moisture cause metal prongs to rust over time. This is a normal reaction, not a defect.
- Sensor type matters: Capacitive sensors resist corrosion better than resistive probe sensors. Choose capacitive types for consistently damp soil.
- Gentle handling helps: Avoid scraping the sensor against rocks or hard soil. Rough insertion and removal speed up wear and damage the metal coating.
- Regular cleaning is key: Wipe off soil buildup often. This simple step keeps prongs clear and slows rust formation.
- Watch your readings: Bad or inconsistent readings often signal corrosion. Check numbers monthly to catch problems early.
- Know when to replace: If cleaning does not fix unreliable readings, the sensor may need replacing. Do not wait too long once performance drops.
Why Smart Plant Sensor Prongs Rust in Wet Soil
Rust forms on smart plant sensor prongs because metal reacts with oxygen and moisture in wet soil. This chemical process happens naturally over time, especially when soil stays constantly damp.
Oxygen and water are the main culprits. When metal prongs sit in moist soil, oxygen dissolves into the water and attacks the metal surface. This creates iron oxide, which you see as rust or brown discoloration on the prongs.
The soil itself speeds up corrosion. Acidic soils accelerate rust formation faster than neutral soils. Salt content in the soil also plays a role. If your soil contains minerals or salt deposits, corrosion happens more quickly.
Different sensor types rust at different rates. Resistive probe sensors have exposed metal contacts that touch the soil directly. This design makes them more vulnerable to rust. Capacitive sensors use a different technology that keeps metal parts more protected from soil contact, so they resist corrosion better in wet environments.
Your watering schedule matters too. Sensors in constantly wet soil corrode faster than those in moderately moist soil. If you water daily or keep soil soggy, your sensor faces more rust risk.
Bacteria and fungi in soil can contribute to corrosion. Microorganisms in wet soil produce acids that eat away at metal surfaces. This biological activity speeds up the rust process beyond simple chemical oxidation.
Temperature changes also affect rust formation. Warm, wet soil creates ideal conditions for rapid corrosion. Cold, wet soil rusts more slowly but still experiences degradation over time.
Understanding these causes helps you prevent rust before it starts. You cannot stop moisture in soil, but you can choose the right sensor type and maintain it properly. Monthly inspections catch early rust signs before they damage your sensor’s ability to read soil moisture accurately.
Capacitive vs Resistive Sensors: Which Handles Moisture Better
Capacitive sensors and resistive sensors handle moisture very differently. Understanding these differences helps you pick the right tool for wet soil environments.
Resistive sensors work by measuring electrical resistance. They have two metal prongs that touch the soil directly. When soil gets wet, water fills the spaces between soil particles. This water conducts electricity between the prongs. The sensor reads this conductivity as moisture level. The problem? Those metal prongs stay in constant contact with wet soil. This direct exposure causes rust to form faster.
Capacitive sensors use a different approach. They measure electrical capacitance instead of resistance. A capacitive sensor has a protective coating around its sensing element. This coating keeps the metal parts away from direct soil contact. Water still affects the reading, but the metal stays safer. The protective layer acts like a shield against corrosion.
In wet soil, capacitive sensors perform better. They resist rust longer because the coating reduces direct metal exposure. Resistive sensors corrode more quickly in the same conditions. If you live in a rainy climate or water frequently, capacitive sensors are the smarter choice.
Both sensor types need maintenance. Even capacitive sensors can fail if you ignore them. Clean both types regularly to remove soil buildup. Check your readings monthly to catch problems early.
The key difference is this: resistive sensors sacrifice durability for simplicity. They are cheaper and easier to understand, but rust becomes an issue faster. Capacitive sensors cost more but last longer in wet conditions. They handle moisture stress better because of their design.
If rust is already a problem with your current sensor, switching to a capacitive model prevents future issues. Your soil type and watering habits determine which sensor type works best for your situation.
Step-by-Step: Cleaning and Restoring Rusted Sensor Prongs
Start by removing your sensor from the soil carefully. Do not twist or force it out, as rough handling can damage the prongs further. Once removed, gently rinse the sensor under clean running water to loosen dried soil.
Use a soft brush or old toothbrush to scrub away soil buildup from the metal prongs. Work gently in circular motions. Do not use wire brushes or abrasive materials, as these can scratch protective coatings.
For light rust spots, soak the sensor prongs in white vinegar for 15 to 30 minutes. The acid in vinegar helps dissolve rust without harming the sensor body. After soaking, use your soft brush again to gently scrub away loosened rust particles.
Rinse thoroughly with clean water after vinegar treatment. Pat the sensor dry with a soft cloth. Make sure no moisture remains on the prongs before reinserting.
Inspect the prongs closely for deep rust pitting or damage. If rust has created holes or severe pitting, cleaning alone may not restore function. Your sensor may need replacement at this point.
Before reinserting the sensor, check that your soil is not waterlogged. Overly wet soil accelerates rust formation. Allow soil to dry slightly between waterings if possible.
Reinsert the sensor into soil at the correct depth. Use the manufacturer’s guidelines for proper insertion. Avoid pushing the sensor through rocks or hard soil, which can scratch protective coatings.
Test your sensor’s readings immediately after reinsertion. Compare moisture readings to how the soil actually feels. Unreliable readings after cleaning suggest internal corrosion has progressed too far.
Create a monthly maintenance schedule for cleaning. Regular upkeep prevents rust from advancing. Monthly inspections catch problems early, before your sensor stops working completely.
Keep detailed notes about your sensor’s performance over time. Track when readings become inconsistent or drift from accuracy. This helps you identify corrosion progression and plan for replacement when needed.
How to Recalibrate Your Sensor After Cleaning
After you clean your sensor prongs, recalibration ensures accurate moisture readings. This step matters because rust removal changes how your sensor responds to soil conditions.
Start by gathering reference materials. You need a dry soil sample and a wet soil sample. Dry soil should have almost no moisture. Wet soil should feel damp but not waterlogged. These samples help you set your sensor’s baseline measurements.
Place your cleaned sensor into the dry soil sample first. Wait two to three minutes for the reading to stabilize. Record this number as your “dry point.” Your sensor should show a low moisture value here. If it doesn’t, the sensor may have internal damage beyond cleaning.
Next, insert the sensor into your wet soil sample. Again, wait for the reading to settle. Record this as your “wet point.” Your sensor should display a higher moisture value now. The difference between dry and wet points tells you if recalibration worked.
Check your sensor’s manual for specific calibration instructions. Most devices have a reset button or menu option. Some sensors recalibrate automatically when you restart them. Others require manual adjustment through an app or control panel. Follow your manufacturer’s exact process to avoid errors.
Test your sensor in actual garden soil after recalibration. Monitor readings for the next few days. Accurate sensors show moisture changes as you water. If readings seem wrong or don’t change, repeat the recalibration process.
Mark your calendar for monthly recalibration checks. Regular recalibration prevents small errors from becoming big problems. This habit keeps your sensor giving you reliable data. Consistent maintenance extends your sensor’s lifespan significantly.
If recalibration doesn’t fix the problem, your sensor may need replacement. Deep rust damage sometimes makes sensors unusable no matter how much you clean them.
Best Practices for Inserting and Removing Sensors Without Damage
When you insert and remove your sensor, gentle handling protects the prongs from damage that makes rust worse. Avoid twisting or scraping the sensor against hard soil clumps or rocks. Push straight down into soft soil instead of forcing it through compacted earth.
Before insertion, check your soil moisture level. Overly wet or waterlogged soil accelerates rust formation on metal prongs. If your soil stays soggy, wait a few days or improve drainage before placing your sensor.
Insert the sensor to the depth your manual specifies. Most sensors work best at 2 to 4 inches deep. Pushing too far stresses the prongs and creates micro cracks where rust starts.
When removing your sensor, pull straight up slowly and steadily. Don’t wiggle or rock it side to side. Rough extraction damages the protective coating on the prongs and exposes bare metal to moisture.
After removal, gently clean away soil immediately. Dried soil becomes harder to remove and requires more scrubbing, which damages the prongs further. Use your fingers or a soft brush to wipe away loose dirt.
For reinsertion, use native soil from your garden when packing around the sensor. This prevents air pockets that trap moisture against the metal. Pack soil gently around the prongs without forcing it.
Store your sensor in a dry place when not in use. Never leave it sitting in wet soil for weeks without checking. Constant moisture exposure speeds up rust development.
Check your readings weekly for signs of sensor degradation. Sudden jumps in moisture readings or erratic numbers mean rust is affecting performance. Early detection lets you clean the sensor before damage becomes permanent.
Keep a simple log of your insertion and removal dates. This helps you spot patterns in when rust develops. Some soil types or seasons may cause faster corrosion than others.
Common Mistakes That Speed Up Prong Corrosion
Rough handling during insertion and removal ranks as the top mistake people make. When you force a sensor into hard soil or yank it out quickly, you create tiny scratches on the metal prongs. These scratches become entry points for rust to start spreading faster.
Ignoring early warning signs is another costly error. Your sensor might show strange readings or skip measurements. Many people assume the device is broken and replace it. In reality, early corrosion is happening, and simple cleaning could fix the problem.
Infrequent maintenance schedules allow rust to progress unchecked. If you wait months between cleanings, corrosion spreads deeper into the metal. Monthly checks catch problems when they’re still manageable. Waiting too long means the damage becomes permanent.
Using the wrong sensor type for your soil conditions speeds up rust significantly. Resistive probe sensors corrode much faster in constantly wet soil compared to capacitive sensors. If your garden stays soggy, the sensor type matters greatly for longevity.
Leaving your sensor in waterlogged soil without breaks accelerates corrosion dramatically. Constant moisture exposure with no dry periods creates an ideal environment for rust. Your sensor needs occasional breaks from wet soil to slow the process.
Scraping the sensor against rocks or rough soil surfaces during insertion damages the protective coating. Once that coating is compromised, rust develops quickly underneath. Always insert slowly and carefully, feeling for resistance rather than pushing hard.
Storing your sensor in damp locations between uses invites rust even when the device isn’t working. A dry storage spot dramatically extends the life of your prongs. Keep your sensor in a cool, dry place when not actively monitoring your plants.
Skipping the rinsing step after cleaning leaves soil residue on the prongs. This trapped moisture continues the corrosion process even after you’ve cleaned the visible rust. Always rinse completely with clean water and dry the prongs before storage.
Troubleshooting Persistent Rust and Unreliable Readings
When rust appears on your sensor prongs despite regular cleaning, you’re dealing with persistent corrosion that requires a different approach. Unreliable readings often signal that rust has penetrated deeper than surface level.
Start by examining your readings closely. If moisture values jump around randomly or stay stuck at the same number, corrosion is likely affecting the electrical connection between the prongs and your device’s circuitry. This happens because rust creates a barrier that blocks accurate moisture detection.
Clean your sensor more aggressively at this stage. Use a soft brush or cloth with gentle rubbing motions. For stubborn rust spots, a slightly damp cloth works better than a dry one. Avoid wire brushes or abrasive materials, as these can damage what remains of the protective coating.
After cleaning, recalibrate your sensor immediately. Rust buildup changes how the device reads soil conditions, so old calibration settings no longer work correctly. Run your sensor through both dry and wet soil samples again. This resets the baseline measurements your device uses.
If readings still remain unreliable after recalibration, your sensor may have reached the end of its useful life. Extensive corrosion means the prongs can no longer make consistent electrical contact with the soil. At this point, replacement becomes more practical than continued troubleshooting.
Monitor your readings weekly going forward. Catch degradation early before it becomes severe. Set a phone reminder for monthly maintenance checks. This prevents rust from sneaking up on you again.
Consider your sensor’s location too. If you’re using a resistive probe type in constantly waterlogged soil, switch to a capacitive sensor for your next device. Capacitive sensors resist moisture damage far better in wet environments. Your specific soil conditions should match your sensor technology.
Final Thoughts
Rust on your smart plant sensor prongs is a common problem. But it does not have to ruin your gardening setup.
Simple habits make the biggest difference. Gentle handling, regular cleaning, and proper storage all extend your sensor’s life significantly.
Wet soil naturally causes corrosion over time. This happens because moisture and metal react constantly. You cannot stop this chemical process completely, but you can slow it down.
Capacitive sensors handle wet conditions better than resistive probe types. If you garden in consistently damp soil, this sensor type serves you better long term.
Watch your readings closely each week. Erratic numbers or sudden jumps often signal that corrosion has started affecting sensor accuracy.
Clean your prongs after every use. Skipping this step allows soil particles to trap moisture against the metal surface longer.
Recalibration matters just as much as cleaning. A rusted sensor that goes uncalibrated will give you false readings even after you remove the buildup.
Sometimes rust wins despite your best efforts. When cleaning and recalibration stop fixing the problem, your sensor has reached its natural end point.
That is a normal outcome, not a failure on your part. Electronic garden tools have a lifespan, and prong corrosion is part of that cycle.
Think of maintenance as ongoing care rather than a one time fix. Your sensor works best when you treat it gently and check it often.
Small actions add up over months of use. Clean insertion, careful removal, and dry storage all work together to fight corrosion.
Your plants depend on accurate moisture data to thrive. Keeping your sensor prongs in good shape means better information for every watering decision you make.
With steady attention, your smart plant sensor can serve your garden reliably for a long time.
Frequently Asked Questions
Why does my sensor rust even when I clean it regularly?
Rust happens naturally in wet soil. Your sensor prongs sit in moisture constantly, which causes oxidation over time. This is especially true for resistive probe types. Even with regular cleaning, some corrosion is unavoidable. The key is slowing it down, not stopping it completely. Think of cleaning as maintenance that extends your sensor’s life, similar to how you maintain other outdoor tools.
How can I tell if rust is affecting my sensor readings?
Bad readings are your first clue. If your soil moisture numbers seem off or jump around unexpectedly, rust may be building up on the prongs. Compare your sensor’s data to what you observe in your soil. If the readings don’t match reality, corrosion is likely the culprit. Another sign is when your sensor stops responding quickly to soil changes. Rust creates a barrier that blocks accurate moisture detection.
What’s the difference between capacitive and resistive sensors for rust?
Capacitive sensors handle wet environments much better than resistive probes. Resistive sensors use metal prongs that contact soil directly, which speeds up rust formation. Capacitive sensors use a different method and resist corrosion longer. If you live in a very wet climate or have constantly moist soil, a capacitive sensor may serve you better long term.
Should I replace my sensor or keep cleaning it?
Replace your sensor when cleaning and recalibration no longer fix the problem. If readings stay unreliable after you’ve cleaned thoroughly and recalibrated, your sensor has reached the end. Most sensors last several months to a year with proper care before rust wins. That’s normal wear, not a failure on your part.