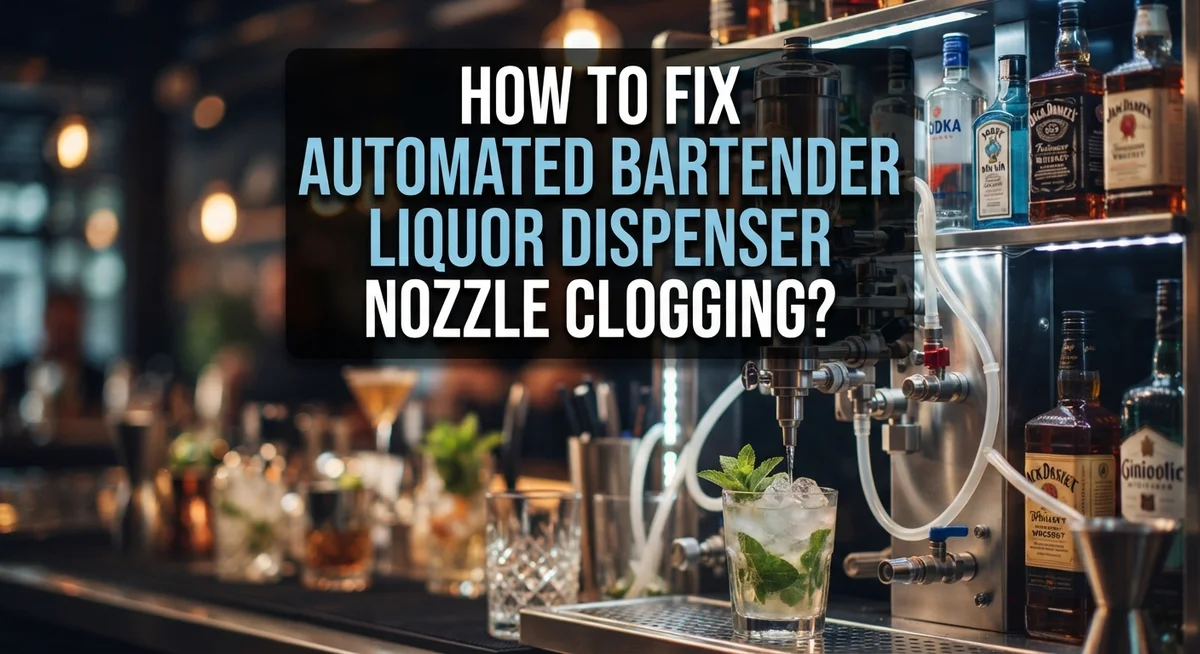
How To Fix Automated Bartender Liquor Dispenser Nozzle Clogging?
Your automated bartender should pour a perfect drink every time. But then it happens. The nozzle sputters. Liquid dribbles out instead of flowing smoothly. Sometimes nothing comes out at all.
This is a common problem. Sugary mixers and syrupy liquors dry up inside the nozzle. They turn into a sticky, paste like buildup. Some people call this “nozzle snot.”
The good news? You can fix this issue yourself. You don’t need to call a repair technician or buy a new machine.
This guide walks you through the entire process. You will learn why clogging happens in the first place. We cover simple prevention tips to stop buildup before it starts.
You will also get clear, step by step instructions to clean a clogged nozzle. We explain how to inspect your pump mechanism too. And if cleaning alone doesn’t work, we show you when a pump replacement makes sense.
By the end, you will know exactly how to keep your dispenser running smoothly. No more sticky nozzles. No more wasted drinks. Just smooth, consistent pours every single time.
In a Nutshell
Here is a quick summary if you are short on time.
-
The main cause is liquid drying inside the nozzle. This creates a sticky, paste-like buildup that blocks the flow.
-
Regular cleaning stops this problem before it starts. A quick rinse after use keeps the nozzle clear.
-
Diluting thick liquids helps too. Thinner liquids dry slower and leave less residue behind.
-
To fix a clog, you must disassemble the nozzle first. Then clean each part with warm water.
-
Always check the pump mechanism after cleaning. A damaged pump often mimics a clogging issue.
-
If your dispenser is electronic, clean the battery contacts. Use a cotton swab with rubbing alcohol for this step.
-
Test the dispenser after every fix. This confirms the flow is smooth and steady again.
-
Proper storage matters just as much as cleaning. It stops evaporation and keeps liquids fresh longer.
Follow these steps, and your automated bartender will pour perfect drinks again. Consistent care is the real secret to avoiding future clogs.
Why Automated Liquor Dispenser Nozzles Clog
Automated liquor dispensers clog because of how alcohol and other liquids behave inside the nozzle. When liquid sits in the nozzle, it starts to evaporate. This leaves behind sugars, oils, and other ingredients that stick to the walls.
Over time, these sticky substances build up and harden. They form a paste like material that blocks the flow. This happens faster with thick liqueurs, syrups, and creamy drinks than with thin spirits.
Heat speeds up this process significantly. If your dispenser sits in a warm bar or gets direct sunlight, evaporation happens much quicker. Humidity also plays a role because it affects how fast liquids dry out.
Some liquids are worse than others. Drinks with high sugar content clog more easily. Cream based liqueurs and thick cordials are frequent culprits. Even regular spirits can clog if they contain additives that crystallize.
Air exposure is a major factor too. Every time you use the dispenser, air enters the nozzle. This air causes evaporation inside the tube and nozzle opening. The longer the liquid sits between uses, the more it dries.
Residue buildup happens in layers. The first thin coat of dried liquid is hard to see. But each day, more evaporation occurs. Soon you have a thick crust blocking the nozzle completely.
The pump mechanism also matters. If the pump doesn’t create a strong seal when idle, air leaks in constantly. This causes faster evaporation than normal. A weak pump makes clogging inevitable.
Bacteria and mold can grow in dried liquid too. This makes the clog harder and more stubborn. It also creates unpleasant odors and tastes in drinks.
Understanding these causes helps you prevent clogs. You now know why they happen and what speeds up the process. This knowledge guides your cleaning and storage choices going forward.
Signs Your Dispenser Nozzle Is Clogged
Your dispenser will show clear warning signs before a complete failure happens. Watch for these indicators to catch clogs early.
Weak or slow pour is the first sign you notice. Liquid comes out in a thin stream instead of a full, steady flow. This happens when dried residue narrows the nozzle opening. The pump still works, but pressure cannot push liquid through properly.
Sputtering or spitting occurs when air pockets form inside the clogged nozzle. Your dispenser releases liquid in bursts rather than a smooth stream. You might see foam or bubbles in your drink. This mess signals that buildup is blocking the passage.
No liquid comes out at all means the clog is severe. You press the button and nothing happens. The pump may run, but the blockage stops all flow completely. This is the most obvious sign of a serious problem.
Dripping from the nozzle tip shows that liquid pools inside the clogged opening. Gravity pulls it down slowly instead of the pump pushing it out. You might see dried, crusty buildup around the nozzle opening. This crusty material is the paste like substance that forms when liquor dries.
Strange sounds from the pump indicate mechanical strain. You hear grinding, clicking, or whirring noises. The pump works harder to push liquid through the blockage. This extra effort can damage the pump over time.
Inconsistent portions mean some drinks pour full while others pour weak. This happens when the clog partially blocks flow. One pour might work fine, but the next one fails. This unpredictable behavior frustrates bartenders and customers alike.
Check your dispenser daily for these signs. Early detection saves you time and prevents pump damage. A slow pour today becomes a complete failure tomorrow if you ignore it.
Step-by-Step Guide to Cleaning a Clogged Nozzle
Start by turning off your dispenser and unplugging it from the power source. Safety comes first, and you need to prevent accidental liquid spray while working.
Locate the nozzle assembly on your dispenser. Most models have a removable nozzle that twists or pulls straight out. Gently turn it counterclockwise or pull it away from the main unit. If it resists, apply gentle pressure and wiggle slightly side to side.
Once removed, hold the nozzle under warm running water. Let the water flow through the opening for about 30 seconds. This initial rinse removes loose buildup and prepares the nozzle for deeper cleaning.
Fill a small cup with warm water and add a few drops of dish soap. Submerge the nozzle completely and let it soak for 15 to 20 minutes. This softens the dried liquid residue and makes it easier to remove.
After soaking, use a soft brush or old toothbrush to gently scrub the nozzle opening. Work in circular motions around the tip and sides. Be careful not to damage the internal spray mechanism. Rinse thoroughly under warm water again.
For stubborn clogs, soak the nozzle in equal parts warm water and white vinegar for 30 minutes. The acidity helps dissolve crystallized buildup that soap alone cannot remove. Scrub gently again, then rinse well.
Inspect the nozzle opening with a flashlight. You should see a clear, open passage. If you still see residue, repeat the vinegar soak and scrubbing.
Before reattaching, check the pump mechanism where the nozzle connects. Wipe away any dried liquid or debris with a damp cloth. This prevents the clog from returning immediately.
Twist or press the nozzle back into place firmly. Ensure it is seated completely so no liquid leaks around the connection. Plug the dispenser back in and test with water first before using alcohol again.
Inspecting and Repairing the Pump Mechanism
The pump mechanism is the heart of your dispenser. This part pushes liquid up through the nozzle. When clogs form, the pump works harder than normal. You need to inspect it carefully.
Start by looking at where the nozzle connects to the pump. Gently wiggle the nozzle while it’s still attached. Does it move freely or feel stuck? A stuck connection means the pump seal may be damaged.
Remove the nozzle completely and look inside the pump opening. You should see a small tube or valve. Shine a flashlight into this area to spot any dried liquid or debris. Use a clean cloth to wipe away visible buildup around the pump entrance.
Check if the pump makes a clicking or humming sound when powered on. A silent pump suggests the motor is failing. A loud grinding noise means internal parts are damaged from strain.
Fill a cup with warm water mixed with dish soap. Submerge just the pump connection area (not the motor) for 5 to 10 minutes. This softens stubborn residue. Use a soft brush to clean the pump intake carefully.
After cleaning, reconnect the nozzle and test the dispenser. Pour a small amount of liquid into a cup. Watch for weak flow or sputtering. If problems continue, the pump assembly likely needs replacement.
Important tip: Never force the pump or nozzle. Forcing them can crack internal seals and make the problem worse. Work slowly and gently.
If the pump still fails after cleaning, the internal valve or motor is probably damaged beyond repair. Most dispensers have replaceable pump units. Consult your dispenser manual for the correct replacement part specifications. Testing after each maintenance step helps you know exactly when the pump needs professional service or replacement.
Preventing Future Nozzle Clogs
Preventing future nozzle clogs keeps your automated bartender dispenser working smoothly. The best defense is understanding what causes clogs in the first place.
Dilute your liquids slightly to slow down drying time inside the nozzle. Thicker drinks like syrups and creams dry faster and form stubborn pastes. Adding a small amount of water reduces evaporation without affecting taste significantly. This simple step cuts clogging incidents dramatically.
Establish a regular cleaning schedule. Clean your nozzles every few days if you use the dispenser frequently. Weekly cleaning works for light users. Mark your calendar so you never forget. Consistent maintenance prevents buildup from hardening into difficult clogs.
Store your dispenser in a cool, dry location. Heat speeds up evaporation and crystallization inside the nozzle. Keep it away from direct sunlight and warm appliances. Proper storage conditions extend the time between cleanings.
Empty your dispenser when not in use for extended periods. Leaving liquid sitting inside overnight or over weekends allows it to dry and harden. Simply run water through the system to flush out remaining liquid. This takes two minutes and saves hours of troubleshooting later.
Check battery contacts if your dispenser is electronic. Corrosion on battery terminals reduces power to the pump, causing weak flows that allow liquid to pool and dry. Wipe contacts monthly with a cotton swab and rubbing alcohol.
Inspect your pump assembly regularly. Look for cracks or damage where the nozzle connects. A damaged pump cannot create proper pressure, leading to poor flow and clogging.
Keep the nozzle opening free from dust and debris. Cover your dispenser when not in use. Particles entering the nozzle create starting points for clogs.
These prevention steps take minimal effort but deliver maximum results. You’ll spend less time fixing clogs and more time enjoying your dispenser.
Common Mistakes That Lead to Clogging
Most people don’t realize they’re causing clogs through everyday habits. The biggest mistake is leaving liquid sitting in the nozzle for too long. When you stop using your dispenser, residual liquid dries and hardens inside the opening. This creates a paste like buildup that blocks flow.
Another frequent error involves ignoring the dispenser for weeks or months. People assume these devices don’t need attention if they work fine. In reality, regular maintenance prevents most clogging problems before they start.
Improper storage creates major issues too. Storing your dispenser in hot locations speeds up evaporation. Heat causes liquids to dry faster and stick to nozzle walls. Humidity and temperature changes also affect how quickly residue hardens.
Many users make the mistake of using overly thick liquids without dilution. Dense syrups and heavy spirits clog faster than thinner solutions. They dry into stubborn blockages that simple rinsing won’t remove.
Neglecting the pump mechanism is another common oversight. People focus only on cleaning the nozzle tip. They miss the internal pump where clogs actually start forming. A blocked pump prevents liquid from reaching the nozzle at all.
Forcing the nozzle or pump during cleaning causes damage. People push too hard when trying to clear blockages. This cracks internal components and makes problems worse.
Battery contact neglect affects electronic dispensers significantly. Corrosion builds up on battery terminals, disrupting power flow. The pump then fails to operate, trapping liquid inside.
Empty dispensers sit unused for days without being cleaned. Leftover liquid hardens inside tubes and chambers. By the time you want to use it again, clogs have formed.
Finally, people skip creating a cleaning schedule. Without consistency, maintenance becomes random and incomplete. Regular cleaning takes minutes but saves hours of troubleshooting later.
Troubleshooting Persistent Dispenser Issues
When your automated bartender dispenser stops working properly, you need a clear plan to identify the real problem. Start by checking if liquid actually flows when you activate the nozzle. If nothing comes out, the issue is likely internal clogging or a mechanical failure.
Test the power source first if your dispenser is electronic. Press the activation button and listen for any sounds. A clicking or humming noise means the motor works. No sound suggests a dead battery or broken electrical connection. Replace batteries and check all connections before moving forward.
Next, examine the nozzle opening closely. Use a flashlight to look inside. You may see a thick, pasty buildup that looks like dried syrup or liquor. This paste forms when liquid evaporates and crystallizes inside the nozzle tube. It’s the most common cause of clogs in automated dispensers.
If you see visible buildup, soak the nozzle in warm water mixed with dish soap for 15 to 20 minutes. The warm liquid softens the dried material. After soaking, use a thin brush or pipe cleaner to gently scrub inside the nozzle opening. Work carefully to avoid damaging the internal valve.
Inspect the pump assembly next. Remove the nozzle completely and look into the pump opening. Check if any liquid has dried inside the pump chamber itself. Dried liquid here prevents the pump from pushing fresh liquid forward. Clean this area with a damp cloth or cotton swab.
If cleaning doesn’t restore flow after these steps, the pump valve may be permanently damaged. Internal valves can fail when exposed to thick liquids or prolonged drying cycles. At this point, you’ll need to replace the pump assembly.
Always test your dispenser after each cleaning step. This helps you identify exactly where the problem exists. Persistent issues after thorough cleaning usually point to mechanical failure requiring replacement parts.
Final Thoughts
Nozzle clogging happens to almost every automated bartender dispenser owner. It’s a normal part of owning this kind of machine. The good news is that you now know exactly how to handle it.
Most clogs come from one simple cause. Liquid dries inside the nozzle and turns into a sticky paste. This paste blocks the smooth flow of your drinks.
Fixing this problem does not require special skills. You just need patience and the right steps. Disassemble the nozzle, clean it well, and check the pump mechanism.
Prevention matters more than repair. A few small habits can save you hours of frustration later. Dilute thick liquids, clean often, and store your dispenser properly.
Think of your dispenser like a car. It needs regular care to keep running well. Skip the maintenance, and problems build up fast.
Consistency is the real secret here. A quick wipe or rinse after each use stops buildup before it starts. This small effort protects the nozzle and the pump both.
If your dispenser still fails after cleaning, don’t panic. The pump or valve might simply need replacing. This is a normal part of long term maintenance.
Remember to test your dispenser after every fix. This helps you confirm the problem is truly solved. It also saves you from repeating unnecessary steps.
Automated bartender dispensers make entertaining easier and more fun. A little upkeep keeps that convenience alive for years. You don’t need to be a technician to manage this task.
With the tips shared here, you can handle clogging with confidence. Clean nozzles mean better flow, better drinks, and less stress. Your dispenser will thank you with smooth, reliable pours every time you use it.
Frequently Asked Questions
Why does my liquor dispenser nozzle get clogged so easily?
Liquor clogs happen when liquid dries inside the nozzle and forms a thick, paste like buildup. This dried material blocks the opening and prevents liquid from flowing out. The problem gets worse if you store your dispenser in warm places or leave it unused for long periods.
Evaporation speeds up the drying process. Alcohol content in liqueurs makes them evaporate faster than water based drinks. Even a few days of sitting idle can cause enough residue to block your nozzle.
How often should I clean my automated bartender dispenser?
Clean your dispenser at least once per week if you use it regularly. This stops dried liquid from building up inside the nozzle and pump mechanism.
If you use it daily, clean it every 2 to 3 days. For dispensers that sit unused for weeks, clean them before and after each use. Regular cleaning takes just 15 to 20 minutes and prevents most clogging problems.
Can I use hot water to clean a clogged nozzle?
Yes, warm water works well for cleaning. Mix warm water with a small amount of dish soap, then soak your nozzle for 15 to 20 minutes. The soap helps break down sticky residue.
Use a soft brush or cloth to gently wipe away buildup. Avoid scrubbing too hard, as this can damage the nozzle opening. Rinse thoroughly with clean water and let it dry completely before reassembling.
What should I do if cleaning doesn’t fix the clog?
Inspect your pump assembly next. The internal valve might be stuck or damaged. You may need to replace the pump mechanism if cleaning fails to restore flow.
Test your dispenser after each cleaning step to track your progress.