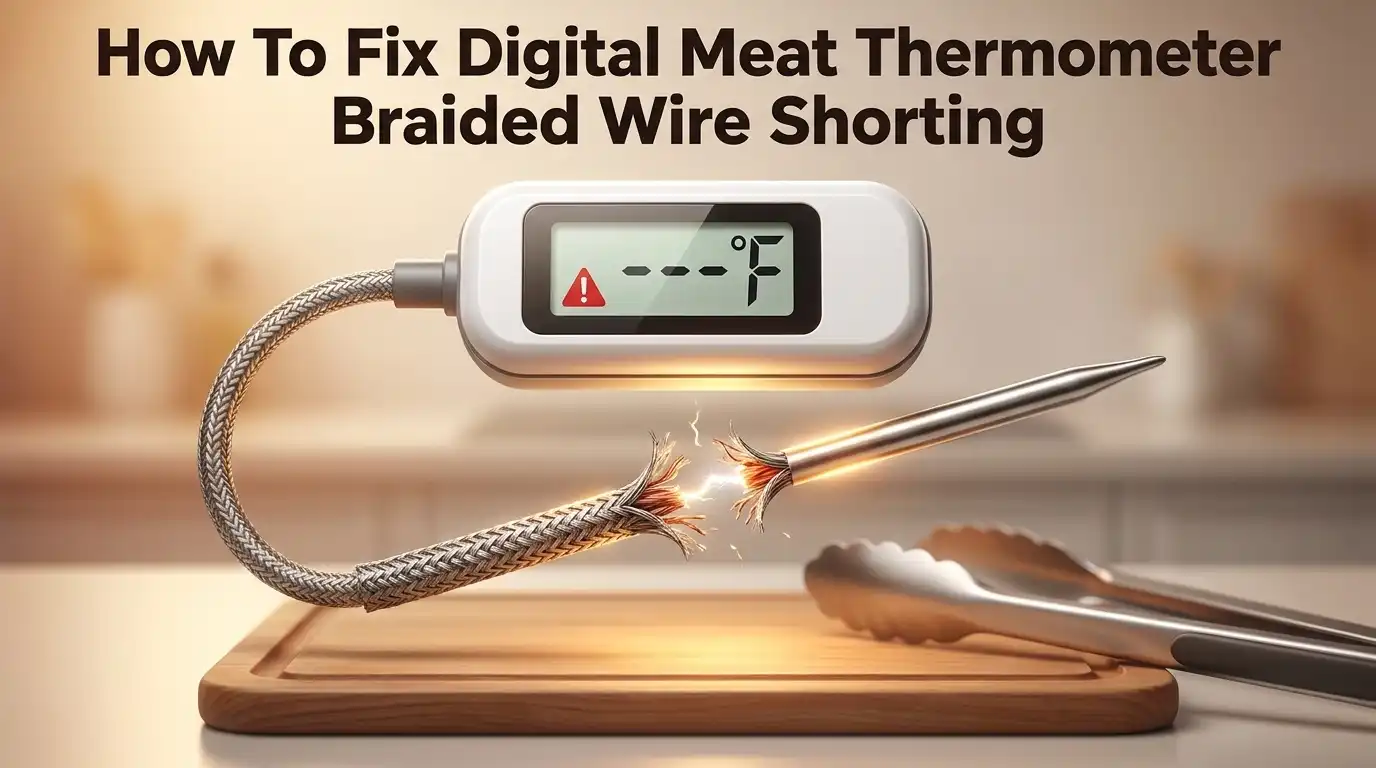
How To Fix Digital Meat Thermometer Braided Wire Shorting?
Your digital meat thermometer suddenly shows odd numbers or no reading at all. This often points to a shorting problem in the braided wire. It sounds technical, but you can actually understand and fix it with some patience.
The braided wire inside your probe is thin and delicate. Heat, bending, or rough handling can damage it fast. Once damaged, the wire sends bad signals or stops working completely.
This guide walks you through simple ways to spot the issue. You will learn how to test the wire with a multimeter. We will also cover a helpful spring stabilization trick to fix bent wires.
You will discover the right way to clean your probe without ruining it. We will point out common mistakes people make during repairs. These small errors often cause more damage than good.
By the end, you will know how to calibrate your thermometer correctly too. Every step here uses easy language and clear actions. No special tools or expert skills are needed.
Let’s get your thermometer back to giving accurate readings again.
In a Nutshell
Here’s a quick recap of what we covered. Use this list to fix your thermometer fast.
-
Test the wire first. Use a multimeter to check continuity. This tells you if the wire is actually shorting or if something else is wrong.
-
Handle wires with care. The braided wire is thin and fragile. A gentle spring stabilization technique can help unbend it without breaking it further.
-
Clean the right way. Never submerge the whole probe in water. Wipe only the metal tip with a damp cloth.
-
Check probe placement. Always place the probe in the center of your meat. Keep it away from bone and fat to avoid false readings.
-
Calibrate properly. Hold your thermometer in ice water for 30 seconds. Make sure it does not touch the sides or bottom of the container.
-
Avoid heat damage. Excess heat is the top cause of wire failure. Use only gentle heat when testing or repairing your probe.
Follow these steps and your thermometer will give accurate readings again. Small fixes make a big difference.
Understanding Why Braided Wires Short Out
Braided wires inside meat thermometers are extremely small and fragile. These wires carry electrical signals from your probe to the display screen. When they short out, your thermometer stops working or gives false readings.
Heat damage is the main culprit behind wire shorting. Braided wires cannot tolerate extreme temperatures. If you leave your thermometer in a hot oven or near an open flame, the wire insulation melts. Once the insulation breaks down, the wires touch each other and create a short circuit.
Physical damage also causes shorting problems. Dropping your thermometer or bending the probe too hard can crack the delicate wires inside. Even small cracks allow moisture to seep in and cause electrical shorts.
Moisture and corrosion trigger wire failure too. When you submerge your entire probe in water, liquid reaches the braided wires. Over time, this moisture causes rust and corrosion. The corroded wires lose their ability to conduct electricity properly.
Improper probe placement creates stress on the wires. If you push your thermometer against bone or fatty tissue, the probe bends at awkward angles. This bending strains the braided wires and can break the thin strands inside.
Handling mistakes damage wires during cleaning and storage. Touching the metal tip roughly or wrapping the probe too tightly around the cord puts pressure on the internal wires. Even small impacts add up over time.
Understanding these causes helps you prevent wire shorting. You now know that heat, moisture, physical stress, and rough handling are the four main reasons braided wires fail. By avoiding these problems, you can keep your thermometer working reliably for years to come.
Signs Your Probe Wire Is Failing
Your digital meat thermometer may show warning signs before the braided wire completely fails. Recognizing these early indicators helps you fix the problem before it gets worse.
Erratic temperature readings are often the first clue. Your thermometer might jump between wildly different numbers within seconds. One moment it shows 165°F, then suddenly drops to 120°F without any reason. This inconsistency happens because the braided wire is losing its electrical connection.
Another sign is no reading at all. You insert the probe into your meat, but the display stays blank or shows dashes. The wire may have a complete break, stopping all electrical signals from reaching the display screen.
Slow response time is also telling. A healthy thermometer gives you a reading within 2 to 3 seconds. If your probe takes 10, 15, or 20 seconds to display a temperature, the wire connection is degrading.
Pay attention to intermittent readings too. Your thermometer works fine sometimes, then fails other times. This on and off pattern suggests a loose or partially broken wire inside the probe.
You might notice the probe feels loose at the connection point where it plugs into the main unit. Wiggling the probe slightly and seeing the display flicker confirms wire damage.
Visual damage on the probe itself is also important. Look for bent sections, visible corrosion, or discoloration on the metal tip. These physical signs indicate the braided wire inside has been compromised.
Testing with a multimeter gives you the definitive answer. Use the continuity setting to check if electricity flows through the wire. No beep means the wire is broken and needs repair or replacement.
Testing the Probe with a Multimeter Continuity Check
A multimeter continuity check is the most reliable way to confirm whether your braided wire has actually shorted out. This simple test takes just a few minutes and gives you a definitive answer about your probe’s condition.
Start by turning off your thermometer and removing the battery if possible. Set your multimeter to the continuity setting, which is usually marked with a sound wave symbol or the word “continuity” on the dial. Some multimeters beep when continuity exists, while others display a reading on screen.
Touch one multimeter probe to the metal tip of your thermometer probe. Then touch the other multimeter probe to the connection point where the braided wire meets the main unit. A good wire will show continuity, meaning electricity flows through it. You’ll hear a beep or see a low resistance reading, typically under 1 ohm.
If you get no beep and no reading appears, your braided wire has shorted out. The wire is broken somewhere inside, and electricity cannot flow through it. This confirms the probe needs repair or replacement.
Important note: Handle the multimeter probes gently when touching your thermometer connections. Excessive pressure can bend the tiny braided wires further and make damage worse. Let the probes rest lightly against the metal surfaces.
Perform this test at room temperature, not while the thermometer is hot. Heat can give you false readings and potentially damage your multimeter. If the continuity test shows a short, you now have proof that wire damage exists and can move forward with repair steps or decide if replacement makes more sense for your situation.
Step-by-Step Repair Using the Spring Stabilization Technique
The spring stabilization technique helps restore function to a bent or damaged probe without replacing the entire thermometer. This method works best when the braided wire has become physically compressed or kinked rather than completely severed.
Start by identifying exactly where the bend or kink occurs along the probe. Gently hold the probe shaft with one hand near the damaged section. Use your other hand to apply slow, steady pressure in the opposite direction of the bend. Move gradually and let the wire gradually return to its natural position. Patience is essential here because rushing this step can snap the wire completely.
If the bend is near the probe tip, work from the connection point toward the tip. Apply heat from a distance using warm (not hot) air to make the metal slightly more flexible. Never use direct flame or extreme heat, as this causes additional wire damage. Let the probe cool naturally after straightening.
Once you’ve straightened the probe, test it immediately with your multimeter continuity check. Touch the multimeter probes to the metal tip and the probe connection point. A beep or reading confirms the wire is now conducting electricity properly.
After successful straightening, clean the metal tip with a damp cloth only. Avoid submerging the entire probe in water. Store your thermometer in a protective case to prevent future bending.
The spring stabilization technique works because braided wires can often return to their original shape if bent gently. This approach saves you money and time compared to purchasing a replacement unit. If the wire remains unresponsive after straightening, the damage is likely permanent and replacement becomes necessary.
Proper Cleaning and Maintenance to Prevent Future Shorts
Your digital meat thermometer needs regular care to keep that braided wire working properly. Proper cleaning and maintenance prevent most short circuits before they start.
After each use, let your thermometer cool to room temperature first. Never rush this step. Hot wires are fragile and prone to damage.
Clean only the metal tip of the probe with a damp cloth. Wipe gently in one direction. Do not scrub or apply pressure. The braided wires inside are delicate and cannot handle rough treatment.
Never submerge the entire probe in water. Water seeps into the connection point and causes shorts. Keep moisture away from where the probe plugs into the main unit. Pat dry immediately after cleaning.
Store your thermometer in a dry location away from humidity. Moisture in storage leads to corrosion on the braided wires. A kitchen drawer works fine if you keep it away from water sources.
Check your probe connection once a week. Look for any visible bending, kinking, or damage along the wire. Bent wires often short out eventually. Catch problems early before they worsen.
Avoid extreme temperatures during storage. Do not leave your thermometer in hot cars or cold freezers. Temperature swings stress the braided wires and their connections.
Handle the probe with care during use. Do not bend it forcefully or drop the thermometer. These small impacts damage the internal wires even if you cannot see the damage immediately.
Test your thermometer monthly with a multimeter continuity check. This simple test catches wire problems before your next cooking session. Regular maintenance saves you time and keeps your thermometer accurate for years.
Calibrating Your Thermometer for Accurate Readings
Calibrating your thermometer correctly ensures you get accurate readings before and after any repairs. This step matters because even a perfectly functioning braided wire won’t help if your device reads temperatures wrong.
Start by preparing ice water in a clean container. Use crushed ice mixed with cold water to create a slurry. This combination stays at exactly 32°F (0°C), which is your calibration baseline.
Insert your thermometer probe into the ice water mixture. Make sure the metal tip sits completely submerged in the liquid. Hold the probe still and avoid touching the thermometer sides or bottom with your fingers.
Wait for 30 seconds without moving the device. Your thermometer should stabilize and display a reading during this time. If it shows 32°F, your calibration is correct.
If your reading differs from 32°F, note the difference. Some thermometers allow you to adjust calibration through a button or dial. Check your user manual for specific adjustment instructions.
Never calibrate while your thermometer is hot. Temperature changes affect accuracy and can damage the braided wire further. Always wait until your device reaches room temperature first.
Test your calibration monthly to catch problems early. This simple habit prevents false readings that ruin your cooking results.
After calibration, perform a quick multimeter continuity check. This confirms your braided wire still functions properly after the calibration test. Touch one multimeter probe to the metal tip and listen for a beep.
Proper calibration combined with regular continuity checks keeps your thermometer reliable. These two practices work together to maintain accurate temperature readings throughout your thermometer’s life.
Common Mistakes That Damage Braided Wires
Braided wires in meat thermometers are extremely fragile. Small mistakes during handling or repair can cause permanent damage. Understanding these common errors helps you avoid costly failures.
Overheating during repair attempts ranks as the top mistake people make. Many users try to fix bent wires by applying direct heat. This approach melts the insulation around the braided wires and causes shorts. Heat should only be applied gently, if at all. Most bent probes straighten without any heat application.
Submerging the entire probe in water creates major problems. People often think washing the whole thermometer prevents bacteria growth. Water seeps into the connection point where the braided wires meet the handle. This moisture causes immediate shorts or failures within days. Only the metal tip needs cleaning with a damp cloth.
Placing the probe near bone or fat during cooking damages wires differently. Contact with hard bone can bend the probe sharply. Fat buildup around the probe creates insulation problems. These issues lead to false readings or complete failure.
Touching the thermometer sides or bottom during calibration tests introduces errors that make you think the wire is damaged. Your hand warmth affects the reading. The device thinks it’s not working properly when it actually functions fine. Always calibrate without holding the sides.
Bending the probe too forcefully when straightening a kink causes internal wire breakage. The braided wires can snap if you apply sudden pressure. Work slowly and gently when attempting to restore a bent probe. Patience prevents permanent damage to these delicate components.
Troubleshooting Persistent Wire Issues
When your braided wire keeps shorting, you need a systematic approach to identify and fix the problem. Start by confirming the wire actually failed using a multimeter continuity test. This tells you if electricity flows through the probe correctly.
Set your multimeter to continuity mode. Touch one probe to the thermometer’s metal tip and the other to the battery terminal connection. A beep means the wire works. No beep means you have a short circuit.
Once you confirm a short, inspect the probe carefully for visible damage. Look for kinks, bends, or areas where the braided wire appears crushed. Gently straighten any bent sections using your fingers. Apply minimal pressure to avoid breaking internal wires.
If the probe has a spring stabilizer around it, this device can help unbend the wires without causing additional damage. Carefully work the bent section back into alignment. Move slowly and stop if you feel resistance.
Test continuity again after straightening. Sometimes this simple fix restores connection. If the wire still shows no continuity, the internal damage is too severe for repair.
Check the connection point where the probe meets the thermometer body. Corrosion or loose connections can mimic a short circuit. Wipe this area gently with a dry cloth to remove any debris or oxidation.
Never apply heat to repair the braided wire. High temperatures worsen the problem and damage the probe further. Keep all repair work at room temperature.
If continuity still fails after these steps, the probe needs replacement. The braided wire cannot be rewired or spliced safely in a meat thermometer.
Final Thoughts
Fixing a shorted braided wire takes patience, not force. Your thermometer’s tiny wires need gentle care every time you use them.
Remember the basics. Test continuity first with your multimeter. This simple step tells you exactly where the problem lives.
Small mistakes cause most wire failures. Overheating, submerging the full probe, and rough handling all shorten your thermometer’s life. Avoid these habits going forward.
Calibration matters just as much as repair. Check your thermometer monthly in ice water. This habit catches problems before they turn into full shorts.
When you spot damage, act carefully. Use the spring stabilization method to straighten bent wires. Never yank or force the probe back into shape.
Clean your probe the right way too. A damp cloth on the metal tip works best. Full submersion ruins the internal wiring over time.
Placement during cooking also affects wire health. Keep your probe centered in the meat. Bone and fat contact gives false readings and stresses the wires.
If your repairs don’t restore continuity, it’s time to accept the probe is done. Replacement makes more sense than repeated fixes at that point.
Your thermometer can last for years with the right habits. Gentle handling, proper cleaning, and regular calibration checks make all the difference.
Think of these steps as simple maintenance, not a hassle. A few minutes each month protects your investment and keeps your readings accurate.
Small wires need small movements. Treat your probe with care, test it often, and you’ll catch shorts before they become bigger problems. Your future cooking sessions will thank you.
Frequently Asked Questions
Why does my braided wire short out so easily?
Braided wires in meat thermometers are extremely small and fragile. Heat exposure, moisture, and physical stress damage them quickly. When wires touch each other or the probe casing, electricity flows incorrectly and creates a short. This happens because the insulation around each tiny wire breaks down from misuse or age.
How do I know if my wire is actually shorted?
Use a multimeter set to continuity mode. Touch one probe to the metal tip and the other to the base connector. A beeping sound means continuity exists and the wire works fine. No beep means you have a short or broken connection. This simple test confirms whether repair is possible or replacement is necessary.
Can I fix a shorted wire myself?
Sometimes yes, sometimes no. If the probe has a spring stabilizer, you can gently use it to unbend kinked wires. After straightening, test continuity again. However, if the insulation is burned or the wire is completely broken, replacement is your only option. Never apply heat or force during repairs because this causes more damage.
What’s the best way to clean my thermometer probe?
Use only a damp cloth on the metal tip. Never submerge the entire probe in water because moisture seeps into the wire housing and causes shorts. Wipe gently and let it air dry completely before using again. This simple habit prevents most moisture related problems.
Where should I place the probe during cooking?
Insert it into the center of the meat, away from bone and fat. These materials create false readings and can damage wires through excessive heat. Position the probe so the metal tip sits in the thickest part of your food for accurate temperature readings.

Welcome to The File Fix. I’m Millie, and I review tech so you don’t have to suffer buyer’s remorse.
Navigating the endless sea of Amazon devices and gadget releases can feel like a full-time job. That’s why I do the heavy lifting. I dig past the unreliable 5-star reviews and shiny spec sheets to test how these devices actually hold up in the real world. Whether you’re looking for the best budget earbuds, a reliable power bank, or the latest smart home gear, you’ll find honest, no-nonsense breakdowns here.