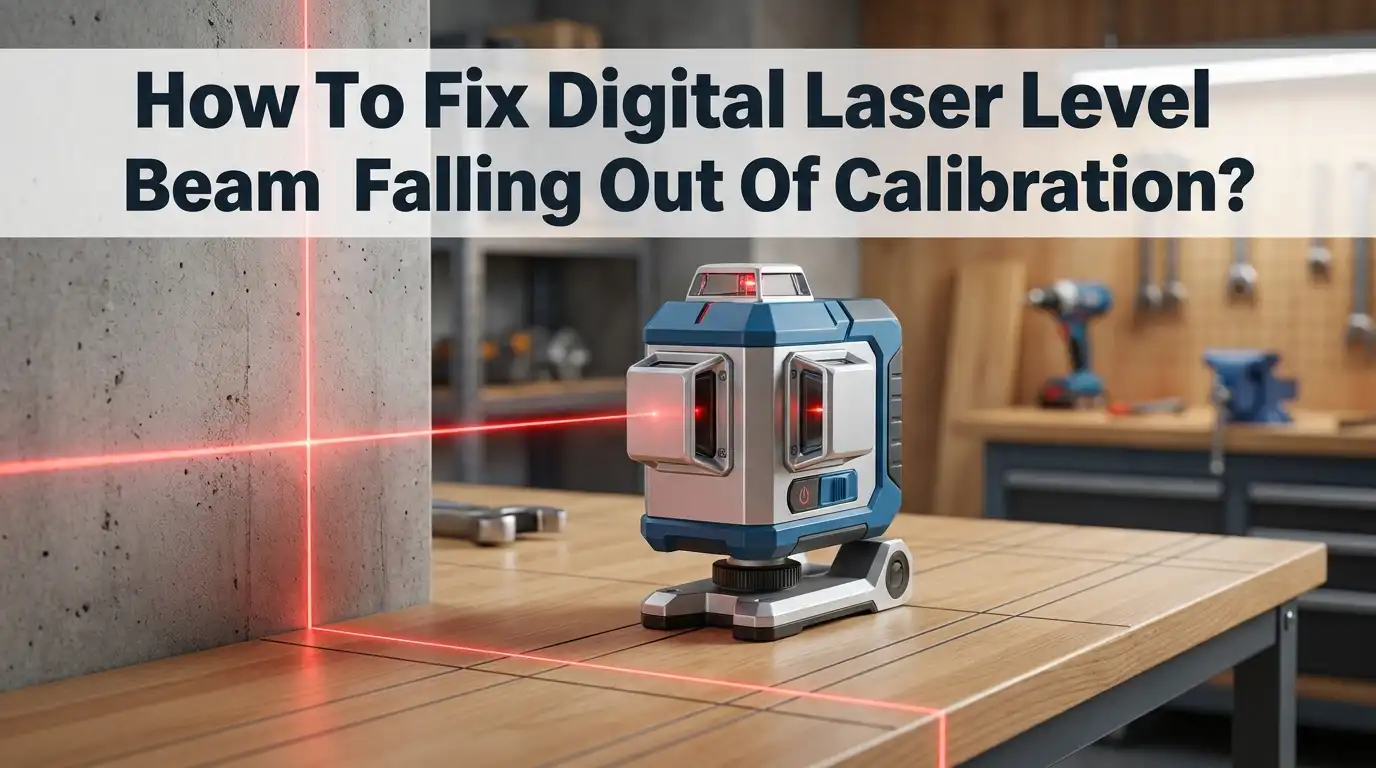
How To Fix Digital Laser Level Beam Falling Out Of Calibration?
Your digital laser level is a trusty tool. But what happens when its beam starts lying to you?
Calibration drift is a common problem. It happens after a small bump or a big fall. Sometimes, it just happens over time from regular use.
You might notice crooked lines on your wall. Or maybe the beam blinks at you instead of shining steady. This blinking is not random. It is actually a warning sign.
Self-leveling units have limits. Most tools tolerate about a 4 degree tilt. Go beyond that angle, and the beam blinks to tell you something is wrong.
In a Nutshell
- Check your setup first. Place the level on a flat, stable surface. Use a tripod for the best results.
- Watch for the blinking beam. This means the tripod is tilted past the self level range. Simply adjust the tripod legs until the light stays steady.
- Run a field test. Rotate the unit 90 degrees and check the beam against a reference mark. This confirms if your device is truly accurate.
- Never tilt the laser body by hand. Always use the tripod adjustments to fix leveling issues. Manual tilting can cause more damage.
- Inspect the device after any impact. Always test calibration after a drop or bump. Do not use the tool again until you verify it works.
- Know when to stop. If recalibration does not fix the drift, the internal parts may be damaged. Sometimes, a replacement is the only safe option.
Why Digital Laser Levels Fall Out of Calibration
Digital laser levels fall out of calibration for several clear reasons. Understanding these causes helps you prevent problems before they start.
Impact and drops are the leading culprits. When your level hits the ground or gets knocked over, internal components shift slightly. Even a small bump can throw off the beam’s accuracy. The pendulum or mirror inside the unit may move just enough to cause visible drift.
Environmental stress also plays a role. Temperature changes affect the materials inside your level. Extreme heat or cold makes metal and plastic expand or contract differently. Humidity can seep into the housing and affect internal mechanisms. Dust and debris may settle on optical surfaces over time.
Unstable placement causes calibration problems too. If you set your level on uneven ground or a wobbly surface, the self leveling system struggles to work correctly. The unit’s internal pendulum cannot settle properly. This creates false readings even though the device itself is fine.
Exceeding tilt limits triggers calibration issues. Most self leveling units tolerate about a 4 degree tilt. Push beyond this range and the beam starts blinking. This warning tells you the tripod needs adjustment. Ignoring this sign can damage the internal leveling mechanism.
Age and wear gradually reduce accuracy. Moving parts wear down over years of use. Optical surfaces may develop tiny scratches. The self leveling system becomes less responsive.
Manual tilting of the laser body is a common mistake. Never push or tilt the unit by hand to adjust the beam. Always use tripod legs and adjustments instead. Hand tilting forces internal components out of alignment.
These factors work alone or together to throw off your readings. Regular inspection and proper handling keep your level accurate longer.
Signs Your Laser Level Beam Is Out of Calibration
Your laser level sends you clear warning signs when calibration drifts. Learning to spot these signals saves time and prevents bad measurements.
Blinking or flashing beams are the most obvious red flag. When your self-leveling unit tilts beyond its tolerance range (usually around 4 degrees), the beam blinks to alert you. This is not a malfunction. It tells you the tripod legs need adjustment or the surface is uneven.
Crooked or uneven lines on your walls or floors indicate accuracy problems. You might notice the beam drifts higher on one end of the wall than the other. Lines that should be perfectly horizontal appear tilted or wavy instead.
Beam visibility problems sometimes signal calibration issues. If your beam becomes dim, disappears in spots, or shows gaps where it should be continuous, something is wrong. Environmental factors like bright sunlight can affect visibility, but consistent problems point to calibration drift.
Inconsistent measurements between repeated tests reveal accuracy loss. When you measure the same distance twice and get different results, your level needs attention. This is especially important before starting important projects.
Beam position shifts after minor bumps suggest internal problems. If your level gets knocked over or dropped, always run a verification test before using it again. Even small impacts can throw off precision.
Unusual beam behavior like splitting, doubling, or creating odd patterns means recalibration is necessary. Your beam should appear as a clean, single line or dot.
Pay attention to these warning signs early. Catching calibration problems before they affect your work keeps your projects accurate and saves frustration later.
Step-by-Step Guide to Recalibrating Your Digital Laser Level
Start by placing your digital laser level on a stable, flat surface. Use a tripod to hold it steady. The tripod is your best friend here because it lets you make small adjustments without touching the laser body itself.
Next, power on your level and let it settle for a few seconds. The self leveling mechanism needs time to find its position. Watch the beam carefully. If it blinks or flashes, your tripod is tilted beyond the safe range. Adjust the tripod legs until the beam stops blinking and shines steadily.
Now rotate the unit 90 degrees horizontally. This full rotation check is crucial for accuracy. Mark where the beam hits on a wall or reference surface. Write this down or take a photo so you remember the exact spot.
Rotate another 90 degrees and check again. The beam should align perfectly with your first reference mark. If it doesn’t, your level needs recalibration. Small gaps mean the internal sensors have drifted slightly.
For the field test method, use a secondary reference point. Measure from the beam to the floor at one end of the room. Then measure at the opposite end. Both measurements should match exactly. If they differ, recalibration is needed.
Take your time with each step. Rushing through this process leads to missed problems. After completing all rotations and checks, your level should be accurate and ready for work. If the beam still won’t align after multiple attempts, internal damage may have occurred. In that case, professional service or replacement might be necessary.
How to Field Test Your Laser Level Accuracy
A field test checks if your laser level gives accurate readings. This test happens before you start any real project work.
Set up on a stable surface first. Place your laser level on a tripod. Make sure the tripod sits on flat, level ground. Uneven surfaces throw off your entire test. Let the unit power on and settle for 10 to 15 seconds.
Rotate the laser 90 degrees. Turn the unit a quarter turn. Watch the beam position carefully. Mark where the beam hits your reference point or wall. Write down this exact spot.
Rotate another 90 degrees. Turn the unit again. Check if the beam aligns with your first mark. The beam should hit the exact same location. Any shift means calibration drift exists.
Use a secondary reference point. Place a second laser level nearby if you have one. Compare both beams side by side. They should create parallel lines. Gaps between the lines signal accuracy problems.
Check measurements across distances. Move your laser to different spots in the room. Test at 10 feet, then 20 feet away. Measure the beam height at each distance. The measurements should stay consistent.
Watch for blinking beams. A flashing or blinking beam means your tripod tilts too much. Adjust the tripod legs until the beam stops blinking. This indicates the unit exceeded its self leveling range.
Document your results. Write down all measurements. Compare them to your laser level’s specifications. If readings fall within acceptable ranges, your unit passes. If not, recalibration is needed before project use.
Troubleshooting Common Calibration Problems
Your digital laser level loses calibration when internal components shift from physical stress. Understanding the root causes helps you fix the problem quickly and prevent future issues.
Impact and falls are the primary culprits. Even a short drop or bump can jar the internal pendulum or mirror assembly out of alignment. Your beam starts drifting immediately after impact, sometimes visibly, sometimes gradually over days.
Environmental factors also trigger calibration problems. Extreme temperature changes cause metal and glass components to expand or contract at different rates. Humidity and dust can settle on optical surfaces, affecting beam accuracy. Direct sunlight heats the unit unevenly, creating internal stress.
Vibration and movement during operation compound these issues. Placing your laser level on unstable surfaces like wobbly tripods or uneven ground forces the self-leveling mechanism to work harder. Over time, this constant adjustment strains the internal springs and sensors.
Age and regular use gradually wear down calibration accuracy. The pendulum bearings lose their smoothness. Optical coatings scratch or degrade. Electronic sensors become less responsive. This happens slowly, so you might not notice until measurements become significantly off.
Manual tilting mistakes accelerate calibration drift. Forcing the laser body to tilt manually instead of using tripod adjustments stresses the internal leveling system. The pendulum can jam or settle incorrectly.
Power and battery problems sometimes mimic calibration issues. Low battery voltage prevents the self-leveling mechanism from functioning properly. The beam appears unstable or won’t settle into position.
Recognizing these causes helps you address the real problem. A simple battery replacement might solve your issue, while impact damage requires actual recalibration testing. Identifying the cause prevents wasting time on unnecessary fixes.
Understanding the Blinking Beam Warning
Your digital laser level blinks for one main reason: the unit tilts beyond its self leveling range. Most self leveling lasers work within about 4 degrees of tilt. When your tripod angles beyond this limit, the beam flashes to warn you something is wrong.
Why this warning matters. A blinking beam tells you the laser cannot compensate for the tilt anymore. The internal pendulum or compensator has reached its limit. Your readings will be inaccurate if you ignore this signal and keep working.
How to stop the blinking. First, check your tripod legs. Are they fully extended and locked? Uneven ground causes one leg to sit higher than others. Adjust each leg until the tripod head sits level. You can use a small bubble level on the tripod head to verify this.
Next, power off the laser and wait 10 seconds. Power it back on and let it settle for a full minute. Sometimes the internal leveling mechanism needs time to stabilize after adjustment.
When blinking means bigger problems. If the beam still blinks after leveling your tripod, the laser may have internal damage. This happens after drops or impacts. The compensator inside might be stuck or misaligned.
What to do next. Stop using the unit for real work. Perform a field test using a secondary reference point to check accuracy. If measurements don’t match your reference, the laser needs recalibration or repair before you continue your project.
Never ignore a blinking beam. It protects your project accuracy and saves you from costly mistakes later.
Mistakes to Avoid When Calibrating a Laser Level
Your laser level needs a stable foundation to stay accurate. Never place your unit on unstable surfaces like uneven floors, soft ground, or wobbly tables. These surfaces cause the internal pendulum to shift constantly, creating false readings.
Avoid tilting the laser body manually with your hands. Many users try to angle the unit to “help” it level, but this damages internal components. Always use tripod leg adjustments instead. Your tripod legs exist for this exact reason.
Don’t operate your laser after it takes a hard impact without testing it first. A dropped or bumped unit needs immediate verification before you use it on actual projects. Skip this step and you risk building with inaccurate measurements.
Ignore blinking beams at your own risk. This warning tells you something is wrong. Some people assume the beam will fix itself and keep working. It won’t. A blinking beam means your laser cannot self level properly, and continuing to use it produces unreliable results.
Stop manually rotating the laser to find level. Let the self leveling mechanism do its job. Rotating too fast or forcing the unit prevents internal sensors from stabilizing.
Never assume environmental factors don’t matter. Extreme heat, cold, or humidity can temporarily affect calibration. Wait for the unit to adjust to room temperature before critical work.
Don’t skip the field test after recalibration. Testing verifies your fixes actually worked. Without verification, you won’t know if calibration truly restored or if problems persist. This simple check saves time and material waste later.
Maintaining Long-Term Calibration Accuracy
Your digital laser level stays accurate when you follow a consistent maintenance routine. Regular checks prevent small problems from becoming big ones. Start by storing your laser in a dry, temperature controlled space. Extreme heat or cold affects the internal components that keep your beam straight.
Handle your laser with care during storage and transport. Place it in a protective case rather than loose in a toolbox. Bumps and vibrations during transport can shift internal calibration without you knowing it.
Test your laser before each project begins. This simple step catches calibration drift early. Set up your unit on a tripod, let it self level, and compare the beam to a known reference point. If measurements match your baseline, you’re ready to work.
Keep your laser clean but avoid harsh chemicals. Dust buildup on the lens reduces beam visibility and can make you think calibration failed when visibility is just poor. Use a soft cloth and gentle wiping motions only.
Check your tripod regularly for loose joints or bent legs. A wobbly tripod causes false calibration readings. Tighten all connections and inspect for damage before each use.
Battery health matters more than most people realize. Weak batteries can cause the laser to behave erratically, mimicking calibration problems. Replace batteries regularly and keep spares on hand.
Document your baseline measurements when your laser is new. Write down reference points from your field tests. Compare future tests against these original readings to spot drift early. This record becomes your proof that recalibration is actually needed.
Final Thoughts
Fixing a laser level beam that falls out of calibration does not need to feel like a big challenge. Most problems trace back to a few simple causes: unstable surfaces, hard impacts, or worn batteries.
Once you know these triggers, you can act fast and get back to accurate work.
Field testing remains your best friend here. Always test your laser before you rely on it for real measurements. This small step saves you from costly mistakes on site.
Remember the core fix steps: place your unit on a flat surface, use a tripod, rotate it 90 degrees, and check your reference points. This process catches drift before it ruins your project.
Watch for the blinking beam warning. It tells you the tilt has exceeded the self leveling range. Adjust your tripod legs rather than tilting the laser body by hand.
If the beam keeps blinking after you level the tripod, your laser may have deeper internal issues. Stop using it for critical tasks until you confirm accuracy again.
Post-impact safety matters too. Any laser knocked while powered on needs a fresh calibration check before you trust it again. Sometimes impact damage runs deep enough that recalibration will not restore accuracy.
Good habits protect your investment. Store your laser with care, check tripod joints often, and keep batteries fresh.
These small routines add up to big savings in time and frustration.
A digital laser level works best when you respect its limits and give it proper care. Simple checks and quick fixes keep your beam accurate and your projects on track.
Trust the process, follow these steps, and your laser level will serve you well for years to come.
Frequently Asked Questions
Why does my laser level beam blink?
A blinking beam means your laser is tilted beyond its self leveling range. Most digital laser levels can self level within about 4 degrees. When you tilt the unit past this limit, the beam blinks as a warning signal.
The fix is simple. Adjust your tripod legs to level the head first. Then let the laser’s internal pendulum settle. The beam should stop blinking once the tilt is within range.
What should I do if the beam still blinks after leveling the tripod?
If your tripod is level and the beam keeps blinking, your laser may have internal damage. This sometimes happens after the unit takes a hard impact or fall.
Do not use the laser for real work. The internal leveling mechanism may be damaged. Contact the manufacturer or a repair service to assess whether recalibration or replacement is needed.
Can I recalibrate my laser level myself?
Yes. Place your laser on a flat, stable surface using a tripod. Rotate it 90 degrees horizontally. Align the beam or cross point to a reference mark on a wall or object. Let the laser self level, then verify the beam stays parallel to your reference line.
Use a second laser level or secondary reference to confirm accuracy. If measurements match, your laser passed the field test and is ready to use.
Why does battery status affect calibration accuracy?
Low battery power can cause the internal leveling pendulum to respond slowly or incorrectly. Always check your battery before starting a calibration test.
Replace batteries if the indicator shows low power. Fresh batteries help your laser level maintain consistent accuracy during operation and calibration checks.