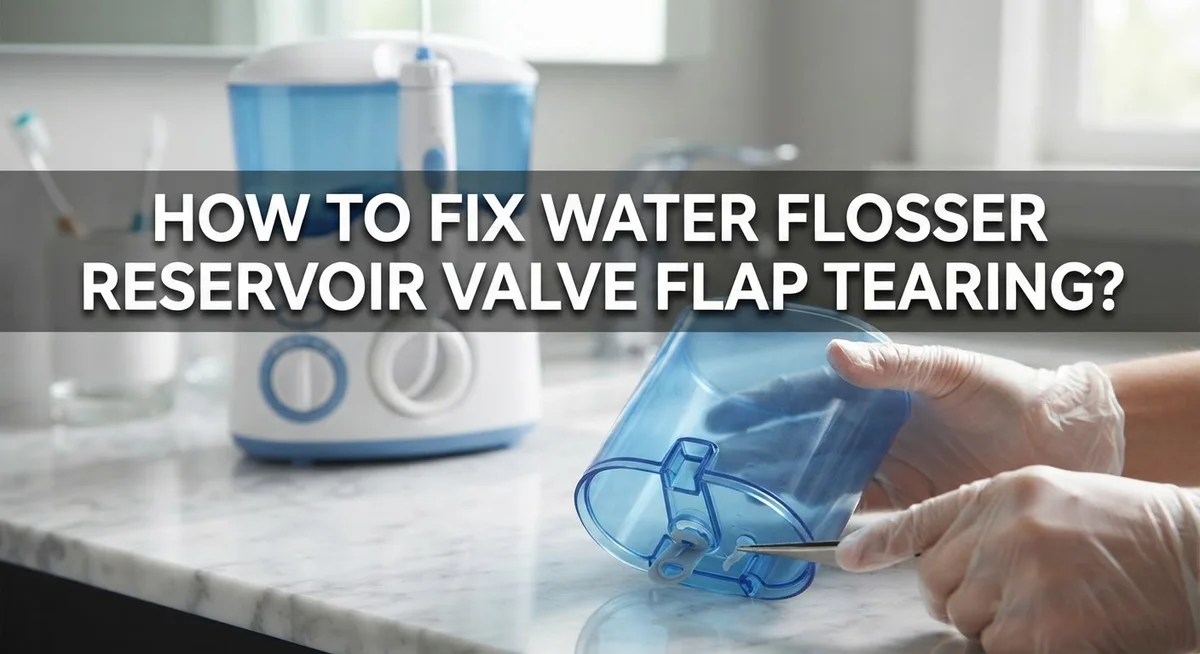
How To Fix Water Flosser Reservoir Valve Flap Tearing?
Your water flosser keeps leaking, and you just found the problem. The little valve flap inside the reservoir is torn. It’s a small part, but it causes big frustration.
This tiny flap controls water flow. When it tears, water drips or leaks where it shouldn’t. Your flosser might stop working properly too.
The good news? This is often fixable at home. Many people fix this issue without buying a new device. You just need the right steps and a little patience.
In a Nutshell
- Clean the valve first. Most tearing issues start with mineral buildup. A good cleaning often solves the problem before you consider replacement.
- Remove the black valve carefully. Push it out gently from the bottom of the reservoir. Rough handling can make small tears worse.
- Use warm water and gentle massage. Hold the valve under running water. Massage it between your thumb and index finger for 30 to 40 seconds.
- Vinegar solutions work wonders. Running distilled white vinegar mixed with warm water through your unit breaks down deposits that damage the flap over time.
- Stick to a cleaning schedule. Clean your valve every 1 to 3 days. This simple habit prevents most tearing problems from starting.
- Know when to replace it. If tearing continues after proper cleaning, the flap likely needs replacement. Clean first, replace only if damage persists.
- Avoid dishwasher damage. If you dishwasher clean parts, always remove the black valve first and use the top rack only.
Understanding the Reservoir Valve Flap and Why It Tears
The reservoir valve flap is a small but critical component inside your water flosser. This tiny black piece controls water flow from the tank to the nozzle. When it works properly, water moves smoothly through your device. When it tears, water leaks everywhere and your flosser stops working well.
Understanding why tearing happens helps you prevent it. Mineral buildup is the main culprit. Hard water leaves deposits on the valve flap over time. These deposits make the rubber brittle and weak. Eventually, the flap cracks or tears under normal use.
The valve flap also tears from improper handling. Removing it roughly or cleaning it too aggressively can damage the delicate rubber. Leaving mineral deposits uncleaned for weeks makes the problem worse. The buildup hardens and puts stress on the flap material.
Temperature changes also play a role. Exposing the valve to very hot or cold water suddenly can weaken the rubber. This makes it more likely to tear when you use your flosser.
Regular maintenance prevents most tearing issues. When you clean the valve frequently, mineral deposits never get thick enough to cause damage. A simple routine keeps the flap flexible and strong.
Knowing these causes helps you act fast. If you spot a tear, cleaning might still save the valve. If tearing continues even after proper cleaning, replacement is your next step. The good news is that valve flaps are replaceable parts, so a tear doesn’t mean throwing away your entire device. Understanding the problem puts you in control of the solution.
Signs Your Valve Flap Is Torn or Failing
A torn or failing valve flap shows clear warning signs. Your water flosser will leak water from the reservoir even when you’re not using it. You might notice puddles around the device or wet spots on your counter.
Listen for unusual sounds. The device may make strange gurgling or sputtering noises during use. Water flow becomes inconsistent. Sometimes the flosser sprays weakly, then suddenly shoots out too much water. This happens because the flap can’t seal properly anymore.
Check for visible water dripping. If water leaks from the bottom or sides of the reservoir when the device sits idle, the valve flap is likely damaged. Place your flosser over a paper towel for a few minutes to confirm the leak.
Examine the valve itself. Remove the black valve from the reservoir bottom by pushing gently upward. Look at the flap inside. A torn flap appears cracked, split, or has visible damage. The material may look discolored or brittle.
Pay attention to when leaks happen. Does water escape only during use? Does it drip constantly? Constant dripping suggests a torn flap. Leaking only during use might indicate a different problem.
Test water pressure changes. If your flosser worked fine yesterday but suddenly loses pressure today, the valve flap may have started tearing. Gradual pressure loss over weeks often means mineral buildup, but sudden changes point to physical damage.
Don’t ignore these signs. A failing valve flap wastes water and damages your device. Early detection lets you clean the valve before replacement becomes necessary. Act quickly when you notice any of these warning signs.
Step-by-Step Guide to Removing and Cleaning the Valve
Removing and cleaning your water flosser valve is straightforward. Start by emptying the reservoir completely. This prevents water from spilling during the removal process.
Locate the black valve at the bottom of your reservoir. Push it gently upward from underneath. The valve should pop out easily without force. If it resists, wiggle it slightly side to side while pushing.
Once removed, hold the valve under warm running water. Let the water flow over all surfaces. Pay special attention to the flap area where debris collects.
Now comes the important part: massage the valve gently. Use your index finger and thumb to work the valve between them. Do this for 30 to 40 seconds. This action breaks up mineral deposits and buildup that damage the flap.
For stubborn deposits, soak the valve in warm water for five minutes first. Then repeat the massage step. The warmth softens mineral layers, making them easier to remove.
Rinse thoroughly under running water one more time. Make sure no debris remains on the valve surfaces.
Before reinstalling, inspect the flap carefully. Look for tears, cracks, or permanent damage. A healthy flap appears smooth and flexible.
Reinsert the valve by pushing it up into the reservoir bottom. You should hear or feel a click when it seats properly. The valve should sit flush with no gaps.
Perform this cleaning every 1 to 3 days for best results. Regular maintenance prevents mineral buildup that causes tearing. This simple routine keeps your valve functioning smoothly and extends its lifespan significantly.
Deep Cleaning With Distilled White Vinegar
Distilled white vinegar is one of the most effective solutions for maintaining your water flosser valve. Mineral deposits build up inside your device over time, and these deposits damage the valve flap. Vinegar dissolves these deposits quickly and safely.
Here’s how to use vinegar for deep cleaning. Mix equal parts distilled white vinegar and warm water in a container. Pour this solution into your reservoir until it reaches the fill line. Run the device over a sink for 30 to 60 seconds to flush the solution through all internal passages. This process breaks down stubborn mineral buildup that regular water cannot remove.
For a more thorough cleaning, soak your removable valve in the vinegar solution. Remove the black valve from the reservoir bottom first. Place it in a small cup with equal parts vinegar and warm water. Let it sit for 15 to 20 minutes. The vinegar softens deposits around the flap edges. After soaking, rinse the valve under running water and gently massage it between your fingers again.
Run this vinegar cleaning once per week to prevent mineral accumulation. If you live in an area with hard water, do it twice weekly instead. Hard water contains more minerals that stick to valve surfaces faster.
Never use regular white vinegar or cleaning vinegar with added chemicals. Stick to distilled white vinegar only, as it contains no additives that could harm rubber components. After vinegar cleaning, always run plain distilled water through your device for one minute. This removes any vinegar residue and ensures your next flossing session tastes fresh.
Reinstalling the Valve Correctly
Reinstalling your valve correctly matters just as much as cleaning it. A poor reinstallation can cause new damage or create leaks you didn’t have before.
Start by ensuring your valve is completely dry before reinsertion. Moisture left on the valve can create an improper seal inside the reservoir. Pat it gently with a clean cloth or let it air dry for a few minutes.
Examine the valve flap one more time before putting it back. Look for any remaining debris, mineral buildup, or damage. If you spot stubborn deposits, give it another quick rinse under warm water. The flap should move freely without sticking.
Position the valve at the bottom opening of your reservoir. The valve has a specific orientation, so align it carefully with the opening. Push the valve upward firmly but gently until you hear or feel it click into place. Don’t force it, as excessive pressure can crack the valve or damage the flap.
Once reinstalled, fill your reservoir with water and run the device over a sink for 10 seconds. This test ensures the valve seats correctly and water flows smoothly. Watch for any dripping or leaking around the valve area. If you see leaks, remove the valve and try reinstalling it again.
Proper reinstallation creates an airtight seal that protects your device and prevents water from escaping. Taking 30 seconds to do this correctly saves you from frustration later. After successful reinstallation, return to your regular cleaning schedule of every 1 to 3 days. This consistency keeps your valve in excellent working condition and prevents future tearing problems.
Preventive Maintenance Tips to Avoid Future Tearing
Preventive maintenance keeps your water flosser working smoothly and stops valve flap tearing before it starts. The key is consistency and attention to what causes damage in the first place.
Clean your device every 1 to 3 days without fail. This simple habit prevents mineral buildup that weakens the valve flap over time. Minerals from tap water accumulate inside the valve, making it brittle and prone to tearing. Regular cleaning removes these deposits before they cause problems.
Use distilled white vinegar mixed with warm water once per week for deep maintenance. Run this solution through your entire unit to break down stubborn mineral deposits. This vinegar treatment is far more effective than water alone at preventing valve damage.
Always remove the black valve before cleaning your reservoir in a dishwasher. Place the valve on the top rack only, or better yet, hand wash it separately. Harsh dishwasher cycles can damage the delicate valve flap without you realizing it.
Handle your valve gently during every cleaning session. Rough handling or aggressive scrubbing weakens the flap material. Massage it softly between your fingers for 30 to 40 seconds under warm water.
Store your water flosser in a dry location after each use. Excess moisture sitting inside the reservoir creates an environment where mineral deposits form faster. Empty any remaining water completely.
Check your valve flap visually once a week during cleaning. Look for early signs of wear, discoloration, or stiffness. Catching problems early means you can clean more frequently before tearing occurs.
These preventive steps take minimal time but save you from expensive repairs and replacement hassles down the road.
Common Mistakes That Damage the Valve Flap
Most valve flap damage happens because people skip regular cleaning. When you neglect your water flosser, mineral deposits build up inside the reservoir and around the valve. These hard deposits press against the flap and cause it to crack or tear over time.
Rough handling during removal is another major problem. Many users force the valve out too quickly or use excessive pressure. The flap is delicate, so aggressive removal bends and weakens it. Always push gently from the reservoir bottom to avoid damaging the rubber material.
Using the wrong cleaning solution damages the valve faster than you might think. Regular tap water contains minerals that accumulate on the flap. Some people also use harsh chemicals or vinegar with additives, which can degrade the rubber. This makes the material brittle and prone to tearing.
Improper reinstallation creates stress on the flap too. If you force the valve back in at an angle, the flap gets pinched or twisted. This causes micro tears that grow into larger problems. The valve must slide straight up into the opening with gentle, even pressure.
Storing your water flosser while it’s still wet is surprisingly harmful. Moisture trapped around the valve causes the rubber to swell and weaken. The flap loses its flexibility and becomes more likely to tear during use.
Finally, many people ignore early warning signs. Small leaks or slower water flow mean your valve needs attention now. Waiting until the problem gets worse makes the damage permanent. Catching issues early through weekly visual inspections saves your valve from complete failure and keeps your device working properly for years.
Troubleshooting: When Cleaning Doesn’t Solve the Problem
Sometimes your water flosser still leaks even after you’ve tried basic cleaning. This means the valve flap has likely torn or damaged beyond simple debris removal. You need to inspect the valve more carefully to understand what’s happening.
Start by removing the black valve again. Push it up from the reservoir bottom with gentle pressure. Hold it under warm running water and massage it between your index finger and thumb for 30 to 40 seconds. Pay close attention to the valve flap itself during this process.
Look for visible tears, cracks, or permanent deformations in the flap material. If you see damage that cleaning cannot fix, the valve needs replacement. A torn flap cannot create an airtight seal no matter how well you clean it.
Check if mineral buildup is still present even after your cleaning attempt. Sometimes deposits hide inside the valve mechanism. Run distilled white vinegar mixed with warm water through the entire unit. This solution breaks down stubborn mineral accumulation that regular water cannot remove.
If cleaning and vinegar treatment don’t stop the leak, your valve flap has reached the end of its lifespan. Continued use with a damaged flap will only worsen your device’s performance. Water will escape from the reservoir during operation, making effective flossing impossible.
At this point, you have two options. You can replace just the valve component to restore function. Alternatively, you can continue using your device if the leak is minor and doesn’t affect your cleaning routine significantly.
Document when the damage started. This information helps you understand your device’s maintenance needs better. Regular cleaning every 1 to 3 days prevents most valve damage from occurring in the first place.
Final Thoughts
A torn valve flap does not mean your water flosser is done for good. Most tearing happens slowly through mineral buildup and rough handling.
The good news is that this problem is preventable. Simple habits protect your valve flap for a long time.
Clean your device regularly and handle the valve with care. These two steps solve most problems before they start.
Vinegar solutions break down mineral deposits that cause stress on the flap. Warm water rinses keep the valve flexible and functional.
Regular checks help you spot small tears before they become big leaks. Look at your valve flap once a week during normal cleaning.
If you notice damage early, you can often manage it. Waiting too long makes small tears turn into complete failures.
Sometimes cleaning does not fix the issue. When this happens, the valve flap has likely reached its natural end.
Replacing a worn valve is a normal part of owning a water flosser. It is not a sign that you did something wrong.
Think of it like replacing a toothbrush head. Parts wear out with regular use over time.
The key is staying ahead of the problem. Regular maintenance extends the life of your valve flap significantly.
Good habits make a real difference. Clean often, handle gently, and dry your device properly after each use.
These small actions prevent most tearing issues. Your water flosser will last longer and perform better.
Remember that a leaking flosser is fixable. Whether through cleaning or replacement, you have clear solutions available.
Stay consistent with maintenance and your device will serve you well for years to come.
Frequently Asked Questions
How often should I clean my water flosser valve to prevent tearing?
Clean your water flosser valve every 1 to 3 days. This prevents mineral buildup that stresses the valve flap over time. Regular cleaning is your best defense against tears and leaks.
If you live in an area with hard water, clean more frequently. Mineral deposits accumulate faster and put extra pressure on the flap material.
What’s the correct way to remove and clean the black valve?
Push the black valve from the bottom of the reservoir until it pops out. Hold it under warm running water and massage it gently between your index finger and thumb for 30 to 40 seconds.
This removes trapped debris and mineral deposits. Reinstall it carefully by pressing it back into place until you hear a soft click.
Should I use vinegar to clean my water flosser?
Yes. Mix distilled white vinegar with warm water and run this solution through your unit regularly. Vinegar breaks down mineral deposits that damage the valve flap.
This maintenance step takes just a few minutes but extends your device’s life significantly.
Can I put the valve in the dishwasher?
Remove the black valve before washing your reservoir in the dishwasher. Place the reservoir on the top rack only.
Never put the valve itself in the dishwasher. Hand wash it instead under warm running water.
When should I replace the valve instead of cleaning it?
Clean first. If the flap still leaks after cleaning and vinegar treatment, the valve has likely reached the end of its lifespan. Look for visible tears, cracks, or permanent deformations in the material.
Replacing a worn valve is normal maintenance, just like replacing a toothbrush head.