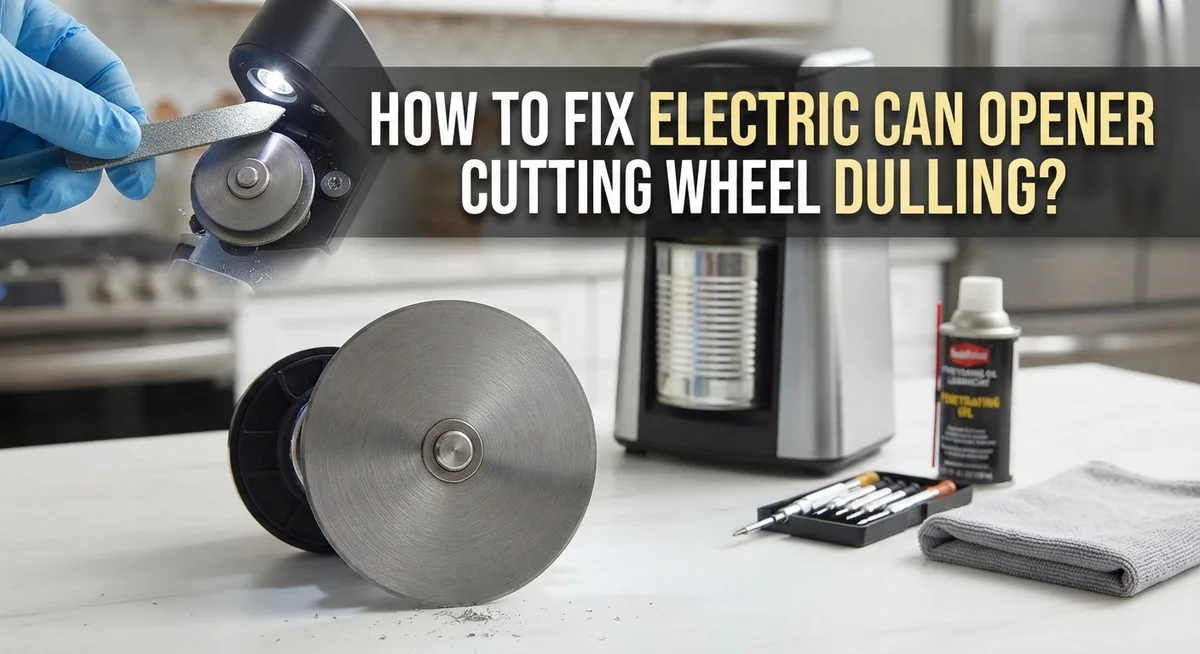
How To Fix Electric Can Opener Cutting Wheel Dulling?
Does your electric can opener leave jagged edges on cans lately? Maybe it stalls halfway through a lid, or takes several tries to finish the job.
You might think the cutting wheel is worn out and needs a replacement. But that is not always true.
In most cases, the real problem is buildup. Food residue, rust, and dried grease collect on the blade and gears over time. This buildup makes a perfectly good wheel act dull.
The good news? You can often fix this issue yourself. No new appliance needed.
In a Nutshell
- Clean first, replace later. Most cutting problems come from food residue or rust buildup, not an actual worn wheel. Grab a soft toothbrush and warm soapy water to clean the blade and drive gear.
- Dry the blade every time. Wipe the cutting wheel dry after each use. This simple habit stops food from hardening and causing future jams.
- Add lubrication. After cleaning, apply a light oil or white lubricant to the mechanism. This keeps the wheel turning smoothly and cutting cleanly.
- Check your power source. If you use a battery model, swap in fresh AA alkalines. Low power often looks like a dull blade problem.
- Mind your can placement. Always position the opener on a flat, undamaged can edge. Dented or uneven edges cause incomplete cuts.
- Inspect for real damage. If cleaning and lubricating do not help, check the wheel closely for actual wear or chips. That’s when replacement becomes necessary.
Understanding Why Cutting Wheels Appear Dull
Your electric can opener’s cutting wheel might look dull, but that appearance often tricks you. The wheel itself rarely wears down from normal use. Instead, what you see is usually the result of buildup on the blade surface.
Food residue sticks to the cutting wheel during normal operation. Dried tomato sauce, vegetable bits, and other food particles create a layer that makes the blade look rounded or dull. This buildup prevents the wheel from making clean, sharp cuts. The wheel sits underneath this coating, still sharp but hidden from view.
Rust formation happens when moisture sits on the metal blade. If you do not dry the wheel after each use, water droplets cause oxidation. Rust appears as a brownish or grayish coating. This rust layer makes cuts incomplete and causes the opener to stall midway through a lid.
Mineral deposits from hard water can also accumulate on the cutting mechanism. These deposits build up gradually and reduce cutting effectiveness over time.
The drive gear teeth often collect the same debris as the cutting wheel. When gear teeth get clogged, the blade cannot rotate with full power. The opener struggles even though the wheel itself remains sharp.
This is why cleaning comes first. You should inspect the wheel closely before assuming it needs replacement. Look for actual chips, cracks, or flat spots on the blade edge. Real damage appears as physical deformities, not just discoloration.
Most people discover their “dull” wheel springs back to life after a thorough cleaning. The wheel was sharp all along, just hidden beneath layers of buildup and oxidation.
Signs Your Can Opener Needs Attention
Your electric can opener sends you clear signals when the cutting wheel needs attention. Learning to spot these signs helps you act before the problem gets worse.
Incomplete cuts are the first red flag. If your opener stops halfway through a lid or leaves sections uncut, the wheel is struggling. You might need to run the opener multiple times on the same can to finish the job.
Jagged or torn edges on the lid tell you something is wrong. A healthy cutting wheel creates clean, smooth cuts. Rough or uneven edges mean the blade is not making proper contact with the can.
Stalling or slowing down during operation is another warning sign. Your opener might start strong but lose power midway through cutting. This often means the mechanism is working harder than it should.
Unusual sounds from the unit deserve your attention. Grinding, squeaking, or clicking noises suggest debris is stuck in the mechanism or the wheel needs cleaning. These sounds usually disappear after a good cleaning session.
Difficulty gripping the can is easy to miss. If the drive wheel slips on the can edge instead of turning smoothly, buildup might be blocking proper contact.
Visible residue on the blade is obvious but often overlooked. Brown, crusty, or discolored buildup on the cutting wheel means food particles have dried on the surface. This buildup reduces cutting efficiency significantly.
Pay attention to how your opener sounds and performs each time you use it. Catching these signs early means you can clean and maintain the unit before real damage occurs. Most problems you notice are fixable with basic cleaning and care.
Step-by-Step Cleaning of the Cutting Wheel and Drive Gear
Start by unplugging your electric can opener from the wall outlet. Safety comes first when you work on any electrical appliance. This simple step prevents accidental activation while your hands are near moving parts.
Locate the cutting wheel and drive gear. These are the two main components that need attention. The cutting wheel does the actual cutting, while the drive gear transfers power to make it spin.
Use a soft toothbrush and warm soapy water for cleaning. Dip the brush in the soapy water and gently scrub around the cutting wheel. Pay special attention to the edges and crevices where food particles hide. Work the brush between the gear teeth as well, since buildup accumulates there too.
Rinse the cleaned areas with clean water. Make sure all soap residue washes away completely. Soap left behind can interfere with the mechanism’s performance and attract more debris.
Dry everything thoroughly with a clean cloth. Moisture left on metal parts encourages rust formation. Take extra time drying the gear teeth and around the wheel’s edges.
Inspect the cutting wheel closely under good lighting. Look for actual damage like chips, cracks, or flat spots. If the wheel looks smooth and intact after cleaning, buildup was your real problem.
Apply a light lubricant to the drive gear and wheel mechanism. Use just a small amount. Excess oil attracts dust and creates a sticky mess that makes things worse.
Let the lubricant settle for a few minutes. Then plug the opener back in and test it on an old can you don’t mind discarding. Listen for smooth operation and watch for complete, clean cuts around the lid’s edge.
Lubricating the Mechanism for Smooth Cutting
After you clean your electric can opener, lubrication becomes your next critical step. Proper lubrication keeps the cutting wheel and drive gear moving smoothly together. This reduces friction and helps prevent future buildup.
Start by selecting the right lubricant type. Light machine oil works well for this task. You can also use white lithium grease or silicone based lubricants. Avoid heavy oils or grease that attracts dust and food particles.
Apply lubricant sparingly to the mechanism. Less is always better with electric can openers. A few small drops on the drive gear and around the cutting wheel axle is sufficient. Too much lubricant creates a sticky trap for debris.
Let the lubricant settle for a few minutes before testing. This allows it to penetrate the moving parts properly. Then plug in your opener and run it briefly without a can. This distributes the lubricant evenly across all surfaces.
Wipe away any excess lubricant with a dry cloth. Excess oil sitting on the blade attracts food particles and dust immediately. This defeats your entire cleaning and lubrication effort.
Establish a regular lubrication schedule. Apply lubricant every two to three months with normal use. Frequent users should lubricate monthly. Seasonal users can go longer between applications.
Pay attention to how your opener sounds after lubrication. A well lubricated mechanism operates quietly and smoothly. Grinding or squeaking sounds mean something needs attention. Listen for smooth, consistent operation as your guide.
Regular lubrication combined with cleaning prevents most cutting wheel problems. Your opener will cut cleanly and consistently for years. This simple maintenance takes just minutes but extends your opener’s life significantly.
Checking and Fixing Power-Related Cutting Issues
Power issues often hide behind what looks like a dull cutting wheel. Your electric can opener needs consistent electrical energy to cut through metal lids cleanly. When power drops, the wheel slows down and struggles to penetrate the can’s edge properly.
For battery operated models, start by checking your power source first. Replace old batteries with fresh alkaline ones. Weak batteries reduce cutting force significantly. Even if your opener still works, low power makes the wheel seem duller than it actually is. Fresh batteries often restore full cutting performance immediately.
Plug in models require a different approach. Check that your outlet works by plugging in another appliance. A faulty outlet starves your can opener of power. Move the opener to a different outlet to test this theory. Sometimes wall outlets wear out or trip, cutting off electricity without warning.
Inspect the power cord for visible damage or kinks. A damaged cord prevents proper power delivery. Never use an opener with a frayed or cracked cord. This creates a safety hazard and reduces cutting ability.
Low power makes your cutting wheel work harder than necessary. The wheel spins slower, pressing less forcefully against the can. This produces incomplete cuts that feel like blade dulling. You might notice the opener straining or stalling mid cut.
Test your power supply before assuming your wheel needs replacement. Restore full power first, then evaluate cutting performance. Many people discover their opener works perfectly once power issues are resolved. This simple check saves time and money on unnecessary repairs or replacements.
Common Mistakes That Cause Repeated Dulling
Many people make simple mistakes that wear out their electric can opener’s cutting wheel faster than necessary. Understanding these errors helps you keep your opener working longer.
Failing to wipe the blade after each use is the biggest culprit. When you leave food residue on the cutting wheel, it dries and hardens. This buildup forces the wheel to work harder, making it dull quickly. A quick wipe with a dry cloth after every use prevents this problem entirely.
Positioning the opener on dented or uneven can edges causes unnecessary stress. When the can sits at an angle, the cutting wheel applies uneven pressure. This creates wear patterns that make the wheel seem dull even when it’s still sharp. Always ensure the can sits flat and centered before starting.
Neglecting the drive gear is another common oversight. The drive gear transfers power to the cutting wheel. When food particles and dust build up on the gear teeth, the wheel doesn’t spin smoothly. This incomplete rotation leads to incomplete cuts that feel like dulling.
Using low or inconsistent power forces your wheel to compensate. Battery operated models especially suffer when batteries get weak. A struggling motor makes the wheel work overtime, causing premature dulling.
Skipping regular cleaning sessions compounds all these problems. Rust forms on metal parts when moisture sits too long. Hardened food particles lock up the mechanism. These issues combine to make your wheel seem dull much faster than it should.
The good news is simple. Regular maintenance prevents most dulling problems. You don’t need special tools or expensive solutions. Just stay consistent with cleaning and proper can placement.
Troubleshooting Persistent Cutting Problems
When your electric can opener struggles to cut through lids cleanly, the problem often isn’t a truly dull wheel. Incomplete cuts usually stem from mechanical buildup rather than actual blade wear. Understanding what’s really happening helps you fix the issue quickly.
Start by examining the cutting wheel itself. Look for visible damage, pitting, or rounded edges under bright light. A magnifying glass helps you spot small indentations or rust spots that block smooth cutting. If the wheel looks intact, the culprit is likely somewhere else in the mechanism.
Residue and dried food buildup create the biggest problems. Food particles harden on the blade and drive wheel over time. This buildup prevents proper contact between the wheel and can lid. Your opener then struggles to pierce through, leaving incomplete cuts around the lid.
Check your can placement next. Position the opener on the can’s edge carefully. An uneven or dented can edge forces the wheel to work at an angle. This misalignment reduces cutting power significantly.
Inspect the drive gear teeth closely. Debris gets trapped between teeth and prevents smooth rotation. A soft toothbrush removes these particles effectively. Pay special attention to gaps where food particles hide.
Test your power supply before assuming mechanical failure. Low battery power or a weak connection reduces cutting force dramatically. Your wheel spins slower and can’t generate enough pressure to cut cleanly.
The key insight: most cutting problems disappear with proper cleaning and maintenance. Regular attention to these areas prevents frustration and extends your opener’s life. Address buildup immediately when you notice cutting problems developing. This simple approach saves you time and keeps your opener working smoothly for years.
Preventive Maintenance Habits for Long-Term Performance
Daily habits make the biggest difference in keeping your electric can opener working smoothly. The cutting wheel stays sharp longer when you establish a simple routine.
Wipe the blade immediately after each use. Food particles dry and harden on the wheel within minutes. Once they harden, they act like sandpaper against your mechanism. A quick dry cloth takes five seconds and prevents hours of future problems.
Store your opener in a dry location. Moisture causes rust on the cutting wheel and drive gear. Rust creates friction that mimics a dull blade. A kitchen cabinet or drawer works better than near the sink.
Clean the entire unit weekly, not just when you notice problems. Use a soft toothbrush with warm soapy water on the cutting wheel, drive wheel, and gear teeth. Pay special attention to the small spaces where food hides. Dry everything thoroughly before storing.
Check your power source monthly. For battery models, swap in fresh alkalines even if the opener still works. Weak power forces your wheel to work harder and dulls faster. For plug in models, inspect the cord for damage.
Position each can straight and centered on the opener. Tilted or dented cans create uneven pressure that wears the wheel unevenly. Take two seconds to align properly every single time.
Apply light lubrication to moving parts every three months. Use a general purpose lubricant designed for kitchen appliances. A tiny amount on the drive gear and wheel axle keeps everything moving freely.
These simple habits prevent ninety percent of cutting wheel problems. You spend just minutes per week maintaining your opener, and it lasts for years without needing repairs or replacements.
Final Thoughts
Your electric can opener does not need to end up in the trash just because it struggles to cut.
Most cutting problems come from buildup, not a truly damaged wheel. Food residue and dried grime cause the majority of these issues.
Simple cleaning fixes most problems. A soft toothbrush and warm soapy water can restore your cutting wheel’s performance in minutes.
Regular maintenance keeps your appliance running for years. Wipe the blade after each use, clean the whole unit weekly, and check your power source often.
Small habits create big results. Spending just a few minutes each week on care prevents most breakdowns before they start.
If you notice actual damage to the wheel, like chips, cracks, or deep grooves, cleaning will not solve that problem. At that point, replacement becomes the smart choice.
Test everything before you decide to replace your opener. Check the power supply, inspect the drive gear, and clean thoroughly first.
Many people assume their opener is broken when it just needs attention. Your appliance often has more life left than you think.
Can placement matters too. Center each can properly, and avoid forcing the opener onto dented or uneven edges.
These small adjustments protect your cutting wheel from unnecessary wear over time.
Consistency is the real secret to long lasting performance. An opener that gets regular care will outlast one that gets ignored until problems appear.
Take a few minutes each week to check, clean, and maintain your can opener. This simple routine saves you money and frustration.
Your electric can opener can serve you reliably for years when you give it the attention it deserves. Small efforts now prevent bigger headaches later.
Frequently Asked Questions
How often should I clean my electric can opener to prevent wheel dulling?
Clean your opener weekly for best results. This removes food particles before they harden and stick to the cutting mechanism. After each use, wipe the blade dry with a soft cloth. This single habit stops most buildup problems.
Can a dull cutting wheel be sharpened, or does it need replacement?
Most “dull” wheels are actually covered in residue, not truly worn down. Clean the wheel first with a soft toothbrush and warm soapy water. If cleaning restores performance, you solved the problem. If the wheel has visible chips, cracks, or deep grooves, replacement is your only option.
What causes the cutting wheel to stop working effectively?
Dried food, grease, and mineral deposits build up on the blade and drive gear. This buildup reduces cutting power more than actual dulling does. Low battery power in battery operated models also reduces effectiveness significantly. Always check your power source before assuming mechanical failure.
Why does my opener struggle with some cans but not others?
Can placement matters greatly. Position each can straight and centered on the opener. Dented or uneven can edges prevent proper contact with the cutting wheel. Misaligned cans cause incomplete cuts that feel like wheel failure. Check your can placement before investigating the opener itself.
What’s the best way to maintain the drive gear and cutting wheel?
Clean gear teeth thoroughly with a soft brush weekly. Apply light oil or white lubricant to moving parts every three months. Wipe away excess lubricant so it doesn’t trap food particles. Store your opener in a dry location away from moisture.