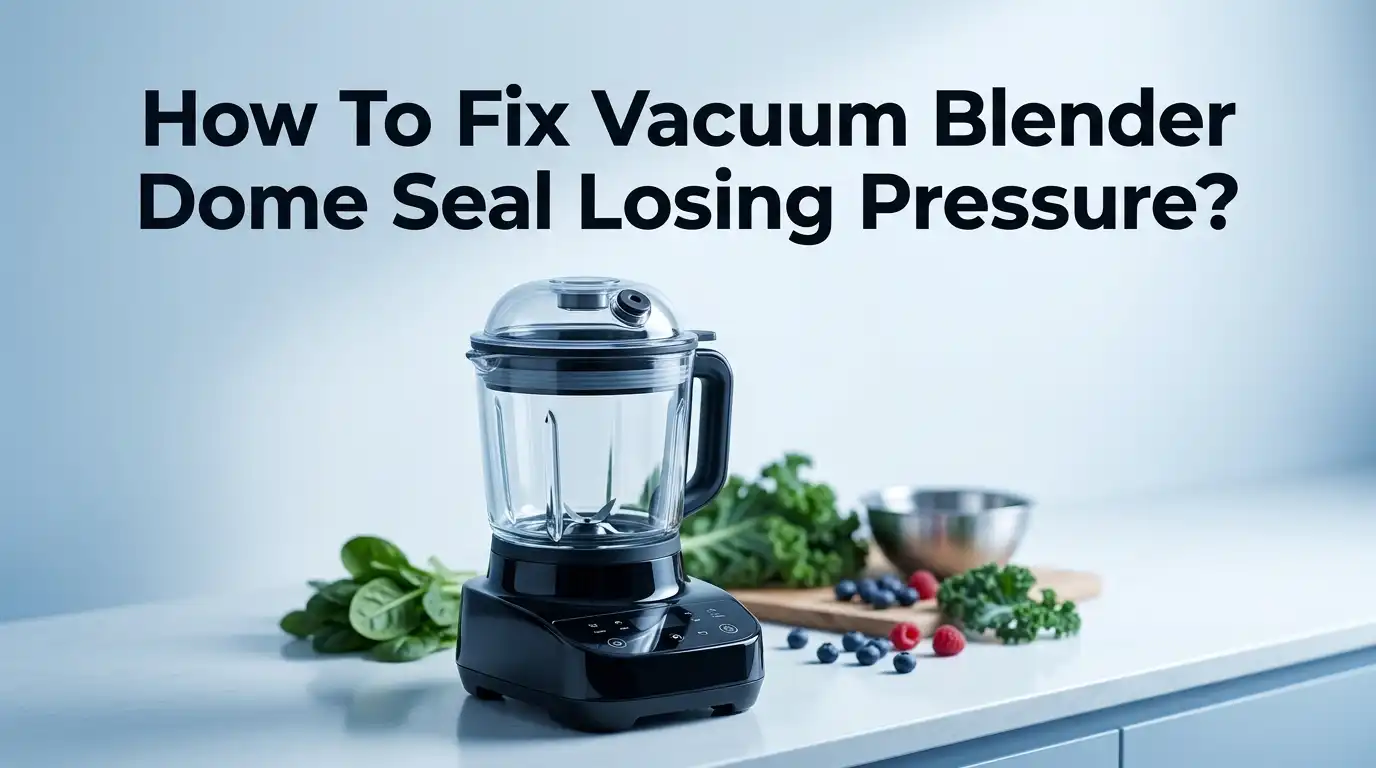
How To Fix Vacuum Blender Dome Seal Losing Pressure?
Does your vacuum blender lid refuse to seal like it used to? You turn on the pump, wait for that satisfying suction sound, and nothing happens. The pressure just won’t build.
This is a common problem for vacuum blender owners. A worn gasket or a blocked valve often causes the trouble. Sometimes hot ingredients damage the seal without you even noticing.
The good news? You can fix this issue yourself. Most fixes take just a few minutes and simple tools you already have at home.
In a Nutshell
- Clean the sealing area first. Wipe the gasket, valve, and lid edges with a soft cloth. Dirt and food residue often block a proper seal.
- Check your gasket condition. Look for wavy lines, thin spots, or cracks. A worn gasket cannot hold vacuum pressure, even with a strong pump.
- Cool your ingredients before blending. Keep foods below 60°C. Hot ingredients warp seals and cause pressure loss over time.
- Use the double seal method. This simple trick creates a stronger barrier and helps your lid lock in vacuum pressure.
- Prepare food properly. Flatten ingredients inside the container. This spreads vacuum pressure evenly across the entire seal line.
- Inspect your pump regularly. A blocked or weak pump struggles to build suction, even with a perfect gasket. Check for debris or motor issues too.
Understanding Why Your Vacuum Blender Loses Pressure
Your vacuum blender loses pressure when air escapes through gaps in the seal. This happens because the gasket wears out, the valve gets dirty, or the sealing surfaces don’t match up properly.
The gasket is your main culprit. This rubber ring sits between the lid and container. Over time, it flattens, cracks, or develops thin spots. When this happens, air leaks in during the vacuum cycle. Your pump runs hard but can’t build pressure because the seal isn’t airtight.
The valve also plays a big role. This small part controls air flow in and out of your blender. Dust, food particles, or dried residue block it. When the valve sticks or gets clogged, pressure won’t build up evenly. You might hear the pump working, but the lid won’t stay sealed.
Dirty sealing surfaces cause leaks too. The lid edge and container rim must be perfectly clean. Food residue, dried juice, or mineral deposits create tiny gaps. Air sneaks through these spaces, and your vacuum fails. Even a speck of dust can break the seal.
Temperature matters more than you think. Hot ingredients soften the gasket and reduce its grip. The rubber loses its elasticity when exposed to heat repeatedly. This is why cooling your food before blending helps maintain pressure longer.
Poor food placement also affects sealing. When ingredients pile unevenly in the container, the lid sits crooked. This creates uneven pressure points. Some areas seal tight while others stay loose.
Understanding these causes helps you fix the problem fast. Most pressure loss comes from fixable issues, not broken equipment. Clean surfaces, cool ingredients, and a fresh gasket restore your blender’s vacuum power quickly.
Signs Your Dome Seal or Gasket Needs Attention
Your vacuum blender sends you warning signals when the dome seal starts to fail. Learning to spot these signs helps you fix problems before they get worse.
Listen for unusual sounds during operation. If your pump runs but the blender makes a hissing or whistling noise, air is escaping somewhere. This sound means your seal is not holding pressure properly.
Watch the lid closely when you turn on the pump. A healthy seal pulls the lid down firmly onto the container. If the lid stays loose or wobbles, your gasket needs attention right away.
Check how long vacuum pressure lasts. Press the lid down and turn off the pump. Count how many seconds the suction holds before you hear air rushing back in. If pressure drops within a few seconds, your seal is compromised.
Look at the seal line itself on your container rim. Wavy or incomplete lines mean the gasket is worn. Thin spots or visible cracks are clear signs of damage.
Feel around the lid edges with your finger while the pump runs. You should feel no air movement at all. Any breeze or air leakage indicates a failing seal.
Test your blending results too. If your ingredients are not mixing evenly or the vacuum is not working as fast as before, pressure loss is likely happening.
Pay attention to how old your gasket is. Most gaskets need replacement after one year of regular use. Even if you do not see visible damage, age causes rubber to lose its sealing ability.
These warning signs tell you exactly when to clean, adjust, or replace your dome seal components.
Step-by-Step: Cleaning and Inspecting the Seal Line
Cleaning and inspecting your seal line is essential for fixing pressure loss. Start by removing the lid from your blender container. Look directly at where the lid meets the container rim. You should see a thin line where these two parts connect.
Run your finger along this seal line slowly. Feel for any waviness, bumps, or irregular spots. A smooth, even line means your seal is in good condition. Wavy or uneven areas indicate the gasket has compressed unevenly or worn down.
Grab a soft cloth and dampen it slightly with water. Wipe the entire seal line on the container rim thoroughly. Remove all residue, dried blender contents, and dust particles. These small particles block a perfect seal and cause air leaks. Pay extra attention to corners and crevices where debris hides.
Next, inspect the lid’s underside where the gasket sits. Look for discoloration, sticky spots, or buildup. Clean this area with your damp cloth as well. The gasket itself needs attention too. If it’s removable, take it out gently and wipe both sides completely.
Check if the gasket sits evenly in its groove. A twisted or bunched gasket won’t seal properly. Straighten it if needed. Press it back into place firmly.
Now test the seal line visually. Close the lid without turning on the pump. Press down gently and listen for air sounds. No hissing means your cleaning worked. If you still hear air escaping, your gasket may need replacement.
Document what you find. Take mental notes about the seal line condition. This information helps you decide if cleaning solves your pressure problem or if replacement parts are necessary. Regular inspection prevents future pressure loss issues.
How to Properly Reseat and Test the Lid for a Firm Seal
Start by removing the lid from your blender container. If your gasket is removable, take it out carefully and set it aside on a clean surface. This gives you full access to the sealing areas that trap air.
Next, wipe down the valve area with a soft, slightly damp cloth. Use gentle circular motions to remove any food residue, dust, or mineral buildup. Pay special attention to the small grooves where the valve sits. These tiny spaces collect debris that blocks pressure from building.
Now inspect the seal line on your container rim. Run your finger along it slowly to feel for waviness, thin spots, or rough edges. Look at it under good lighting. A wavy seal line means the container rim is damaged and air will escape no matter how tight your lid sits.
Clean the entire sealing surface on both the lid and container rim with a damp cloth. Make sure no food particles remain. Dry everything completely with a clean towel. Moisture can interfere with your seal test.
Reinsert the gasket if it’s removable, ensuring it sits evenly in its groove with no twists or gaps. Place the lid back on the container firmly. Press down with steady pressure across the entire lid surface, not just the center.
Turn on your pump and listen carefully. You should hear a smooth humming sound without hissing or whistling. Watch the lid. It should stay firmly pressed down as vacuum builds. Leave the pump running for 30 seconds and feel around the lid edges with your finger. No air should escape.
If pressure holds steady and the seal feels firm, your reseating worked. If problems persist, your gasket likely needs replacement or your pump needs inspection.
Checking the Pump and Valve for Blockages or Malfunctions
Your pump and valve work together to create and maintain vacuum pressure. When either component has blockages or malfunctions, your dome seal loses pressure quickly.
Start by listening to your pump during operation. A normal pump sounds like a steady hum. If you hear grinding, sputtering, or unusual clicking sounds, the pump motor may have internal issues. These sounds mean air isn’t being removed efficiently from your blender container.
Next, inspect the valve area carefully. The valve controls airflow between your container and pump. Remove your lid and look at the valve opening on the container rim. Use a flashlight to see inside this small opening. Look for debris, dried food particles, or mineral buildup that could block airflow.
Clean the valve opening gently with a soft cloth. Dampen the cloth slightly with water, then wipe around the valve edges. Don’t use sharp objects that could scratch or damage the valve seat. If you see stubborn buildup, let warm water soak the area for five minutes first.
Check the pump intake port where air enters the pump unit. This opening can also collect dust and debris. Wipe this area clean with a dry cloth. Make sure nothing blocks the air pathway.
Test your pump after cleaning. Turn on the blender without any container attached. Listen for normal operation sounds. The pump should run smoothly without hesitation.
If your pump still sounds abnormal or your container won’t hold pressure after cleaning, the pump motor may need professional service. Internal pump damage usually requires replacement rather than repair. However, most pressure loss problems come from simple valve blockages that cleaning fixes quickly.
Best Practices to Prevent Future Pressure Loss
Preventing future pressure loss starts with smart habits and regular care. Keep your ingredients cool before blending. Hot foods above 60°C can warp your gasket and compromise the seal. Let warm ingredients cool to room temperature first.
Prepare your food properly by flattening or cutting items into even pieces. This helps vacuum pressure distribute evenly across the container. Uneven food placement creates air pockets that reduce seal effectiveness.
Clean your sealing surfaces after every use. Food particles and residue build up around the rim and gasket. Wipe both the lid underside and container rim with a damp cloth. Dry everything completely before storing.
Store your blender with the lid off. Leaving the dome sealed for long periods can stress the gasket material. This small step extends gasket life significantly.
Check your gasket every few months for signs of wear. Look for thin spots, cracks, or permanent indentations in the rubber. A damaged gasket loses its ability to hold pressure, so replace it before it fails completely.
Use the double seal method for extra protection. Some users apply a thin layer of food grade material around the gasket groove for added security. This prevents minor leaks before they become major problems.
Avoid slamming the lid down forcefully. Gentle, firm pressure is all you need. Aggressive sealing stresses the gasket and can cause premature failure.
Store your blender in a cool, dry location. Heat and humidity degrade rubber gaskets over time. Keep replacement gaskets on hand so you can swap them quickly when needed.
These simple practices keep your vacuum blender working reliably for years.
Common Mistakes That Cause Seal Failure
Many people make simple mistakes that damage their vacuum blender seals without realizing it. Understanding these errors helps you keep your blender working properly.
Hot ingredients cause serious seal failure. Most people don’t know that warm or hot food damages gaskets. Heat softens rubber and plastic seals, making them lose their shape. The seal can’t grip tightly when it’s been exposed to heat. Always cool your ingredients to room temperature before blending. This single step prevents most seal problems.
Neglecting to clean sealing surfaces is another common mistake. Food particles, oils, and residue build up on the rim and lid. These tiny bits prevent a tight seal even when everything looks clean. You need to wipe both surfaces thoroughly after every use. A damp cloth removes debris that your eyes might miss.
Ignoring worn gaskets leads to ongoing pressure loss. Gaskets wear out naturally over time. Many people keep using old, stretched gaskets hoping they’ll work again. They won’t. A worn gasket can’t create a seal no matter how clean you keep everything.
Poor food preparation also causes seal failure. Uneven pieces don’t distribute vacuum pressure equally. Lumpy or bulky foods create weak spots in the seal. Flatten your ingredients and cut them into similar sizes for even pressure distribution.
Forcing the lid down damages seals faster than normal use. Slamming or twisting the lid aggressively stresses the gasket. This stretches it out of shape permanently. Close your lid gently and let the vacuum do the work.
Avoiding these mistakes keeps your seal strong and your blender reliable for years.
Troubleshooting Persistent Vacuum Issues
When your vacuum blender dome seal keeps losing pressure, the problem usually comes from one of three sources: air leaks through the gasket, a blocked valve, or a struggling pump. Your pump runs, but it cannot build or maintain the vacuum your blender needs.
Start by inspecting your sealing surfaces carefully. Remove the lid and look at where the gasket sits. Check for waviness, thin spots, or areas that look compressed unevenly. These signs mean your seal has worn out and needs replacement.
Next, clean the sealing area thoroughly. Use a soft cloth to wipe the entire rim where the gasket makes contact. Dust, food particles, and dried residue block a perfect seal. Wipe the gasket itself too, ensuring no debris sits in the groove.
Listen to your pump during operation. A healthy pump makes a steady, consistent sound. If your pump sounds strained, irregular, or stops abruptly, blockages may exist inside. Inspect the valve opening where air enters the pump unit. Clean it gently with a soft cloth to remove any obstruction.
Close your lid firmly and test the seal. The lid should feel snug and require steady pressure to open. If your seal still fails after cleaning, your gasket likely needs replacement.
Avoid using warm or hot ingredients. Food above 60 degrees Celsius damages gaskets quickly and causes seal failure. Flatten your food pieces for equal vacuum distribution across the container. This simple step prevents pressure loss from uneven sealing.
If pressure still won’t hold after these steps, your pump motor may need professional service. Persistent issues beyond your control require expert diagnosis.
Final Thoughts
Fixing a vacuum blender dome seal takes patience and attention to detail. Most pressure loss problems come from simple causes. A worn gasket, dirty sealing surface, or trapped food particles usually explain the issue.
You don’t need special tools to solve most seal problems. A soft cloth, some warm water, and careful inspection often fix things. Start with the basics before assuming your pump has failed.
Regular maintenance makes the biggest difference in how long your seal lasts. Checking your gasket often, cleaning after each use, and letting food cool first all protect your seal naturally.
Think of your dome seal as a delicate part of your blender. It works hard every time you blend. Treating it gently helps it perform well for a long time.
If you follow the steps in this guide and your blender still won’t hold vacuum, don’t get discouraged. Sometimes the fix simply needs a fresh gasket or a quick service check on the pump.
Small issues become big problems when ignored. A seal that loses pressure slowly today may fail completely next week. Address problems early to save time and frustration later.
Your vacuum blender can serve you well for years with proper care. The seal is just one part of a bigger system, but it plays a key role in performance.
Pay attention to how your blender sounds and behaves during use. These signals tell you when something needs attention before it becomes a serious problem.
With the right habits and quick action when issues appear, your vacuum blender will keep delivering fresh, well preserved blends every time you use it.
Frequently Asked Questions
Why does my vacuum blender lose pressure after just a few minutes?
Air leaks through the gasket or valve are the main culprits. Your pump runs fine but can’t build up enough vacuum to hold. Check if the gasket sits flat and smooth against the lid. Debris or dried food particles block the seal line. Wipe the sealing surface with a soft, damp cloth and try again.
The pump itself might have blockages too. Listen for a steady sound during operation. If it sounds strained or weak, internal issues may be preventing pressure buildup.
Can I fix a leaking seal without replacing the gasket?
Yes, often you can. Start by cleaning both the gasket and the sealing surface where it contacts the lid. Remove any buildup or residue. Make sure the lid closes with firm, even pressure all around.
Check the gasket for cracks, tears, or warping. If it looks intact but still leaks, try the double seal method. Place the gasket carefully, press down firmly, and listen for a click or feel for resistance.
If cleaning and repositioning don’t work, replacement becomes necessary.
What temperature of ingredients causes seal failure?
Food above 60 degrees Celsius damages gaskets quickly. Hot ingredients expand and weaken the rubber material, causing permanent seal damage. Always let food cool to room temperature before blending.
Even warm ingredients cause problems over time. This is one of the most overlooked mistakes people make with vacuum blenders.
How often should I inspect my dome seal?
Check your seal before each use. Look for visible cracks, warping, or thin spots along the contact line. Clean the sealing surfaces weekly if you blend daily.
Replace your gasket every 12 to 18 months, depending on usage. Regular inspection catches small problems before they become expensive repairs.