How To Fix Smart Waffle Maker Non-Stick Grid Chipping?
Your smart waffle maker makes breakfast fun. But then you spot it. A small chip on the non-stick grid.
Panic sets in. Will your waffles stick now? Is the machine ruined?
Take a breath. This is a common problem with many waffle makers.
Chipping usually happens from harsh scrubbing or metal tools. It can also happen from normal wear over time. The good news is you can often manage it and stop it from getting worse.
This guide walks you through simple fixes. You will learn how to clean your grid the right way. You will also learn how to season it to help restore some non-stick power.
In a Nutshell
- Clean gently every time. Use warm soapy water with a soft cloth. Never use metal tools or abrasive scrubbers on the plates.
- Season the plates regularly. This step restores non-stick properties after cleaning. It also creates a protective barrier against future damage.
- Preheat before you cook. Skipping this step often causes sticking and rough handling later. Give your waffle maker enough time to reach the right temperature.
- Skip the cooking spray. Spray residue builds up over time and can actually damage the coating. Stick to light butter or oil if needed.
- Check your manual first. Every model has specific care instructions from the manufacturer. This helps you avoid mistakes that void your warranty.
- Contact support for severe damage. If chipping is deep or widespread, reach out to the manufacturer directly. They can guide you on repair options or replacement parts.
Understanding Why Non-Stick Grids Chip
Non-stick coatings on waffle maker grids are made from special materials that prevent food from sticking. These coatings work by creating a smooth surface that food slides off easily. However, they are not indestructible and can chip away over time.
The primary reason chipping happens is improper cleaning. When you scrub the grid with hard brushes, steel wool, or metal scrapers, you physically remove tiny pieces of the coating. Each scratch weakens the surface further. Metal tools are especially damaging because they cut directly into the non-stick layer.
Heat stress also contributes to chipping. Extreme temperature changes can cause the coating to expand and contract unevenly. If you pour cold batter onto an extremely hot grid, or if you cool the waffle maker too quickly, the coating can crack and peel. This thermal shock gradually breaks down the protective layer.
Moisture and humidity play a role too. Water that sits on the grid for too long can seep under the coating and cause separation. When the coating lifts away from the metal base, it becomes brittle and chips more easily.
Chemical damage accelerates chipping as well. Cooking sprays leave sticky residue that builds up on the surface. Over time, this buildup reacts with the coating and weakens its bond to the metal underneath. Even some acidic foods can gradually erode the non-stick surface.
Understanding these causes helps you prevent future damage. Most chipping is avoidable with gentle care and proper cleaning methods. The coating needs respect and attention to last for years. Simple daily habits make a huge difference in keeping your grid smooth and functional.
Assessing the Severity of the Damage
When your smart waffle maker’s non-stick grid starts chipping, you need to understand how serious the damage really is. This step matters because it determines your next move. Small chips might need simple fixes. Larger damage could require professional help or replacement.
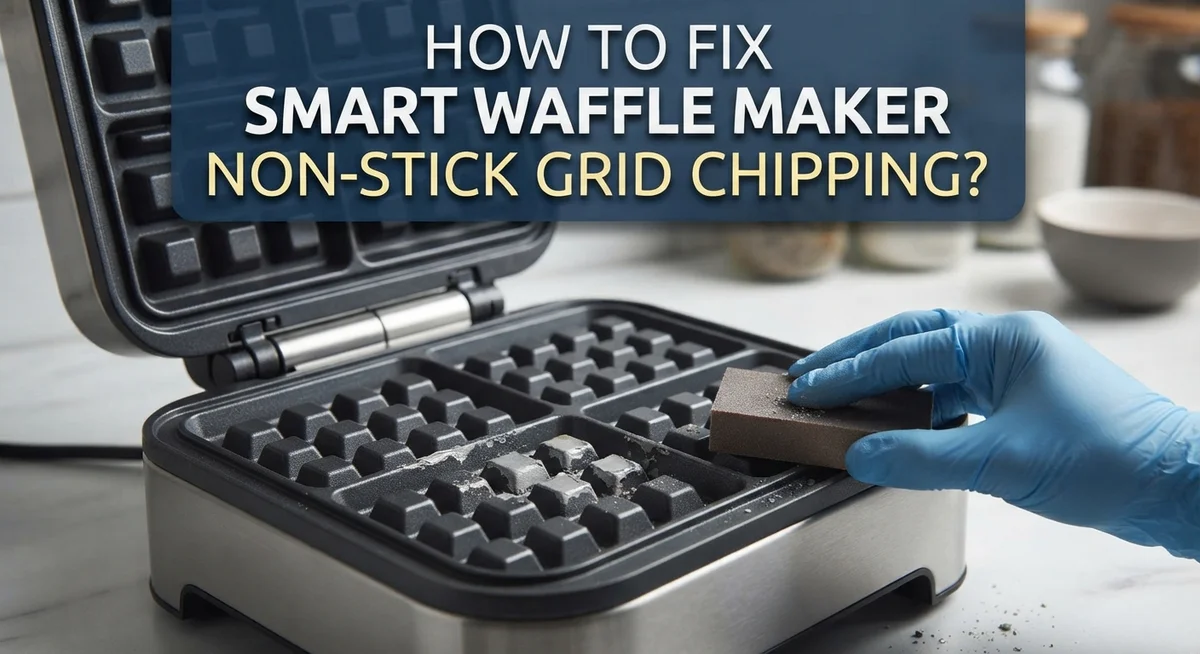
Start by examining the chipped area closely. Look at how deep the chip goes into the coating. Surface level chips are usually minor concerns. Deep chips that expose the metal underneath are more serious. Run your finger gently over the damaged spot to feel the rough edges.
Count how many chips exist on your grid. One or two small chips are manageable. Multiple chips scattered across the cooking surface suggest a bigger problem. Widespread chipping means the coating is breaking down faster than normal.
Check if the chips are growing. Inspect your waffle maker every few uses. If chips expand or new ones appear quickly, the damage is accelerating. This tells you the coating is failing rapidly and needs attention soon.
Look for rust or discoloration around the chipped areas. This indicates moisture has reached the metal underneath. Rust means the damage has progressed beyond just coating loss. This affects food safety and cooking performance.
Test how the waffle maker performs. Do waffles stick more than before? Does heat distribute evenly across the grid? Poor performance combined with visible chipping suggests you should stop using it until you address the issue.
Take clear photos of the damage. These images help if you need to contact the manufacturer for guidance. They also let you track whether the problem gets worse over time.
Step-by-Step: Cleaning and Restoring Chipped Grids
Start by unplugging your waffle maker and letting it cool completely. This keeps you safe while you work on the grids.
Use warm soapy water and a soft cloth to clean the affected area gently. Avoid any abrasive scrubbers or metal tools that can make chipping worse. Pat the grid dry with a clean towel.
Inspect the chipped spots closely. Small surface chips may not affect cooking much, but deep chips that expose the metal underneath need attention. If you see rust forming around the damaged area, this indicates moisture is reaching the base material.
For minor chips, you can restore some non-stick properties by seasoning the grid. Heat your waffle maker on a low setting for a few minutes. Let it cool slightly, then wipe the entire grid surface with a thin layer of neutral oil using a soft cloth. Wipe away excess oil so no residue remains.
Allow the waffle maker to cool completely before storing it. This seasoning step helps reduce sticking in the affected zone temporarily.
Test your waffle maker with a simple waffle recipe. Pay attention to whether waffles stick more than before or if they release normally. Some minor sticking may occur near chipped areas, but this doesn’t mean your waffle maker is ruined.
If chipping is severe or covers a large area, contact the manufacturer. They can advise whether repair or replacement is necessary. Many manufacturers provide guidance specific to your model.
Continue using gentle cleaning methods going forward. This prevents additional chipping and extends your waffle maker’s lifespan significantly.
Seasoning Your Waffle Maker Plates for Better Performance
Seasoning your waffle maker plates restores non-stick properties after cleaning. This process fills tiny surface gaps and creates a protective barrier against food sticking.
Start by ensuring your waffle maker is completely cool and unplugged. Heat damages seasoning products, so patience matters here. Wipe the grid plates with a soft, damp cloth to remove any water droplets or debris from washing.
Apply a very thin layer of neutral oil to the grid surface. Use minimal oil since excess buildup causes problems rather than solutions. Spread it evenly across both the top and bottom plates with a clean cloth.
Let the oil sit on the plates for a few minutes. This allows the coating to bond with the surface. Then wipe away any excess oil with a fresh, dry cloth until the plates look almost dry to the touch.
Plug in your waffle maker and heat it to the highest setting for about five minutes. Heat helps the oil cure and bond permanently to the grid. You may notice a slight smoke or smell during this process, which is normal.
Allow the waffle maker to cool completely before using it again. The seasoning layer needs time to set properly. Store it in a dry location away from moisture.
Repeat this seasoning process every few weeks or whenever you notice sticking increasing. Regular seasoning maintains your grid’s performance and prevents food from catching on rough spots.
This simple maintenance routine significantly extends your waffle maker’s lifespan. Consistent care keeps your grids functioning smoothly and reduces the risk of further damage from frustrated scrubbing later.
Preheating and Heat Settings to Prevent Further Damage
Proper preheating and heat settings protect your smart waffle maker from additional damage to the non-stick grid. Many people skip preheating or use incorrect temperatures, which worsens existing chips and causes new ones to form.
Always allow your waffle maker to preheat fully before cooking. Most smart models have indicator lights that tell you when they reach the correct temperature. Wait for this signal before placing batter inside. Rushing this step puts stress on damaged areas of the grid.
Use the highest heat setting your waffle maker offers. This might seem counterintuitive, but proper heat actually prevents sticking and reduces the need for aggressive scraping. Lower temperatures cause batter to stick more, forcing you to use tools that damage the coating further.
Check your manufacturer’s manual for your specific model’s preheating time. Some smart waffle makers need five minutes to fully stabilize. Others require less time. Following these guidelines prevents thermal stress on chipped sections.
Avoid adjusting temperature settings mid-cooking. Sudden temperature changes can cause the non-stick coating to crack more. Set your heat before you start and leave it alone.
If your waffle maker has adjustable browning controls, keep them at medium to medium-high. Extremely dark settings require longer cooking times, which increases the chance of sticking and scraping.
Monitor the first waffle you make after preheating. If batter sticks despite proper preheating, your heat setting is too low. Increase it slightly for the next batch. This simple adjustment prevents you from reaching for metal utensils to remove stuck waffles.
Consistent preheating and correct heat settings significantly slow down additional chipping while improving your cooking results.
Common Mistakes That Worsen Coating Damage
Using harsh scrubbing tools remains one of the biggest mistakes people make with smart waffle makers. Metal scouring pads, steel wool, and abrasive brushes strip away the protective non-stick layer faster than anything else. These tools create tiny scratches that expand into larger chips over time.
Soaking your waffle maker grids in water for extended periods causes serious damage too. The liquid seeps into small cracks and weakens the coating bond. It can also cause rust underneath the non-stick surface. Never submerge the entire unit or leave water sitting on the grids.
Applying cooking spray directly onto the grid is another common error. These sprays contain oils and additives that accumulate on the surface. The buildup hardens and flakes off, taking the non-stick coating with it. This creates the exact chipping problems you’re trying to avoid.
Cooking at temperatures that are too high accelerates coating deterioration. While you should use high heat for proper cooking, extreme temperatures beyond your waffle maker’s recommended range can damage the grid. Check your manual for safe temperature limits.
Stacking or storing your waffle maker improperly also causes damage. Placing heavy items on top of it or storing it with the grids facing down creates pressure points. These pressure spots weaken the coating and lead to premature chipping.
Ignoring small chips makes them worse. Moisture and heat enter through damaged areas and spread the damage underneath. Addressing minor chips early through proper cleaning and seasoning prevents them from becoming severe problems that require replacement.
Rushing the cooling process between uses stresses the coating. Allow adequate time for your waffle maker to cool naturally before unplugging it.
Troubleshooting: When Waffles Still Stick After Repair
When waffles still stick after you’ve attempted repairs, several factors might be at play. The damage could be more severe than surface level, or your waffle maker may need additional care steps.
First, check if the chipping extends deeper into the coating. Minor surface chips differ from widespread damage. If you see bare metal underneath, the non-stick layer has failed significantly. In this case, simple seasoning alone won’t solve the problem.
Test your preheating process again. Many people believe their waffle maker is ready when it’s not. Wait for all indicator lights to fully stabilize. Some smart models require up to ten minutes for complete preheating. Rushing this step causes waffles to stick even on partially functioning grids.
Verify your batter consistency next. Thick batter sticks more than thin batter. If your mixture seems too dense, add a bit more liquid and try again.
Check the grid surface for residue buildup. Oil and batter particles accumulate in crevices around chips. Use a soft cloth with warm soapy water to gently clean around damaged areas. Make sure no debris sits in the cracks.
If sticking continues after these steps, the non-stick coating has likely deteriorated beyond basic repair. Contact your manufacturer’s customer service. They can assess whether your specific model qualifies for repair or replacement. Provide photos of the chipped areas and describe exactly when sticking started.
Some manufacturers offer grid replacement options for their smart models. This proves more affordable than buying a new waffle maker. Your manual should contain contact information for support services. Document your troubleshooting attempts before reaching out. This information helps technicians provide faster solutions.
When to Contact the Manufacturer for Support
Knowing when to reach out to your manufacturer helps you avoid wasting time on repairs that won’t work. Contact them when the chipping is severe or covers a large area of the grid. If small chips have turned into deep gouges, professional guidance becomes necessary.
Contact your manufacturer if waffles stick persistently after you’ve cleaned and preheated properly. This indicates the non-stick coating damage runs deeper than surface level. They can assess whether your grid needs replacement or if your specific model has other solutions available.
Reach out if you notice the coating is flaking off in multiple spots. Progressive flaking means the damage spreads underneath the surface. Your manufacturer knows exactly how their coating breaks down and what options exist for your model.
Call them if you’re unsure about your waffle maker’s warranty coverage. Many manufacturers cover non-stick coating defects within a certain timeframe. Some even offer discounted replacement grids for customers outside the warranty period.
Have your model number ready before contacting support. This information appears in your manual or on the back of your waffle maker. Manufacturers need this detail to provide accurate help for your specific machine.
Document the damage with photos before reaching out. Show the location and size of chips clearly. This helps the manufacturer representative understand the severity and recommend the right solution.
Ask about your options directly. Some manufacturers provide replacement grid assemblies. Others might offer repair services or suggest when replacement makes more sense than fixing.
Contact them sooner rather than later. The longer you wait, the more the damage spreads. Quick action often leads to better solutions and prevents additional problems from developing inside your waffle maker.
Final Thoughts
Taking care of your smart waffle maker’s non-stick grid does not need to feel complicated. Small habits make a big difference over time. Gentle cleaning and proper preheating protect the coating far better than any repair ever can.
Chipping happens gradually. It starts small and grows worse when you ignore it. This is why quick action matters so much.
Prevention truly beats repair in every case. A soft cloth, warm water, and patience will keep your grids working well for years. Skip the scouring pads and cooking sprays that cause harm.
If you already have chips on your grid, do not panic. Try the seasoning method first. It restores some non-stick function and buys you more time before replacement becomes necessary.
Watch how your waffles behave after each fix. Sticking that continues despite your best efforts tells you something important. The coating damage has likely gone past the point where home remedies help.
Your manufacturer remains a valuable resource throughout this process. They understand their specific models better than generic advice ever could. Do not hesitate to reach out when problems persist.
Keep your model number and documentation ready. This makes any support conversation faster and more productive. Photos of the damage help too.
Every waffle maker has a lifespan. Coatings wear down naturally with regular use. This is normal and expected, not a sign of failure on your part.
Treat your appliance with care, but also treat yourself with patience. Not every chip means disaster. Many issues resolve with simple adjustments to your cleaning and cooking routine.
Your breakfast routine deserves a waffle maker that works well. With the right care, yours can serve you reliably for a long time ahead.
Frequently Asked Questions
Can I repair small chips myself or do I need professional help?
Small chips can often be managed at home with proper cleaning and care. Wash the grid with warm soapy water and a soft cloth immediately after use. This prevents food particles from getting trapped in damaged areas and causing further deterioration.
Once clean and dry, you can season the grid lightly with a small amount of oil on a soft cloth. Wipe the entire surface gently. This temporary measure helps restore some non-stick properties while you decide on next steps.
For larger chips or flaking coating, contact your manufacturer. They can advise whether replacement grids are available for your model.
Why does my waffle stick even after I clean the grid?
Sticking happens for several reasons beyond just chipping. Inadequate preheating is the most common culprit. Allow your smart waffle maker to reach full temperature before adding batter.
Check your heat setting too. Using a lower temperature setting can cause waffles to stick, even on undamaged grids. Consult your manual for the recommended temperature.
Your batter consistency matters as well. Thick batter doesn’t flow properly and can stick. Thin batter flows too fast and may overflow. Aim for a pancake-like consistency.
Should I use cooking spray on my smart waffle maker?
Avoid cooking spray entirely. Spray accumulates on the non-stick coating over time and can damage it further. The buildup also traps heat unevenly, causing sticking problems.
Your waffle maker’s grid is already designed to be non-stick. Proper preheating and correct batter consistency eliminate the need for spray.
What’s the best way to clean the grid without causing more damage?
Use only warm soapy water and a soft cloth or sponge. Never use abrasive scrubbers, scouring pads, or metal tools. These remove more coating and expand existing chips.
Wipe gently in circular motions. Rinse thoroughly with clean water. Dry completely before storing to prevent rust or moisture damage to internal components.