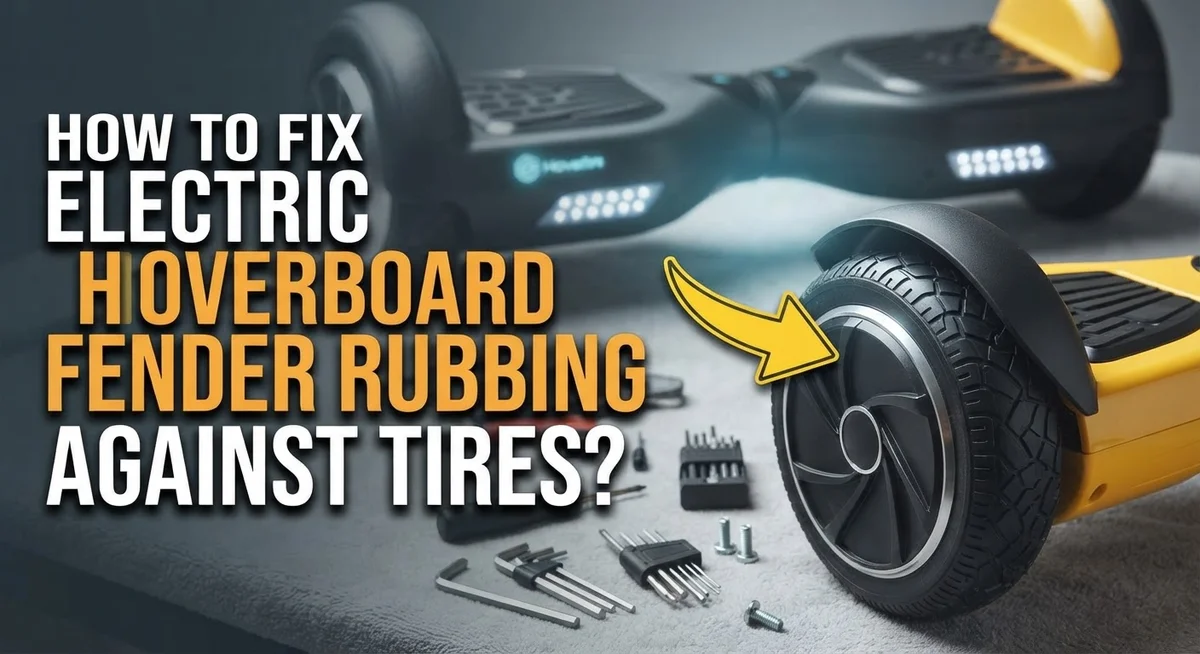
How To Fix Electric Hoverboard Fender Rubbing Against Tires?
That annoying scraping sound from your hoverboard is hard to ignore. It happens when the fender rubs against the tire during a ride. This small issue can turn a fun ride into a frustrating experience.
The good news is that this problem is very common and easy to fix. Most riders face this after shipping or heavy use. Loose bolts, shifted wheels, or dirt buildup are often the real culprits behind the noise.
You do not need to be a mechanic to solve this. With a few simple tools and steps, you can get your hoverboard back to smooth rides. This guide will walk you through the exact causes of fender rubbing.
In a Nutshell
- Check the hardware first. Loose screws or bolts often cause the fender to shift and rub against the tire. A simple tightening can solve the issue fast.
- Look at wheel alignment. Wheels can shift during shipping or after a small bump. Adjusting the wheel inward or outward often fixes the rubbing sound.
- Clean the wheel area. Dirt and debris can build up near the tire and fender. This buildup sometimes causes friction and noise.
- Use a heat gun for the fender. If the fender liner is bent, gentle heat can reshape it. This method avoids cutting or damaging the plastic.
- Avoid cutting or removing the fender. Trimming the fender or removing the liner completely can cause lasting damage. It also removes protection your hoverboard needs.
- Inspect for shipping damage. Sometimes the frame gets compressed during transit. Spotting this early helps you fix the root cause instead of just the symptom.
What Causes Fender Rubbing Against Hoverboard Tires
Fender rubbing happens when the plastic guard around your wheel touches the tire as it spins. This creates an annoying scraping sound and can wear down both parts over time.
The most common cause is loose hardware. Screws and bolts on your fender or wheel assembly work themselves free during use. When they loosen, the fender shifts out of position and contacts the tire. This is the easiest problem to fix.
Wheel misalignment is another frequent culprit. Your hoverboard may have experienced shipping impacts or small bumps that pushed the wheel inward or outward. Even a slight shift of half an inch can cause rubbing. The wheel rim ends up too close to the fender guard on either side.
Debris buildup also plays a role. Dirt, sand, and dust accumulate in the wheel area over time. This extra material takes up space between the tire and fender, forcing them closer together until they make contact.
Frame compression from shipping damage can squeeze the entire wheel assembly. If your hoverboard arrived with a damaged box or took a hard fall, the frame may have bent slightly inward. This compression reduces the space available for the wheel to spin freely.
Finally, bent or warped fender liners cause problems. If the plastic guard got cracked or deformed during transport or use, it may sit closer to the tire than designed. Heat can sometimes reshape minor bends, but severe damage may require replacement.
Understanding these causes helps you identify which fix will work best for your situation. Most issues stem from loose parts or alignment problems, which are straightforward to correct.
Tools You’ll Need Before Starting the Repair
Before you start fixing the fender rubbing issue, gather the right tools. Having everything ready makes the repair faster and safer.
You will need a socket wrench set or adjustable wrench to tighten loose bolts and screws. These fasteners often cause the fender to shift and rub. A Phillips head screwdriver and flat head screwdriver help you access different screw types on your hoverboard.
A flashlight or headlamp is important for seeing inside the wheel area clearly. The space between the fender and tire can be tight, so good lighting helps you spot problems.
Grab a cleaning brush or old toothbrush to remove dirt and debris from the wheel assembly. Buildup in this area sometimes creates rubbing that disappears once you clean it out.
A heat gun is useful if you need to reshape a bent fender liner without cutting or trimming it. This tool applies gentle warmth to soften plastic so you can carefully reshape it back into position.
Keep a measuring tape handy to check the distance between your tire and fender. This helps you confirm alignment issues and track your progress as you make adjustments.
A clean cloth or rag wipes away dust and lets you inspect the fender and wheel assembly more carefully. You may discover loose hardware or damage that was hidden under grime.
Finally, have a notepad ready to write down which bolts and screws you remove. This prevents confusion when reassembling your hoverboard.
Pro tip: Lay out all tools before starting so you do not waste time searching mid repair. This organized approach keeps your work efficient and reduces frustration.
Step-by-Step: Tightening Screws and Bolts on the Fender Assembly
Start by locating all the screws and bolts that hold your fender assembly in place. These fasteners are usually found around the edges where the fender connects to the main frame. You may find them on the inside or outside of the wheel area.
Use your socket wrench set or adjustable wrench to check each bolt and screw. Turn each one clockwise to tighten it. Do not over tighten, as this can crack the plastic fender or strip the threads.
Work systematically around the entire fender assembly. Start at the top and move downward, then check the sides and bottom. This approach ensures you do not miss any fasteners.
Pay special attention to bolts near the wheel opening. These are the most likely to cause rubbing when they loosen. Tighten them firmly but gently.
After tightening the fender bolts, move to the wheel assembly itself. Check the bolts that hold the wheel to the axle. These can also loosen and cause misalignment that leads to rubbing.
Use your flashlight to inspect each bolt head. Look for signs of rust or corrosion that might indicate a bolt is not holding properly. If you see corrosion, clean it away with your cloth.
Once all bolts are tight, spin the wheel by hand and listen for rubbing sounds. If rubbing continues, the problem likely stems from wheel misalignment rather than loose hardware.
Keep a mental note of which bolts felt loose. These areas may need periodic rechecking, especially after riding your hoverboard on rough terrain. Regular maintenance prevents future rubbing issues and keeps your fender assembly secure.
Step-by-Step: Realigning Misaligned Wheels
Wheel misalignment is one of the most common causes of fender rubbing. When your hoverboard shifts during shipping or after an impact, the wheel can move inward or outward. This small shift creates contact between the tire and fender guard.
Start by examining your wheel position carefully. Use your flashlight to look at the gap between the tire and fender on both sides. The space should be even. If one side has less clearance, your wheel needs repositioning.
Loosen the wheel assembly bolts slightly. Do not remove them completely. You want just enough looseness to shift the wheel by hand. Typically, you will find 4 to 6 bolts holding the wheel in place.
Gently push the wheel inward or outward to center it properly. Move it slowly and check the fender clearance as you go. Stop when the gap looks even on both sides of the tire.
Spin the wheel by hand to test alignment. Listen for rubbing sounds. The wheel should rotate freely without touching the fender. If rubbing continues, adjust the wheel position again.
Once the wheel sits correctly, tighten all bolts in a crisscross pattern. This method prevents uneven pressure on the wheel assembly. Tighten firmly but do not overtighten, as this can damage the plastic fender or wheel hub.
After tightening, spin the wheel one more time to confirm the fix works. Check both the front and rear wheels if your hoverboard has rubbing issues on multiple sides. Proper wheel alignment often solves the rubbing problem without needing additional repairs.
Cleaning Debris and Buildup From the Wheel Area
Debris and dirt buildup inside the wheel area is a common reason why your fender rubs against the tire. Over time, mud, dust, and small rocks collect in this tight space and push the fender closer to the wheel.
Start your cleaning by using a flashlight to see inside the wheel area clearly. Look for any visible dirt, mud, or debris stuck between the tire and fender. You may find dried mud caked on the inside of the fender guard or small rocks wedged near the wheel rim.
Use a cleaning brush or old toothbrush to scrub away the buildup. Work carefully around the entire wheel opening. Pay special attention to the bottom of the fender where dirt tends to collect most. Brush away all loose debris and dust.
Next, use a clean cloth or rag to wipe down the fender interior and wheel rim. This removes fine dust particles that you cannot see easily. Wipe until the cloth comes away clean.
After cleaning, spin the wheel by hand and listen carefully. Does the rubbing sound disappear? If it does, then debris was your problem. Your fender should now have proper clearance from the tire.
If rubbing continues after cleaning, the issue is likely loose bolts or wheel misalignment rather than debris. In that case, move forward with tightening and realigning your wheel assembly.
Clean your hoverboard regularly to prevent this problem from returning. Wipe down the wheel area after riding in muddy or dusty conditions. This simple maintenance keeps your fender from rubbing and protects your hoverboard’s components from damage.
Using a Heat Gun to Reshape a Rubbing Fender Liner
A heat gun offers a practical solution when your fender liner needs reshaping without permanent damage. This method works best on plastic fenders that have warped slightly from manufacturing or shipping.
Start by inspecting the fender carefully. Look for areas where the plastic has bent inward toward the tire. Mark these spots with a marker so you know exactly where to apply heat. This prevents you from wasting time on areas that don’t need adjustment.
Set your heat gun to a medium temperature setting. High heat can damage the plastic or create weak spots. Hold the gun about 6 to 8 inches away from the fender surface. Move it slowly back and forth across the problem area for 30 to 60 seconds.
Feel the plastic gently with your hand. It should become warm but not too hot to touch. Warm plastic becomes flexible and easier to reshape. This is your signal that the material is ready for adjustment.
Carefully push the warmed fender away from the tire using steady, gentle pressure. Do not force it suddenly. Let the plastic move gradually into its new position. Hold it in place for about 30 seconds while it cools.
Spin your wheel by hand to check if the rubbing has stopped. If the problem persists, repeat the heating process on other areas of the fender. You may need to heat and reshape multiple spots.
Allow the fender to cool completely before riding your hoverboard. This ensures the plastic sets properly in its new shape. The heat gun method preserves your fender and avoids the permanent damage that cutting or trimming would cause.
Common Mistakes That Make Fender Rubbing Worse
When you try to fix fender rubbing, certain mistakes can make the problem much worse. Understanding what not to do is just as important as knowing what to do.
Removing fender liners entirely is a major mistake many people make. The fender liner protects your hoverboard’s internal components from dirt, water, and debris. Without it, your board becomes vulnerable to damage that costs far more to repair than a simple rubbing issue. Even if the liner seems to cause the rubbing, removal is not the answer.
Cutting or trimming your fender is permanent damage you cannot undo. Some people grab scissors or a knife and cut away the rubbing area. This destroys the fender’s structural integrity and leaves sharp edges that can cause injuries. Once you cut plastic, you cannot restore it to its original state.
Ignoring loose hardware is another critical error. Many people assume the rubbing comes from wheel misalignment when the real culprit is simply loose bolts. They spend time adjusting wheels when they should have tightened screws first. Always check hardware before making any other changes.
Forcing wheels into position without proper inspection causes additional problems. If you push a wheel too hard without understanding why it shifted, you risk damaging the wheel assembly or axle. Gentle, gradual adjustments work better than aggressive force.
Skipping the cleaning step wastes your time and effort. Debris buildup often mimics the sound of structural rubbing. If you ignore cleaning and jump straight to wheel adjustments, you might fix a problem that was never really there.
Taking your time and following the correct sequence prevents these costly mistakes.
When to Replace the Fender or Wheel Instead of Repairing
Sometimes your hoverboard fender rubbing issue requires replacement instead of repair. Knowing when to replace parts saves you time and money.
Replace your fender if the plastic is cracked or severely damaged. Heat guns cannot fix broken pieces. Cracks mean the fender has reached the end of its life. Continuing to ride with a damaged fender exposes your internal components to dirt and water.
Replace the wheel if the rim is bent or warped. A bent rim causes permanent misalignment. No amount of repositioning fixes a damaged wheel rim. The tire itself may also show uneven wear patterns if the rim is compromised.
Check for frame damage before replacing parts. Shipping damage can compress your hoverboard’s frame. When the frame bends inward, it pushes the fender toward the tire. Replacing the fender alone won’t help if the frame is the real problem. You need to address the frame first.
Inspect both the fender and wheel carefully before deciding. Look for visible cracks, dents, or permanent deformation. Press on the plastic fender gently. If it doesn’t spring back, replacement is your best option.
Replace the fender if you’ve already attempted heat reshaping and the rubbing returned. Repeated problems indicate structural failure. The plastic has lost its ability to hold its shape.
Consider replacement when repair costs approach the price of new parts. Some fenders are inexpensive to replace. Spending hours troubleshooting may not be worth your effort.
Always replace damaged parts promptly. Riding with a compromised fender or wheel creates safety risks. Broken components can fail suddenly during use. Protect yourself by making replacements when needed.
Final Thoughts
Fender rubbing is a common problem with a simple fix. Most cases come down to loose hardware or wheels that shifted out of place.
You do not need special skills to solve this issue. A screwdriver and some patience usually get the job done.
Start with the easy checks first. Tighten every screw and bolt around the fender and wheel area.
Next, look at wheel alignment. Wheels often shift during shipping or after a small bump.
Clean the wheel area before you try anything else. Dirt and debris often create sounds that feel like rubbing.
If plastic contact remains the issue, a heat gun works well. This method reshapes the fender without cutting or removing parts.
Avoid the mistakes that make this problem worse. Never remove fender liners completely, since they protect internal components.
Cutting your fender causes damage you cannot reverse. This choice often costs more than the original problem.
Replacement becomes necessary in certain situations. Cracked plastic, bent rims, or frame damage all call for new parts instead of repair.
Check your hoverboard carefully after any shipping delivery. Early detection saves you time and prevents bigger issues later.
Small problems become expensive when ignored. A loose screw today can turn into a damaged wheel next week.
Take a calm, step by step approach to this repair. Inspect first, tighten hardware, clean the area, then reshape if needed.
Most riders fix fender rubbing within minutes using these steps. Your hoverboard should run smooth and quiet once the wheel spins freely again.
Regular checks keep this problem from returning. A few minutes of maintenance protects your hoverboard for the long run.
Frequently Asked Questions
Why is my hoverboard fender rubbing against the tire?
The most common reason is a rim positioned too close to the fender guard. This happens when wheels shift during shipping or after impact. Loose screws on the fender or wheel assembly also cause rubbing sounds. Sometimes debris or dirt buildup in the wheel area creates friction that sounds like structural contact.
Can I remove the fender liner to stop the rubbing?
No, you should not remove it entirely. Fender liners provide essential protection for your hoverboard’s internal components. Removing them leaves your battery, wiring, and motor exposed to dirt and moisture. Instead, focus on realigning the wheel or tightening loose hardware.
What’s the best way to fix the rubbing without cutting the fender?
Start by tightening all screws and bolts on both the fender and wheel assembly. Next, clean the wheel area to remove any debris. If rubbing continues, use a heat gun to gently reshape the plastic fender without cutting it. This non-destructive method allows you to adjust the fender’s position slightly inward or outward. Let the plastic cool completely before testing.
When should I replace the fender instead of repairing it?
Replace your fender if the plastic is cracked or severely damaged. A heat gun cannot fix broken pieces. Also replace it if you’ve already attempted reshaping and the rubbing returned. Check the wheel rim too. A bent or warped rim causes permanent misalignment that reshaping won’t solve.
How do I know if the wheel itself is the problem?
Inspect the wheel rim carefully for dents, bends, or warping. A bent rim sits too close to the fender guard no matter how you adjust it. Compare both wheels side by side. If one rim appears visibly different, that’s your culprit and replacement may be necessary.